Connect Google Data Studio
Before you starting using our Google Data Studio (GDS) template with Keyword Hero, we highly recommend adding a new data source based on the Keyword Hero View in GA. This article walks you through the necessary steps to do this.
-
- Go to https://datastudio.google.com/
After you’ve created an account, click on the + Create in the left upper corner to add a new data source.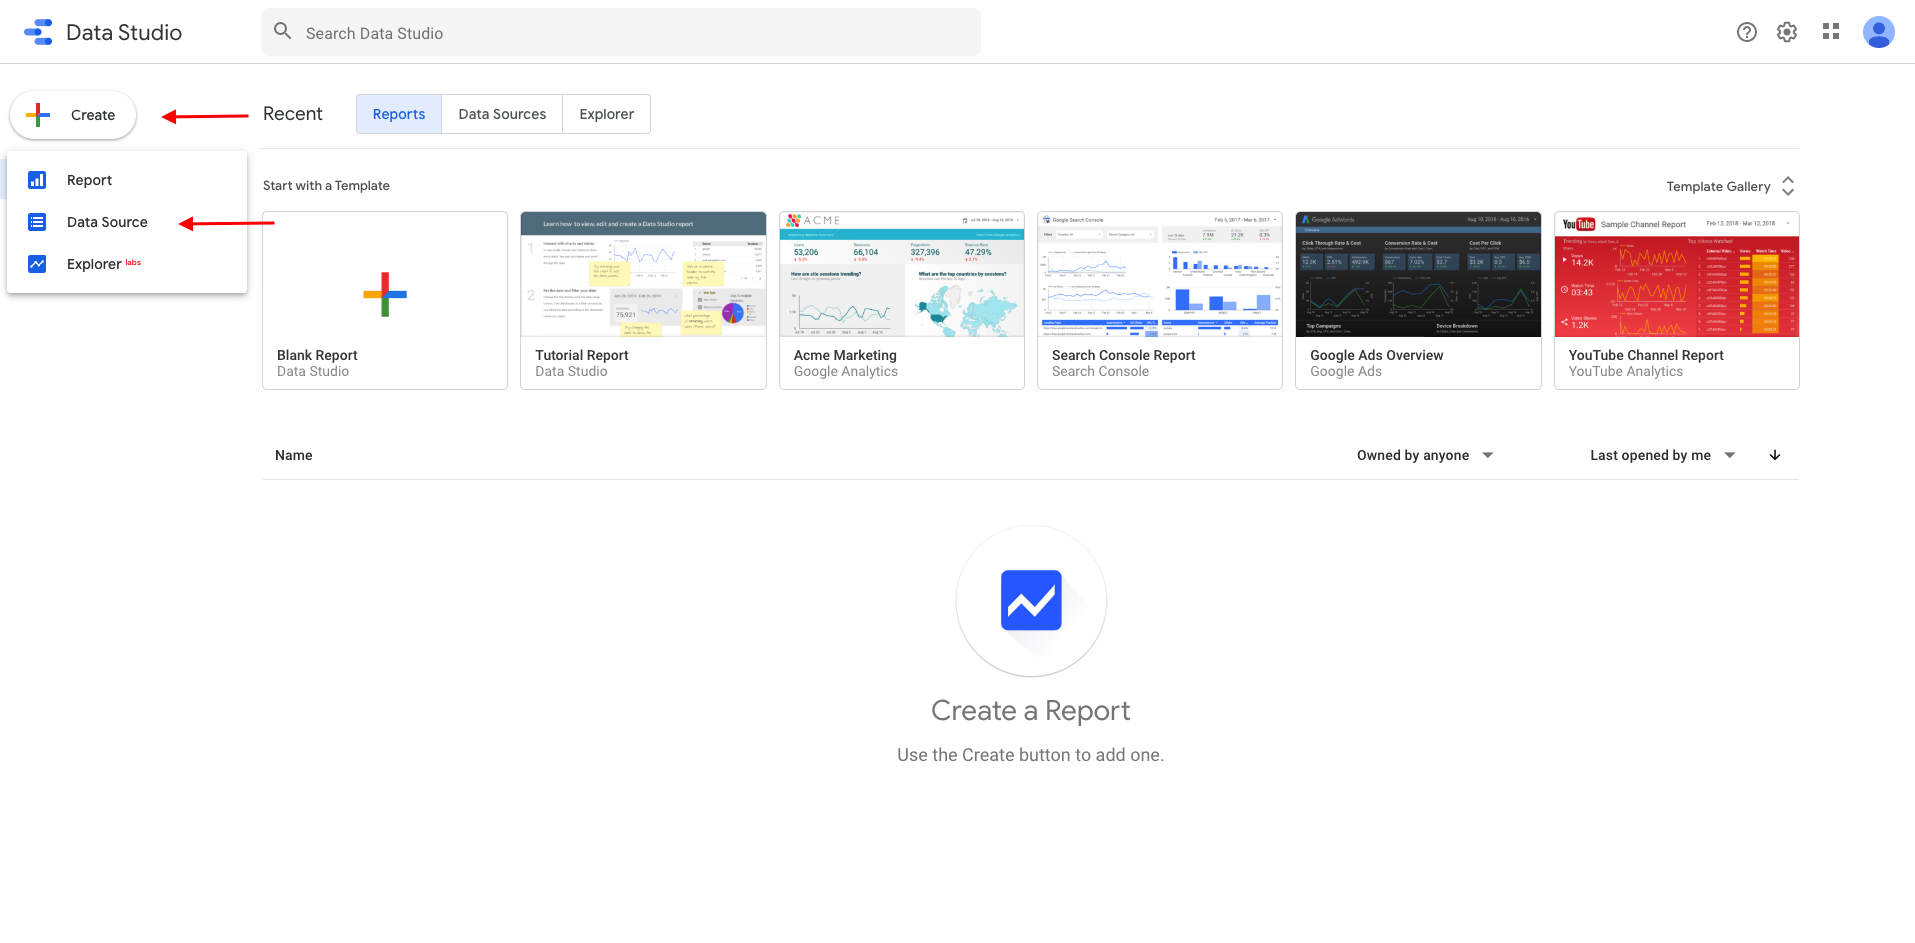
- Go to https://datastudio.google.com/
-
- Now you are in the “Connector View”. First, give your data source a name (we chose “Keyword Hero view”), so you’ll know which one to select. Next, select Google Analytics as connectorOnce you’ve given GDS access to your Google Analytics account, you see all Google Analytics properties displayed that you have access to.
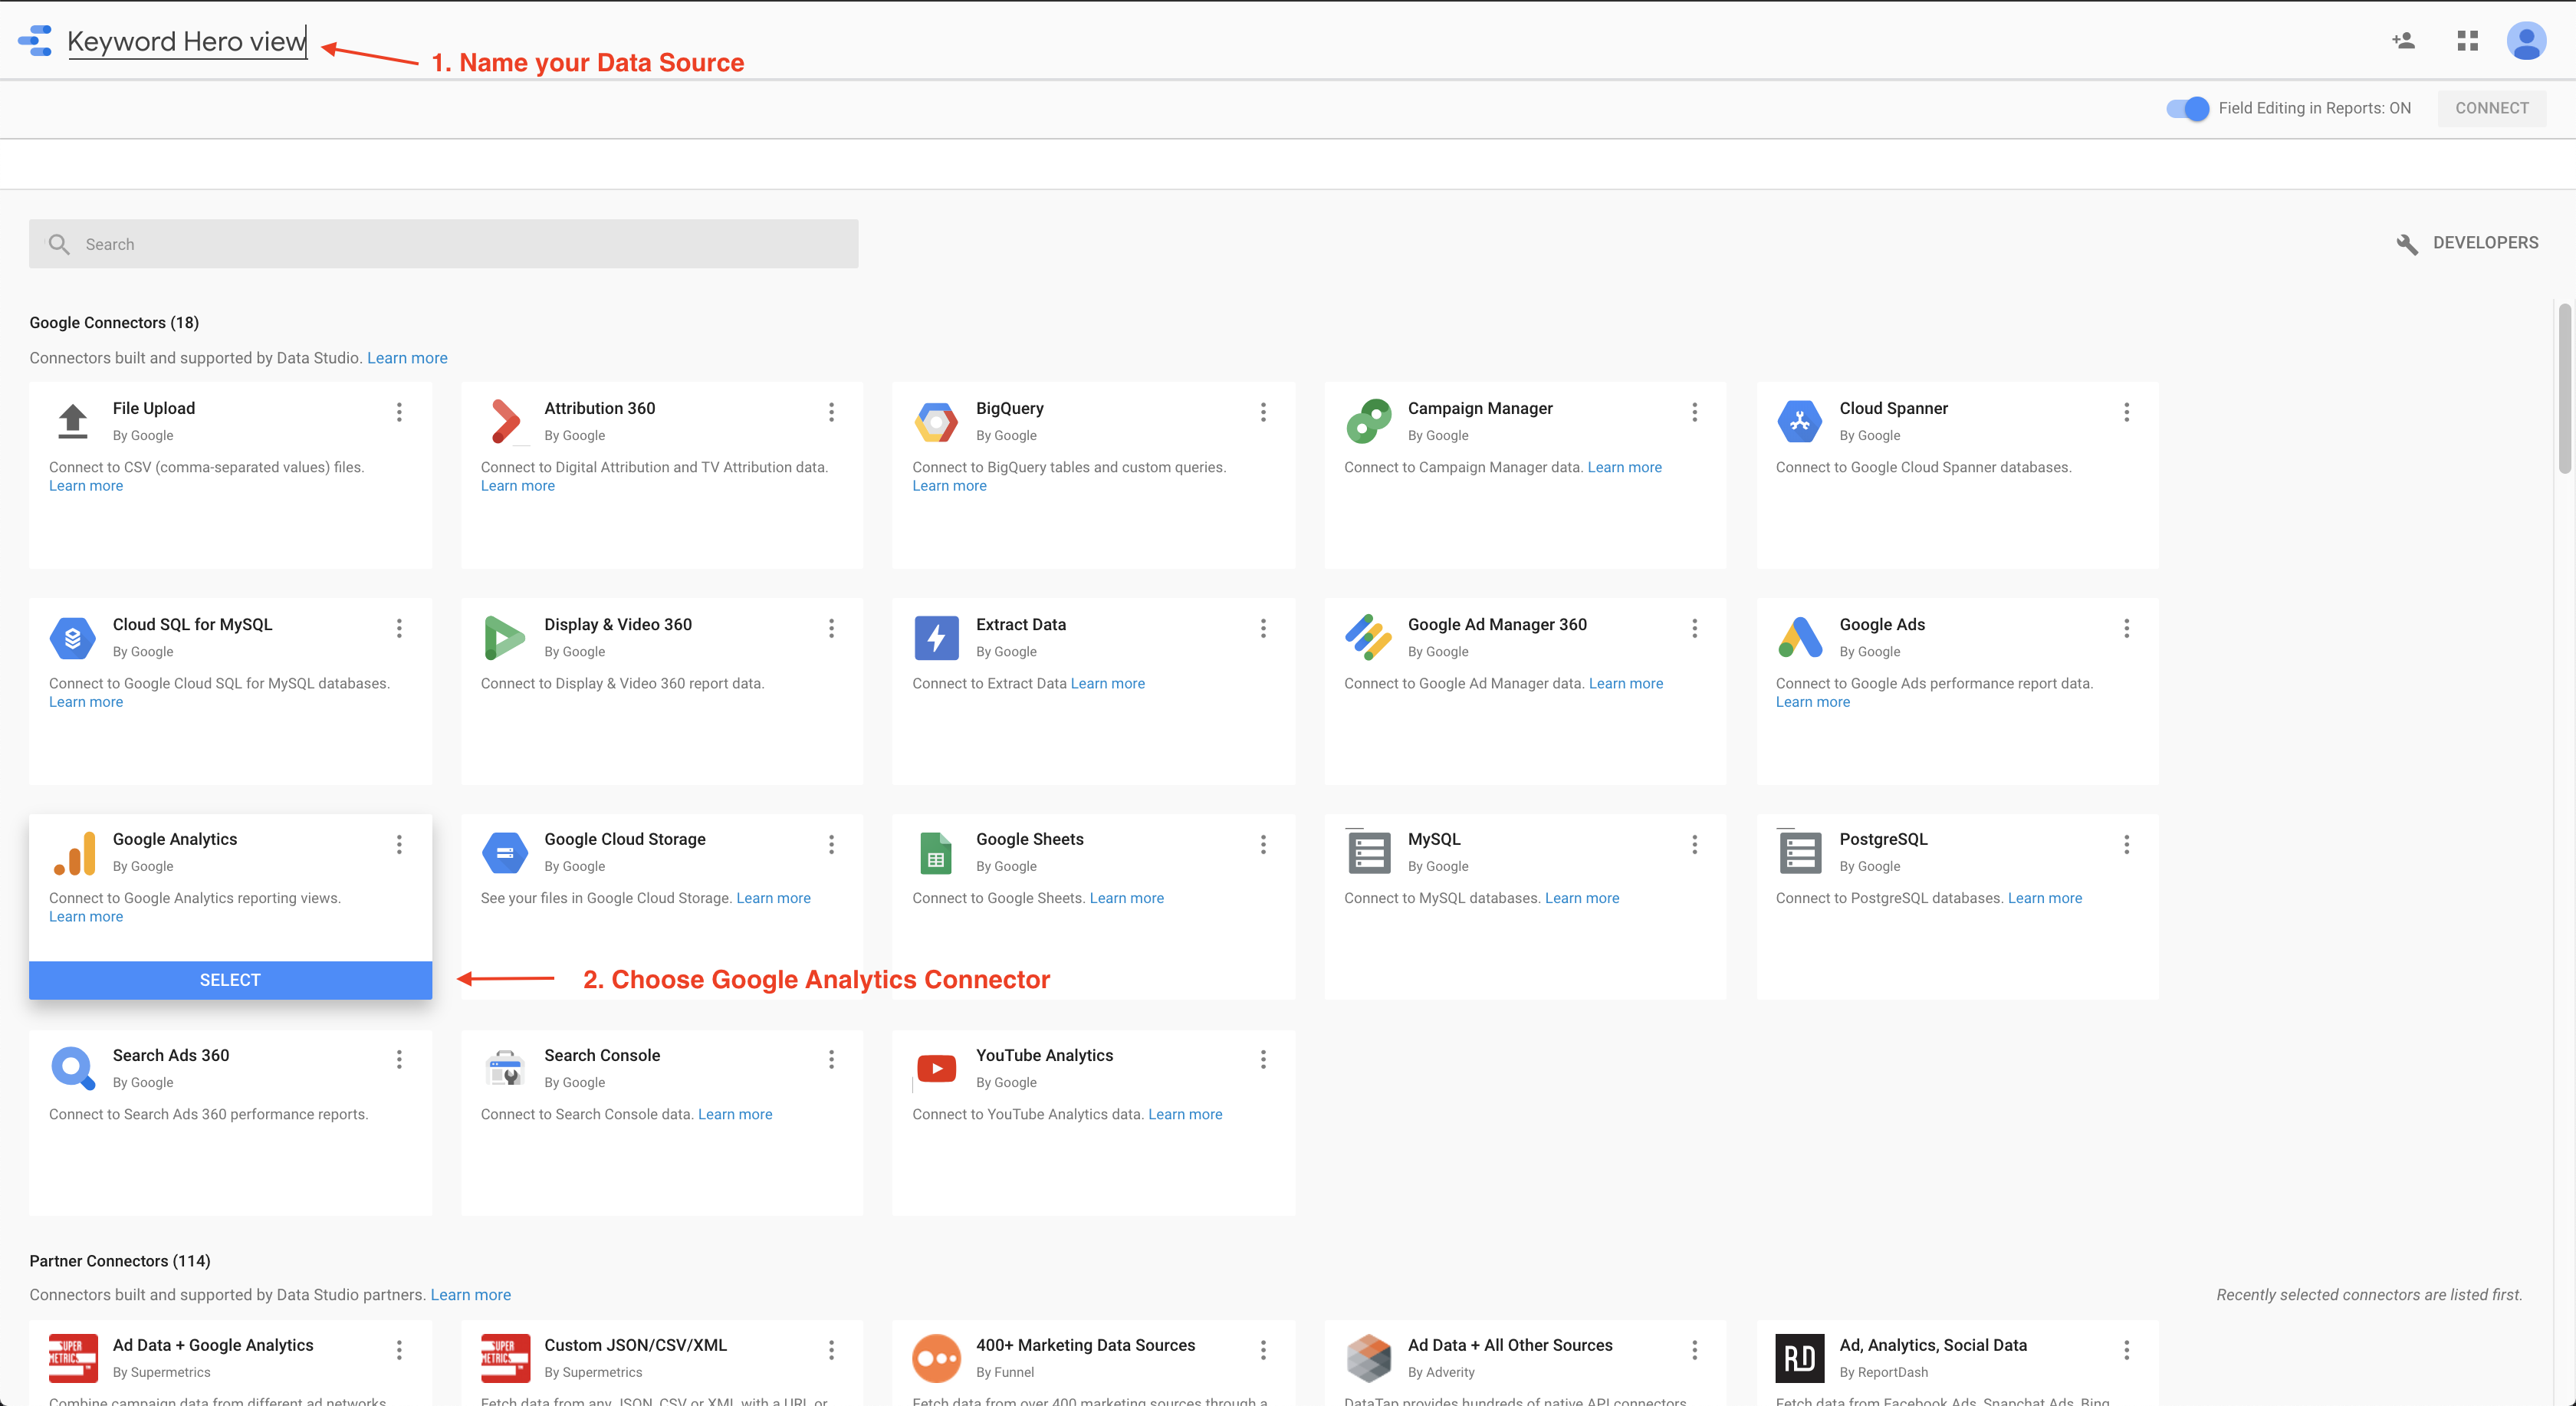
- Now you are in the “Connector View”. First, give your data source a name (we chose “Keyword Hero view”), so you’ll know which one to select. Next, select Google Analytics as connectorOnce you’ve given GDS access to your Google Analytics account, you see all Google Analytics properties displayed that you have access to.
-
- Now, select your Google Analytics Account, Property, and View. Usually, that is the Keyword View, which Keyword Hero created automatically for you. Then click on Connect.
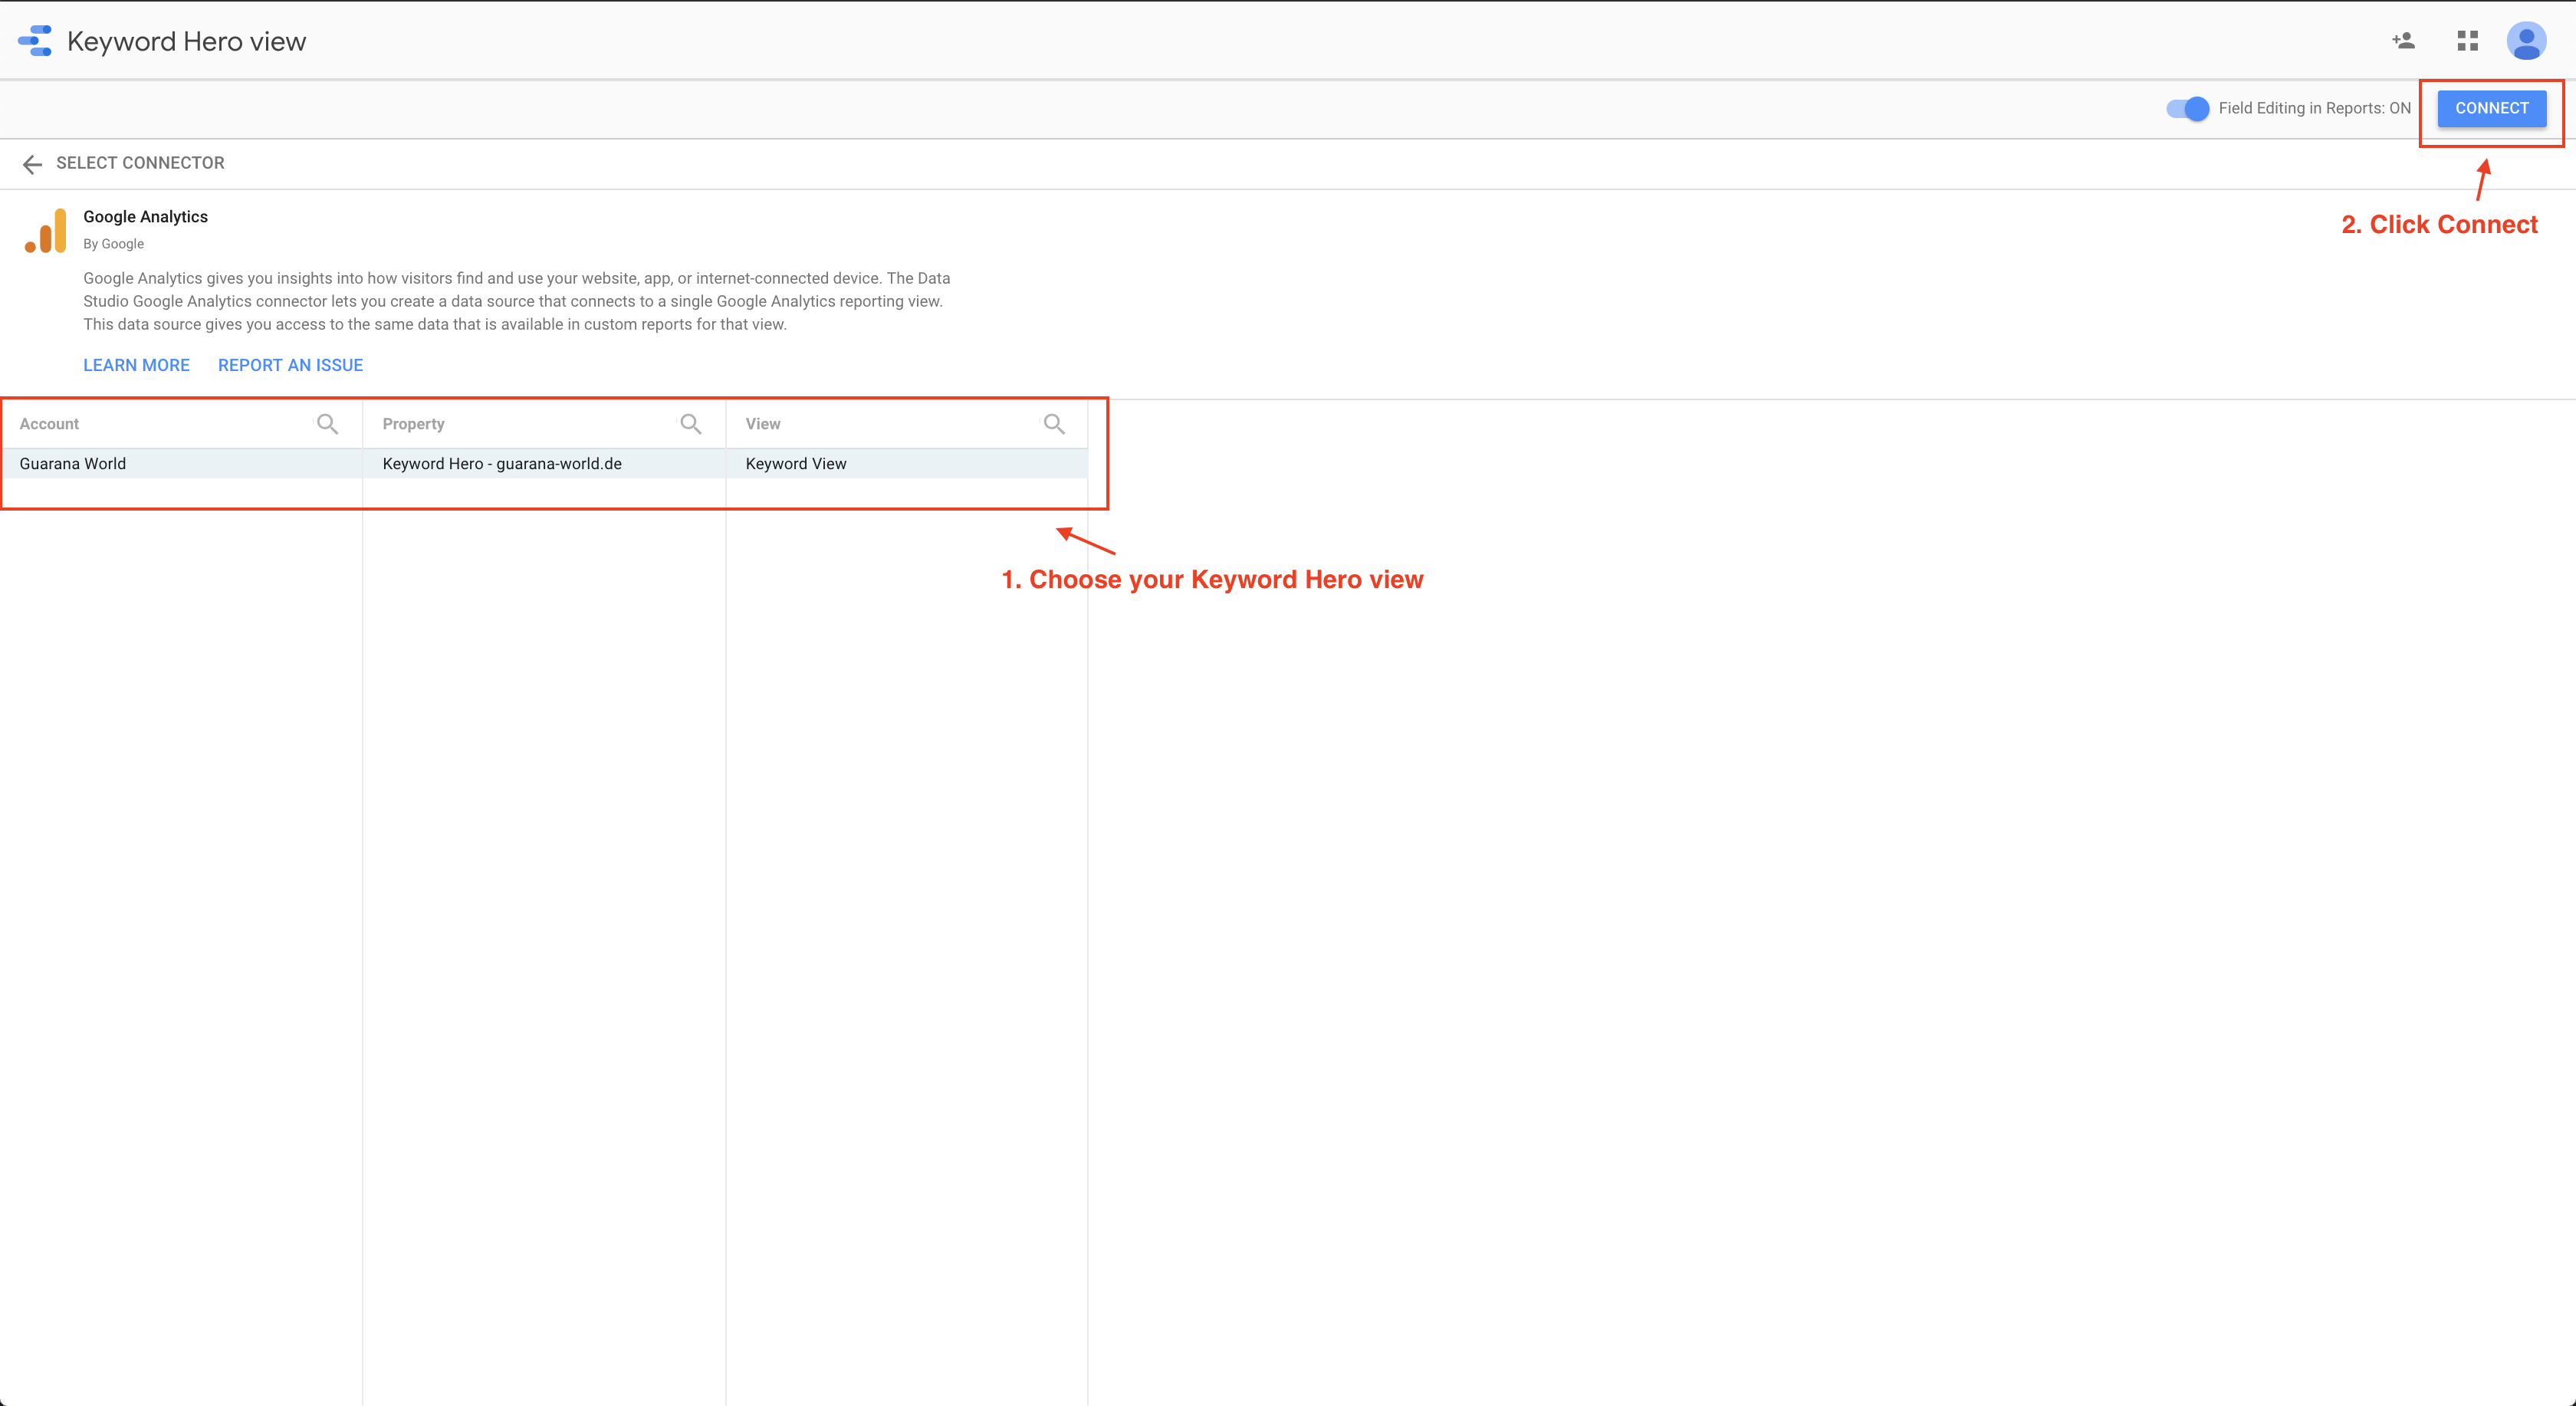
- Now, select your Google Analytics Account, Property, and View. Usually, that is the Keyword View, which Keyword Hero created automatically for you. Then click on Connect.
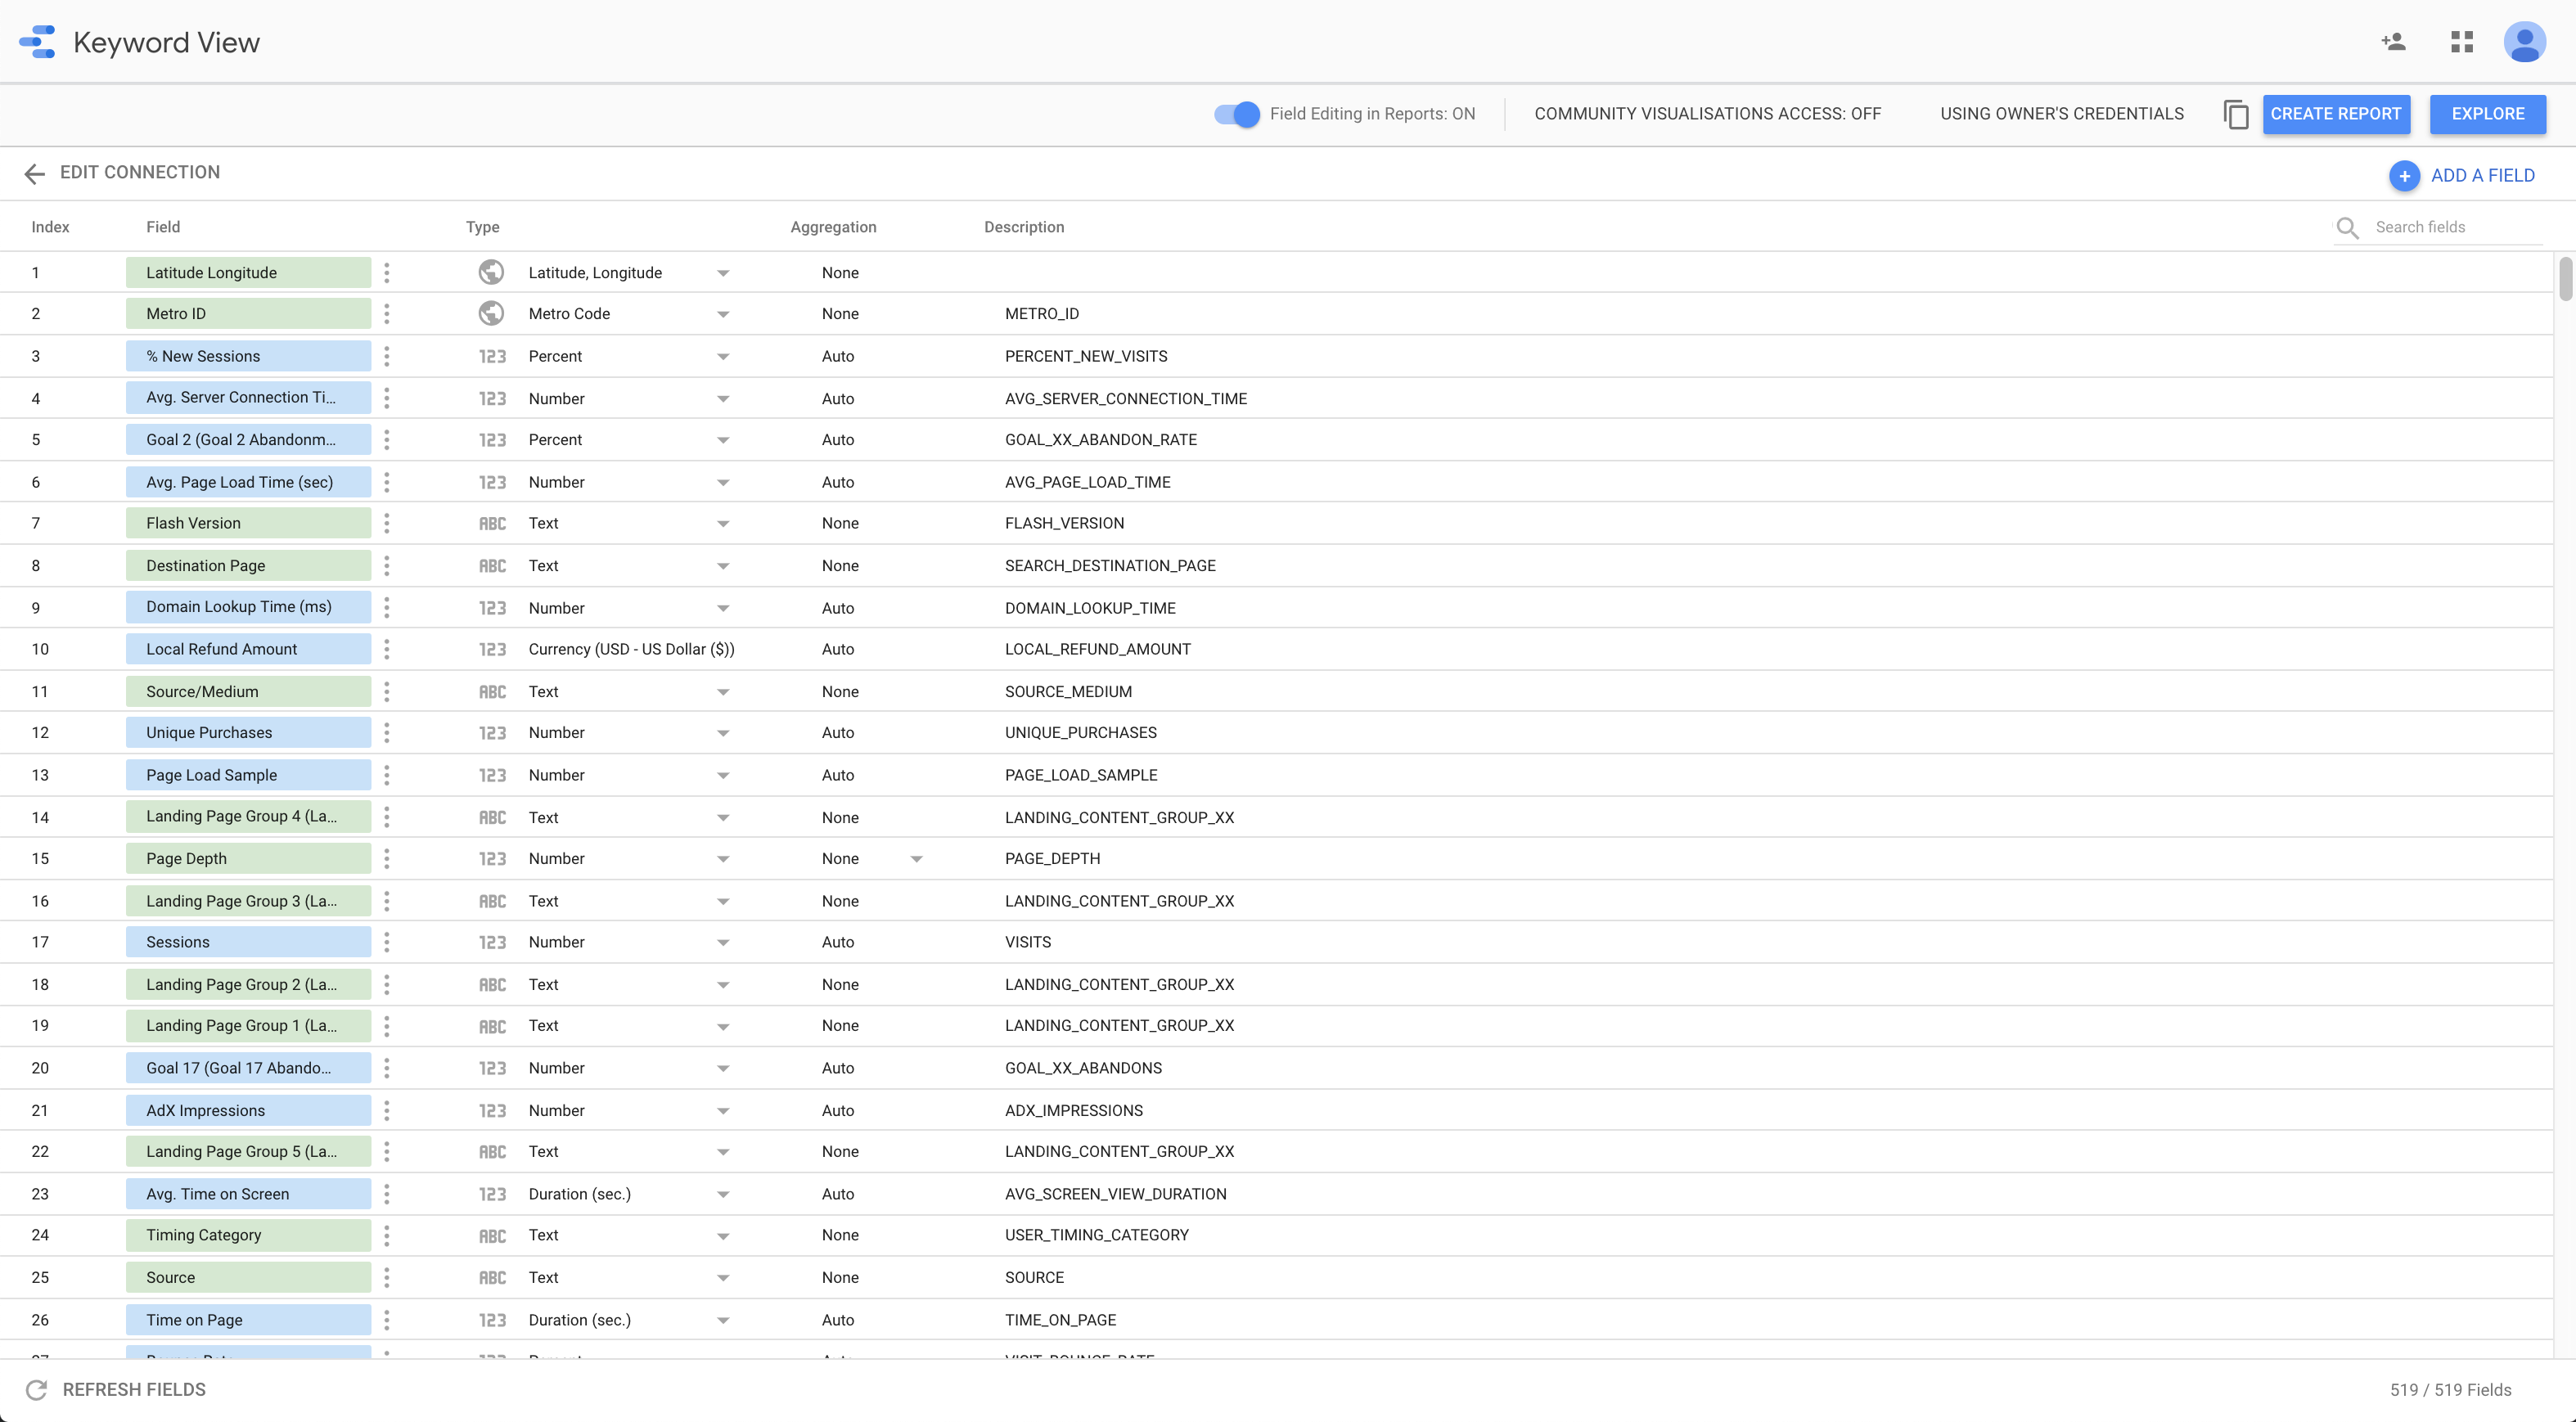
- In the next step, you see all dimensions and metrics, which are transferred from Google Analytics. Please do not change anything here!
Create calculated metric
Next you have to do, is create the „Avg. Position“ as a Calculated Metric.
-
- Please click on the ADD A FIELD button in the top right corner.

- Please click on the ADD A FIELD button in the top right corner.
-
- You now see the formula editor, where you name the field “Avg. Position“.

- You now see the formula editor, where you name the field “Avg. Position“.
-
- Now enter „position / session“ as formula and click on SAVE in the bottom right corner.
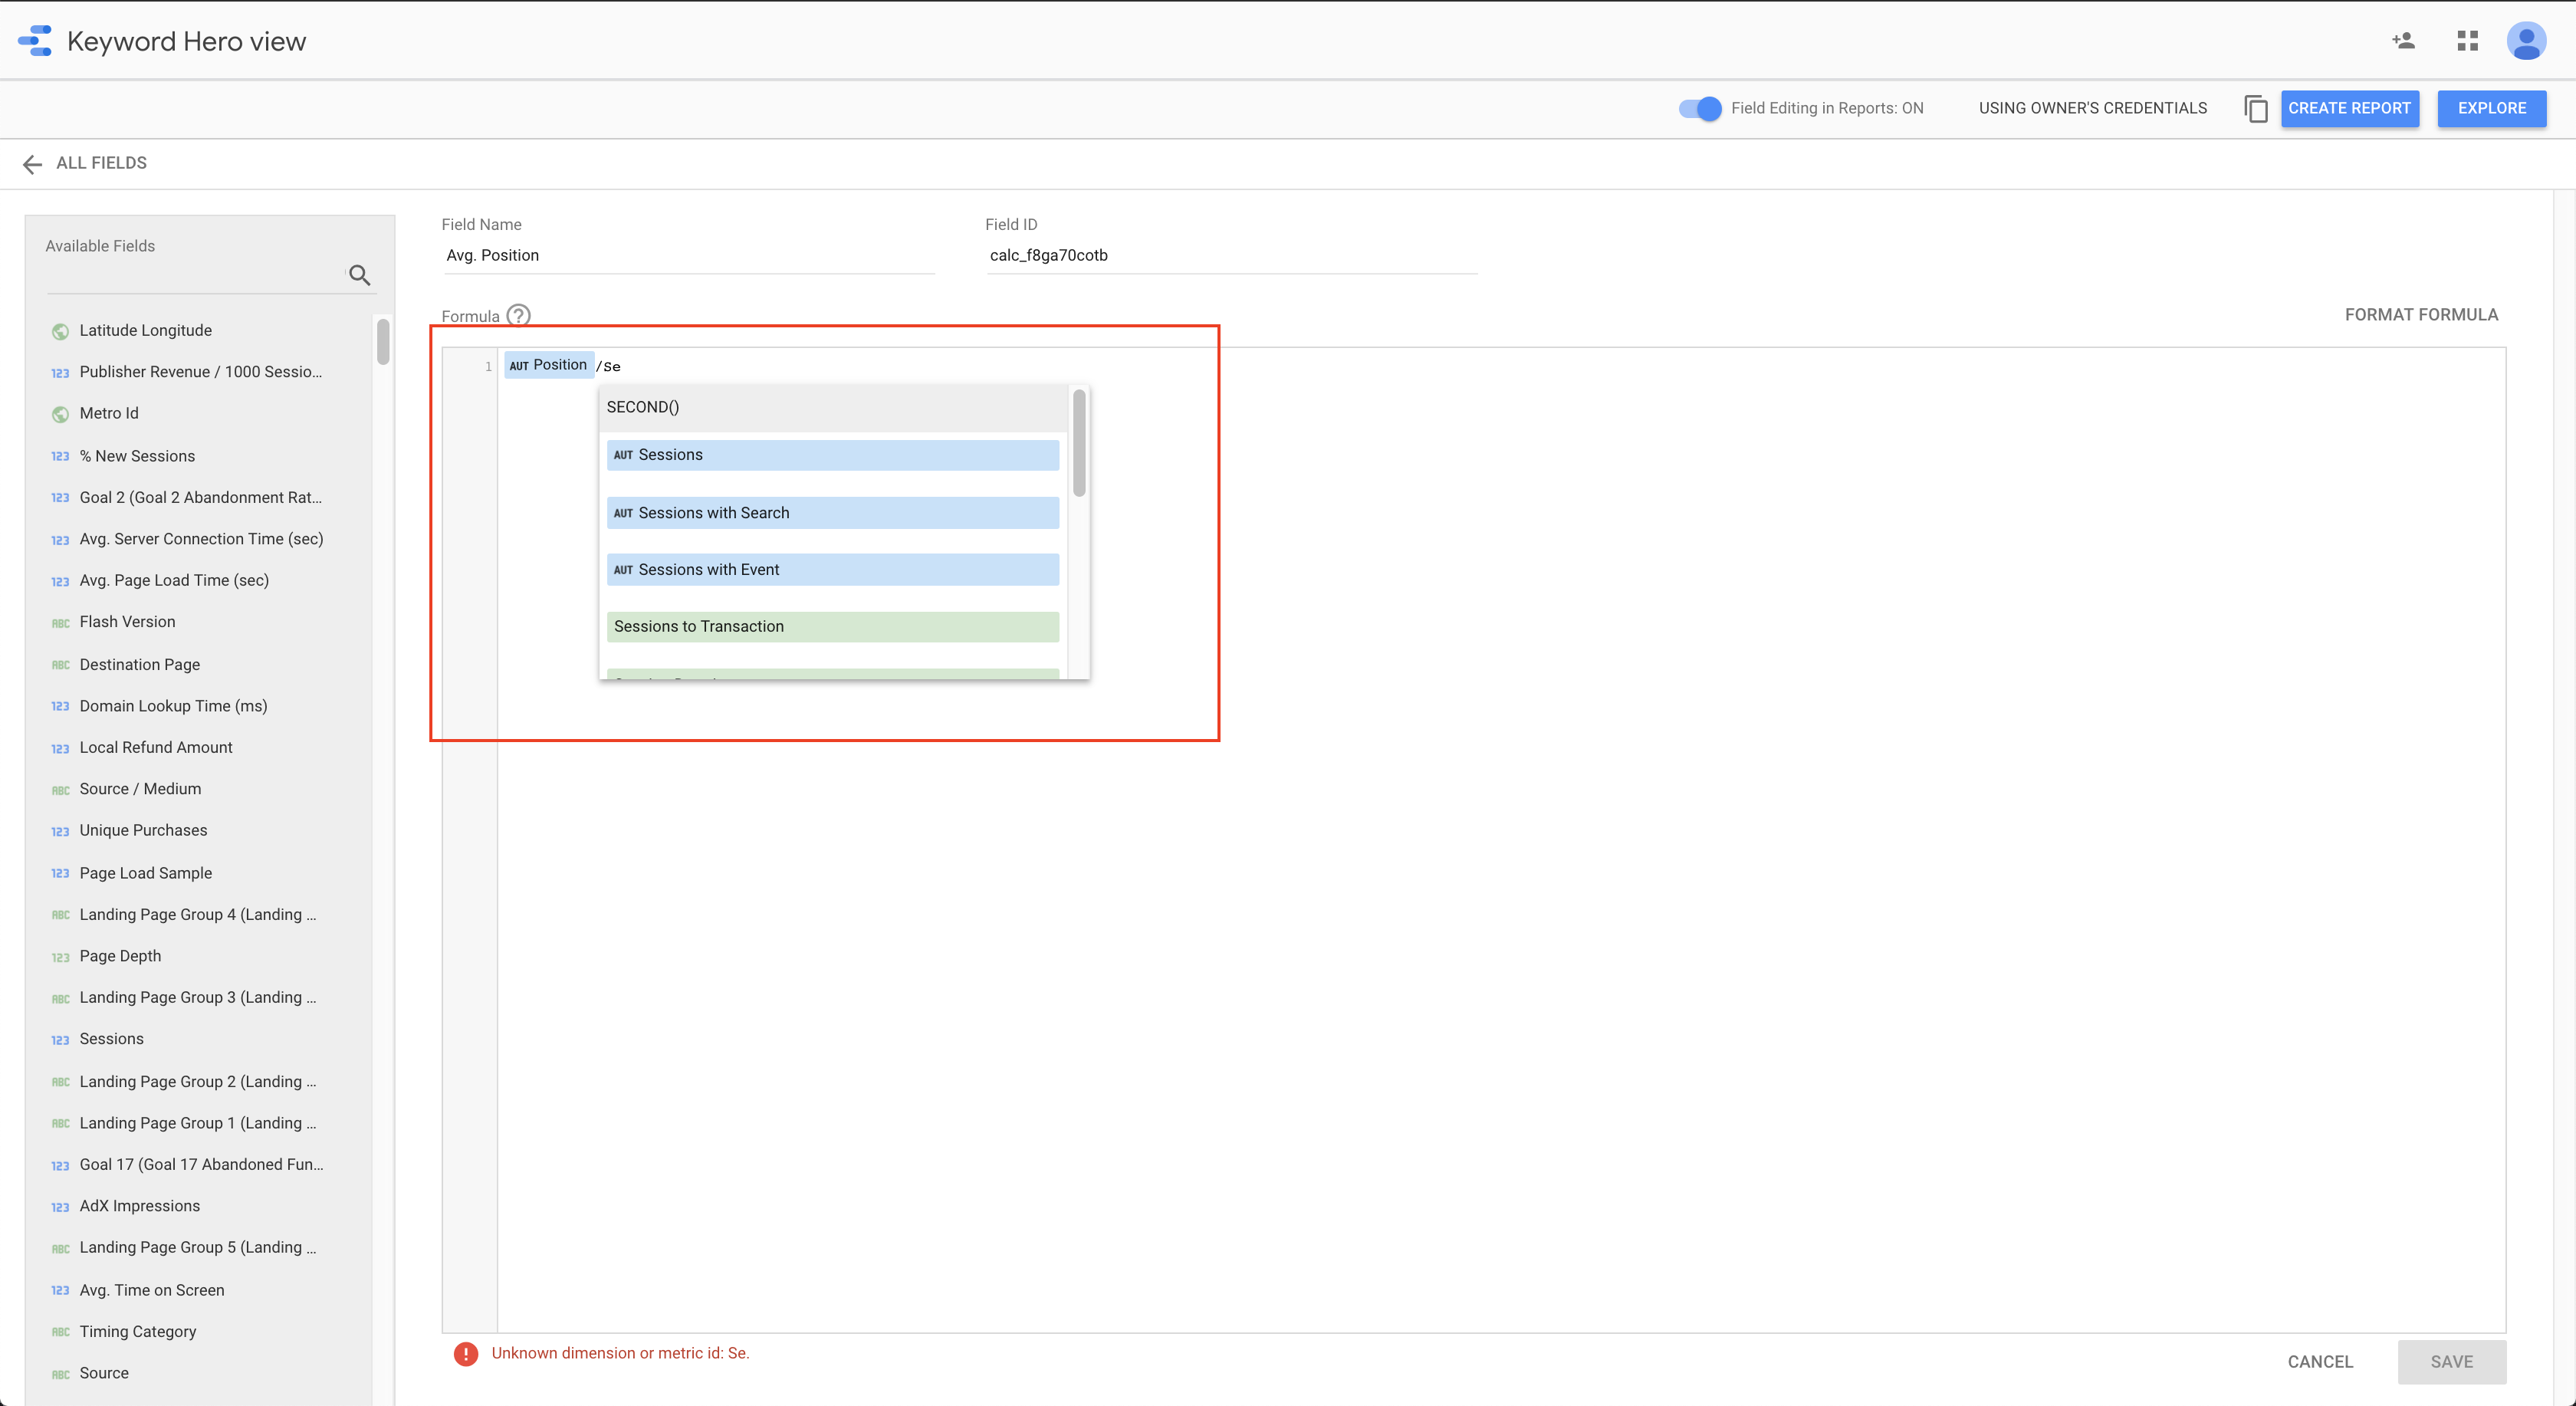
- Now enter „position / session“ as formula and click on SAVE in the bottom right corner.
Now you have created the new data source and can add any of our Google Data Studio reports.
Troubleshooting
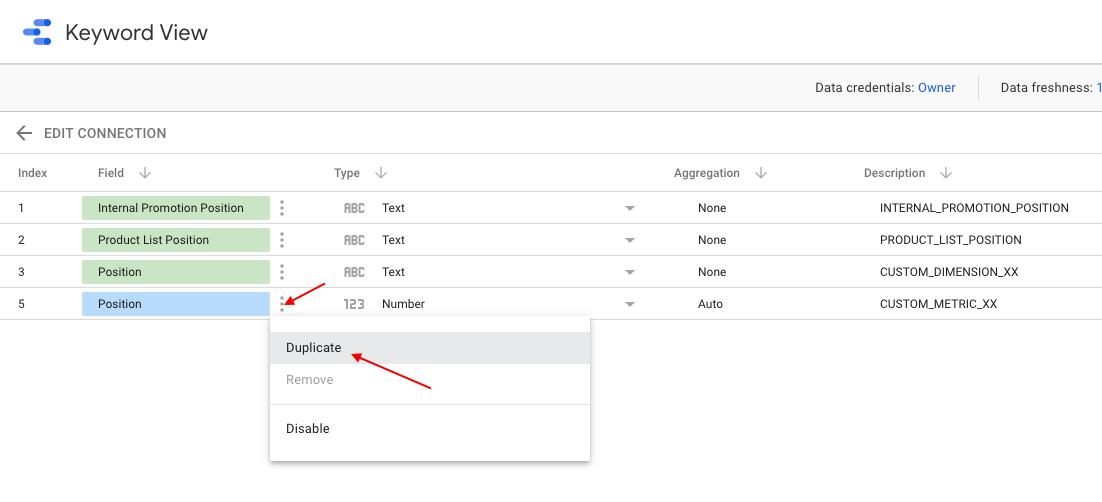
It can happen that the Formula Editor has problems with metrics/dimensions with the same name. In this case, the position metric (blue) can only be added as dimension (green). To fix this, a copy of the position metric must be created and renamed.
Here is a little guide on how to do this.
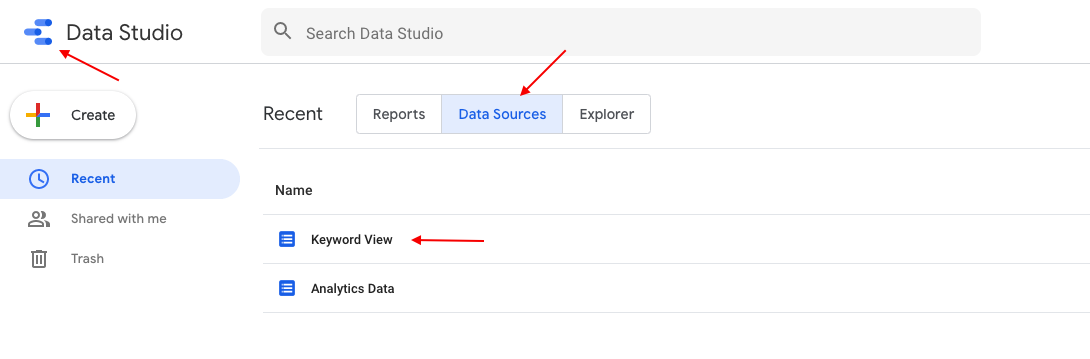
Click on the Google Data Studio logo to get to the report overview, then select the tab “Data Sources” and then the Data Source where you want to create the Avg. Position metric.
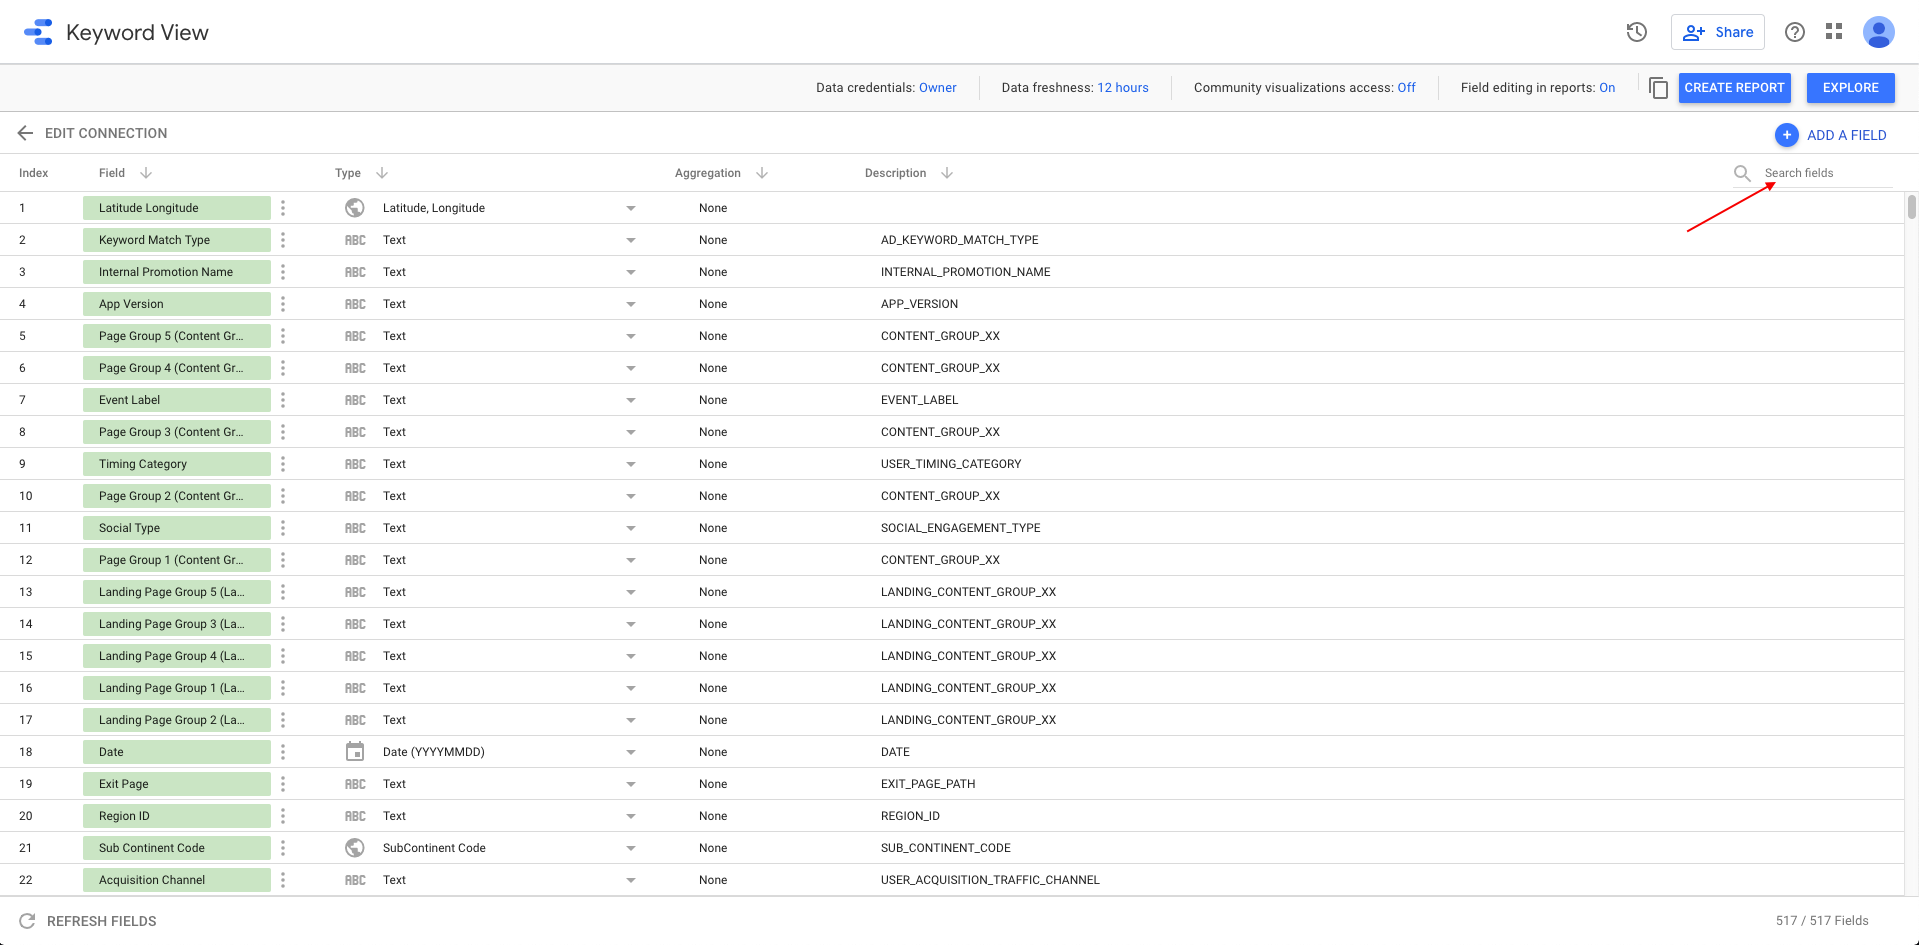
You will now get an overview of the dimensions/metrics imported from
Google Analytics. Search now for the metric “Position”.
Now you should see the Custom Dimension/Metric from Keyword Hero.
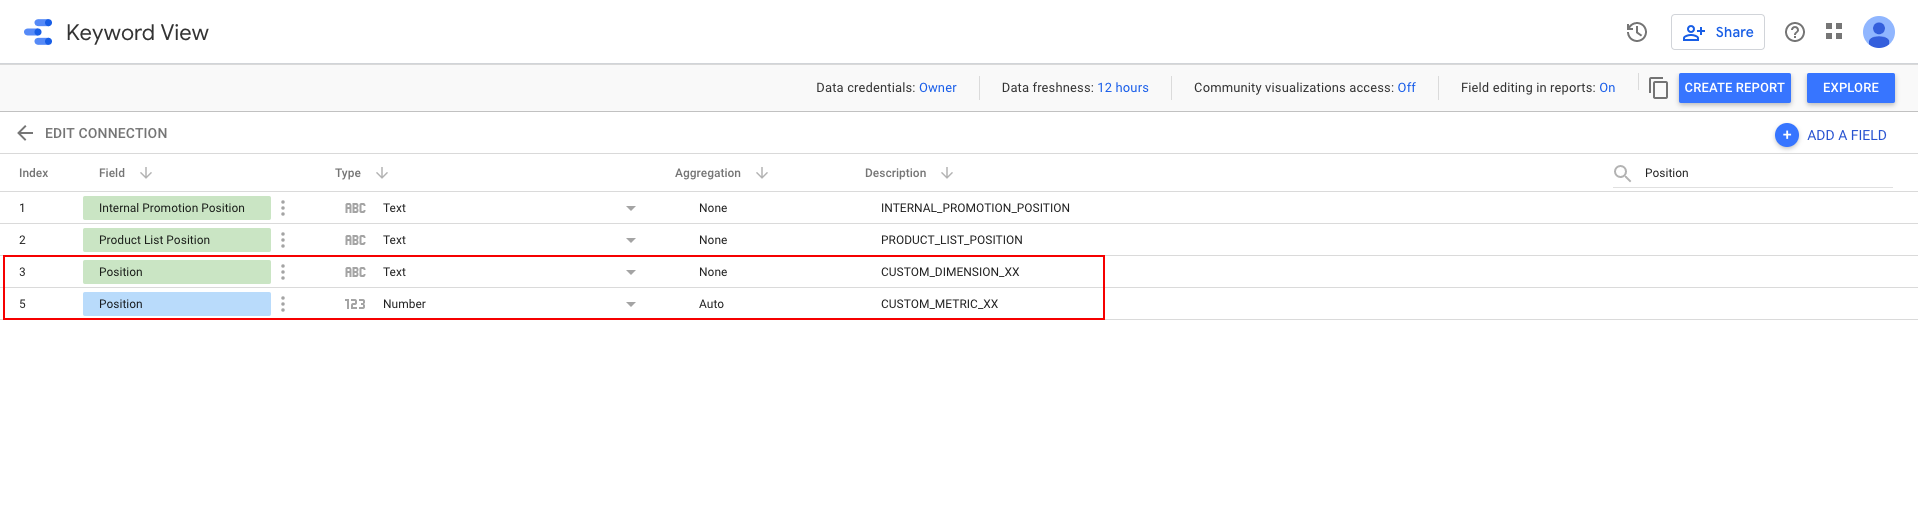
Click on the three dots next to the position metric (blue field) and choose to duplicate the metric.
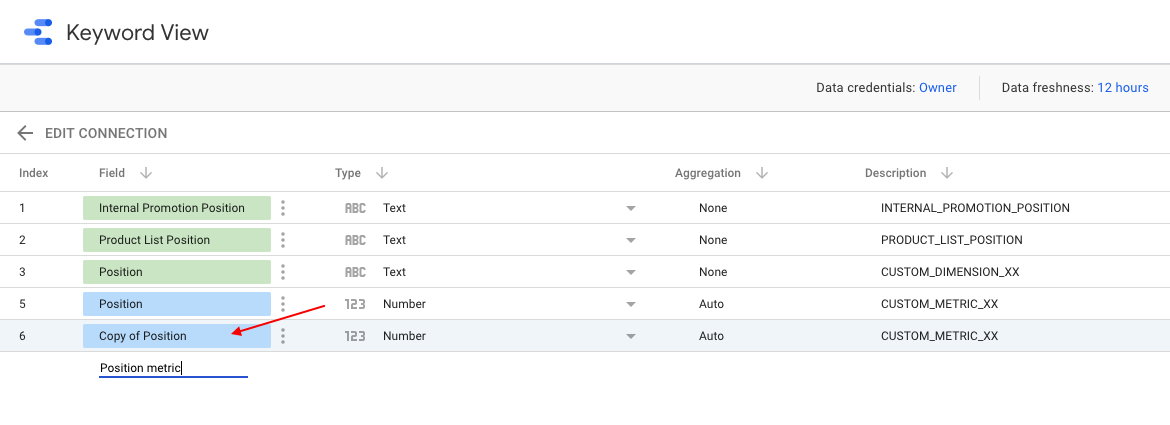
Google Data Studio will return you to the overview page and you will have to search for the position metric again. As soon as it is displayed you can rename the metric by clicking on the blue field.
NOTE: Please make sure that the copied metric has a different name from the original!
After copying and renaming, you can use the new metric in the formula editor and create the “Avg. Position” following our guide above.
