Before you can start digging deeper into your organic traffic and keywords, you need to create an account with Keyword Hero and add the domain that Keyword Hero should analyze.
All you need is an account with Google and access to both Google Analytics and Google Search Console.
The process of setting up Keyword Hero is really simple and consists of the following steps:
- Create an account with Keyword Hero
- Select the GA Property & Data Stream relevant to the domain you want to analyze
- Select one or more key events (previously conversions/goals)
- Connect the relevant Google Search Console properties
- Create an upload property in Google Analytics 4 for Keyword Hero
- Select the right subscription plan
The entire process typically takes less than two minutes to complete.
We’ll take you through this step-by-step.
1. Create an account with Keyword Hero
The first thing you want to do is create an umbrella account with Keyword Hero to manage all of your projects.
This just takes a few seconds.
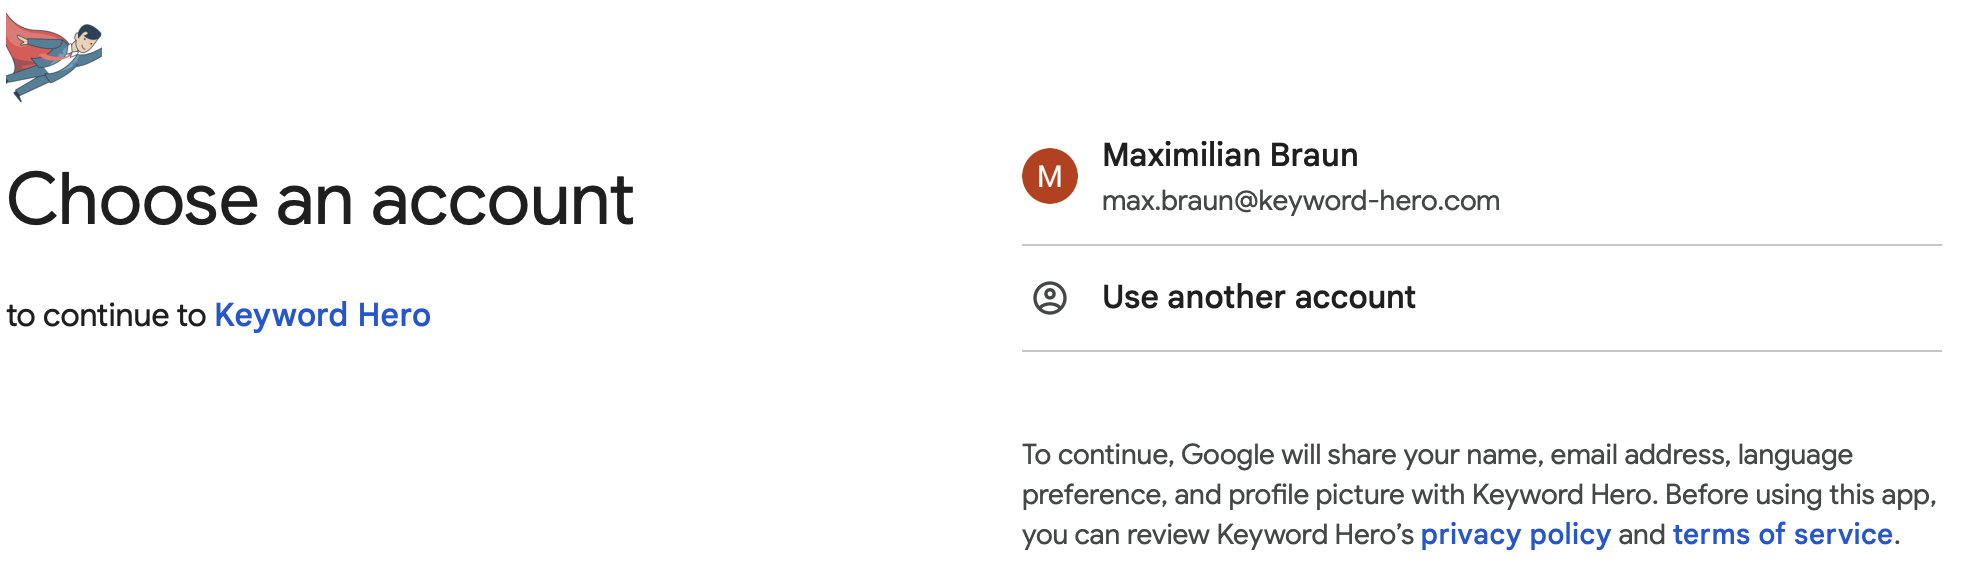
If there are accounts active, you can select any of them. Choose the account that has access to your Google Analytics.
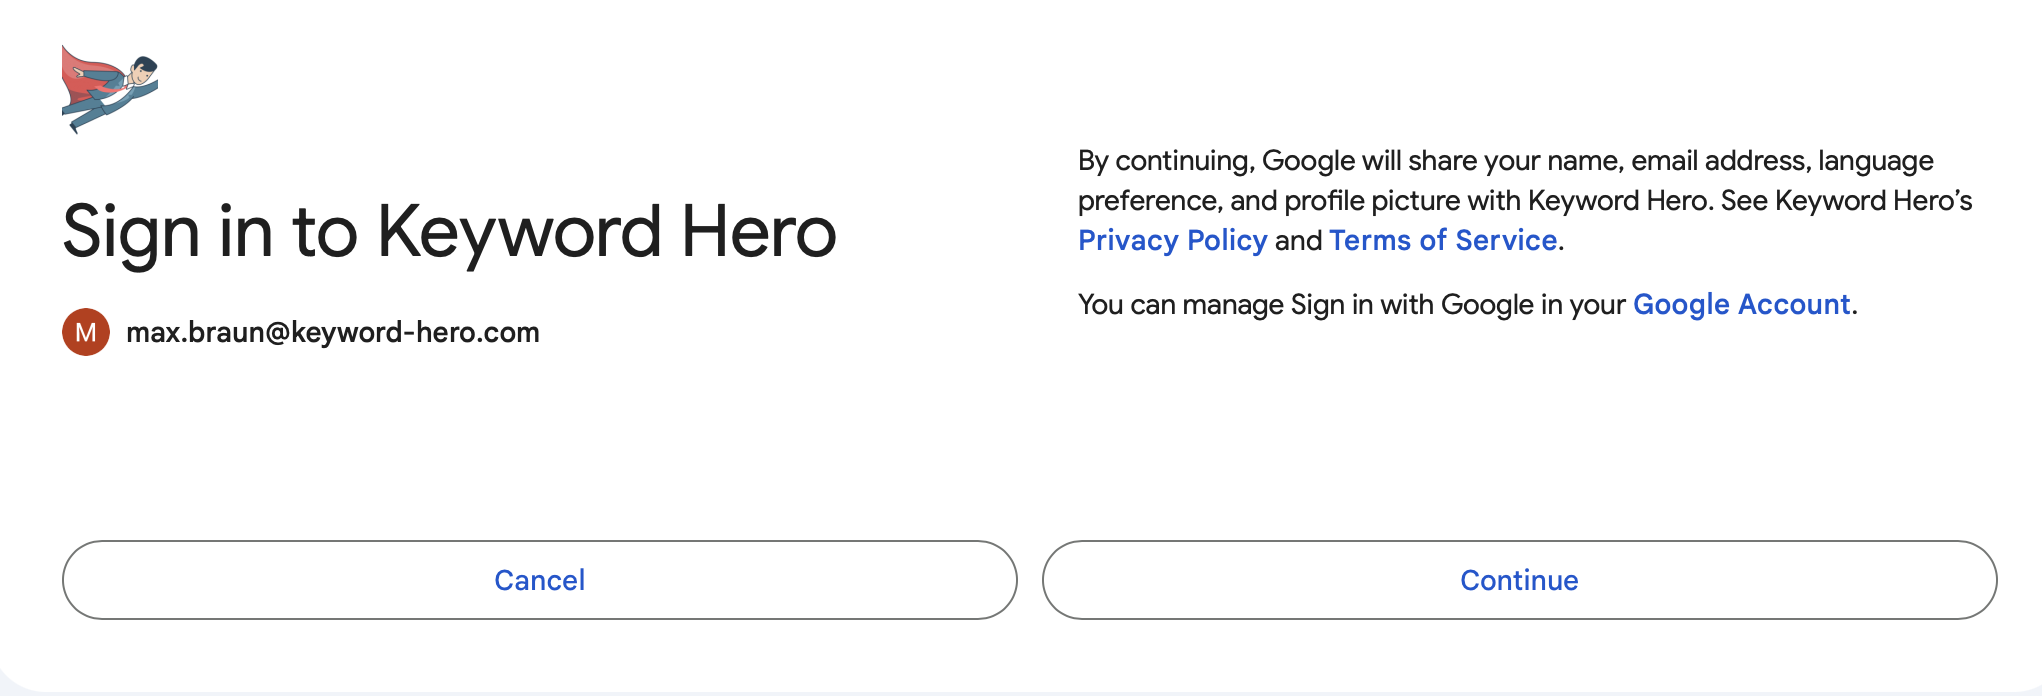
It’s also possible you need to login and you will see this:

And, then sign in:
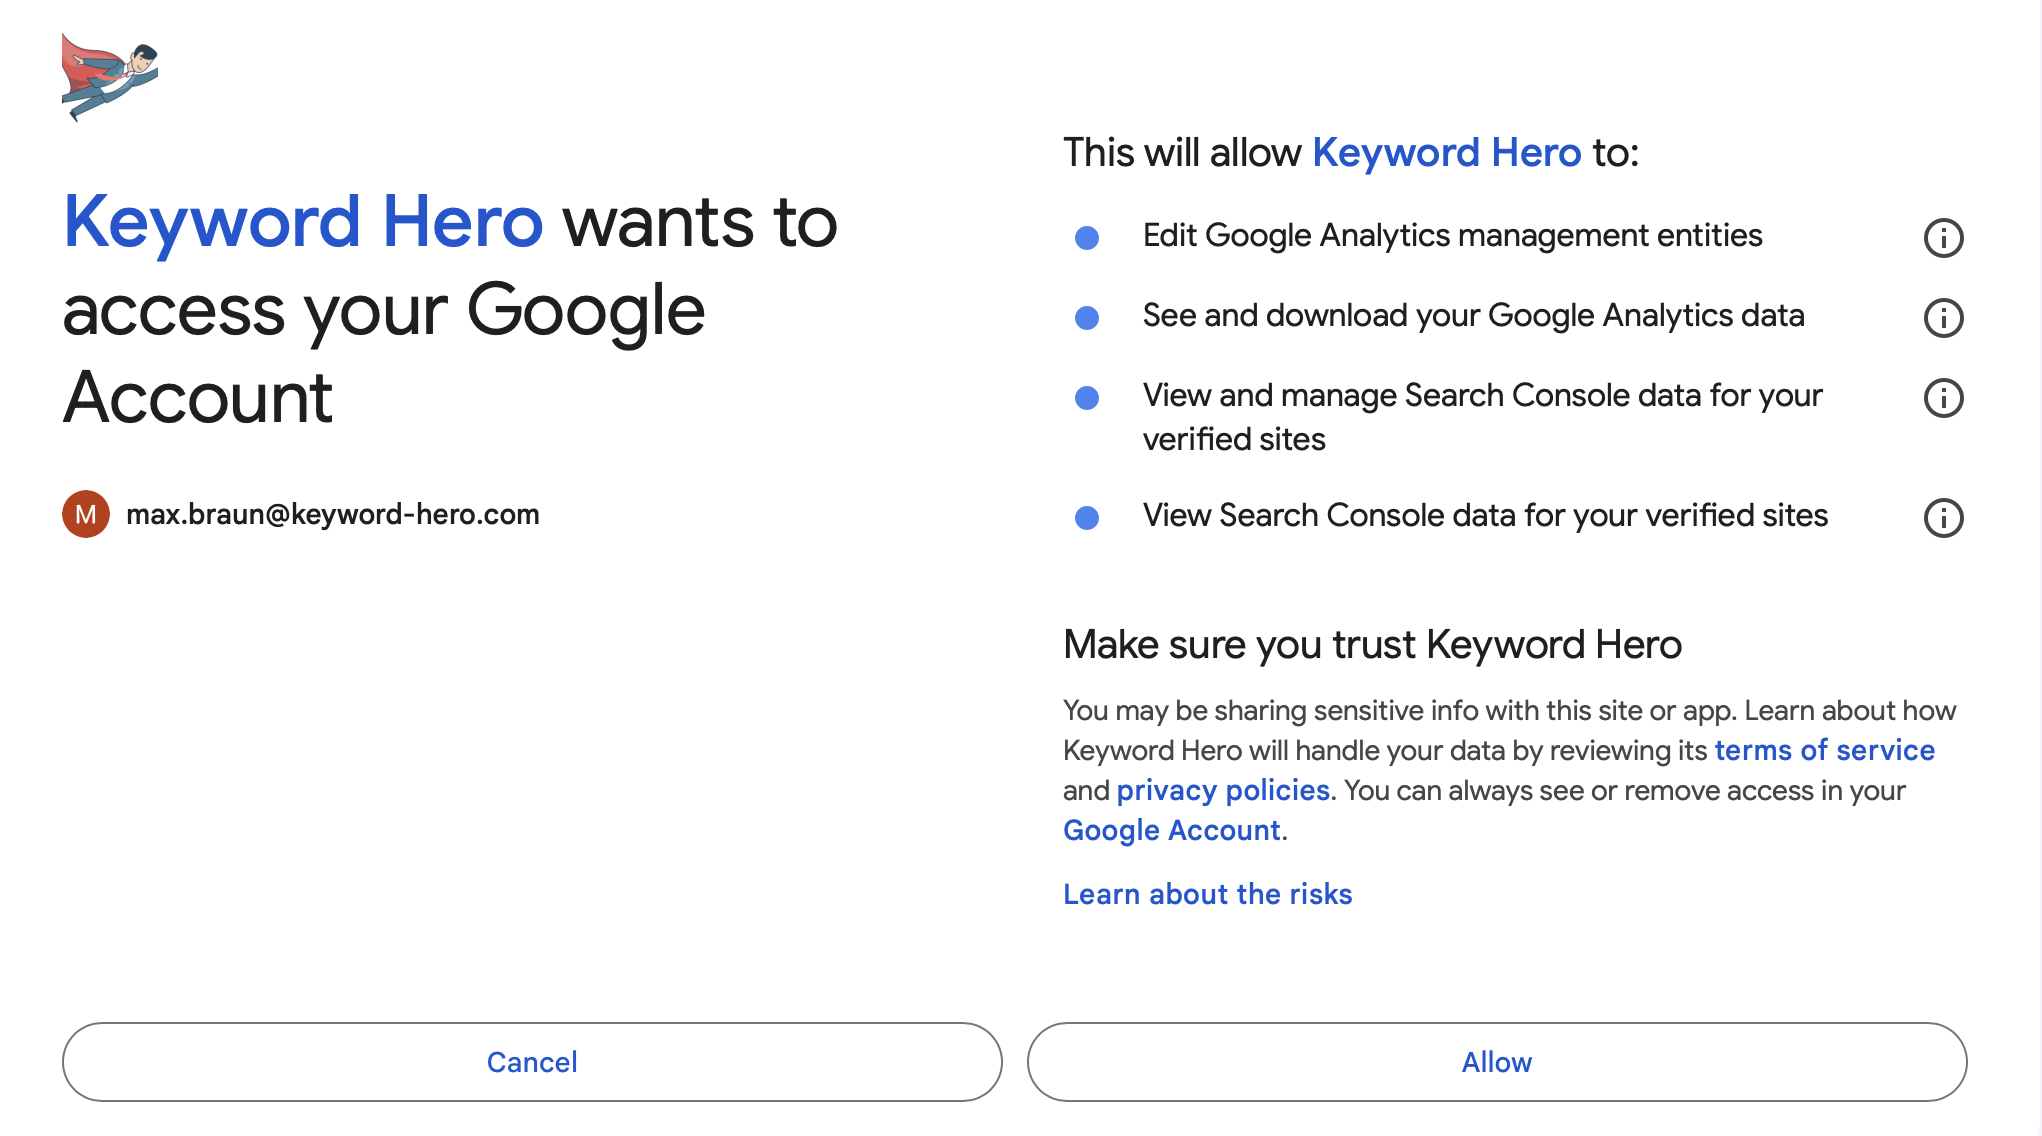
Provide access to Google Analytics and Search Console
Now that you have selected and logged in to the right Google account, Keyword Hero will ask you for access to both Search Console and Google Analytics:
2. Select the GA Property and Data Stream
Now you have created an account for Keyword Hero, good job!
You’re now in the process of setting up your first domain.
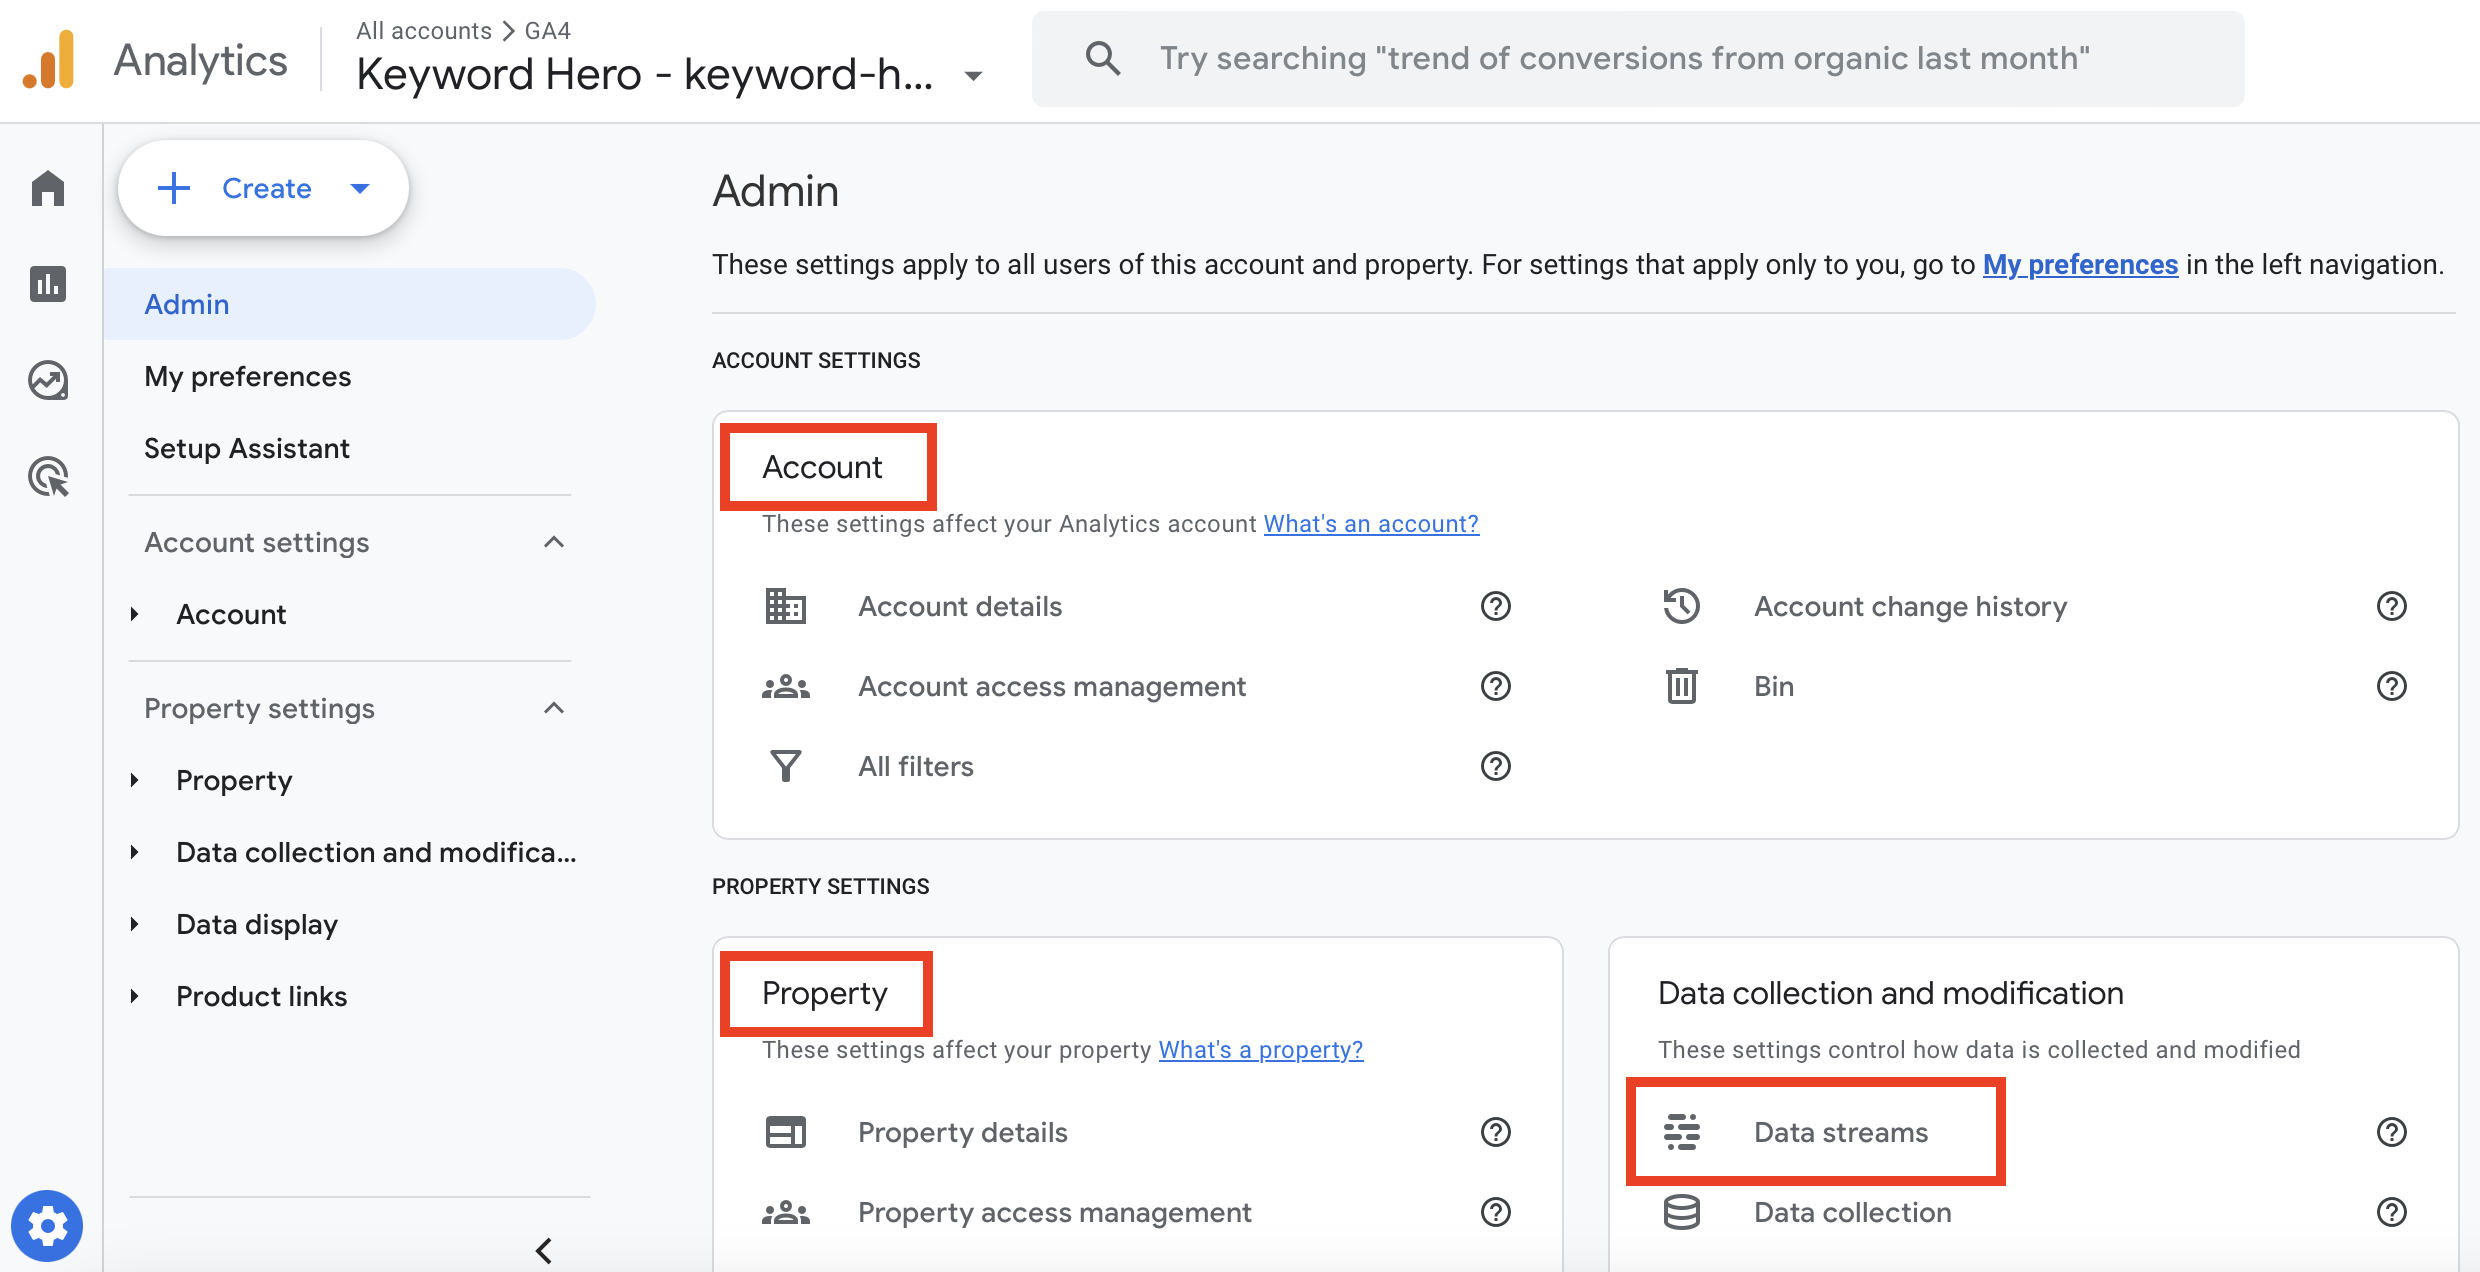
In the first step of the three-step setup process, you select the Google Analytics Property and Data Stream that contain the domain that you want Keyword Hero to analyze.
The user interface of the selection is copied from Google Analytics.
On the left you have the Analytics account, in the middle, you find the Property, and on the right, you finally have the Data Stream.
All you have to do is select the relevant Google Analytics account on the left side, then the GA Property in the middle column, and finally you select the appropriate Data Stream on the right.
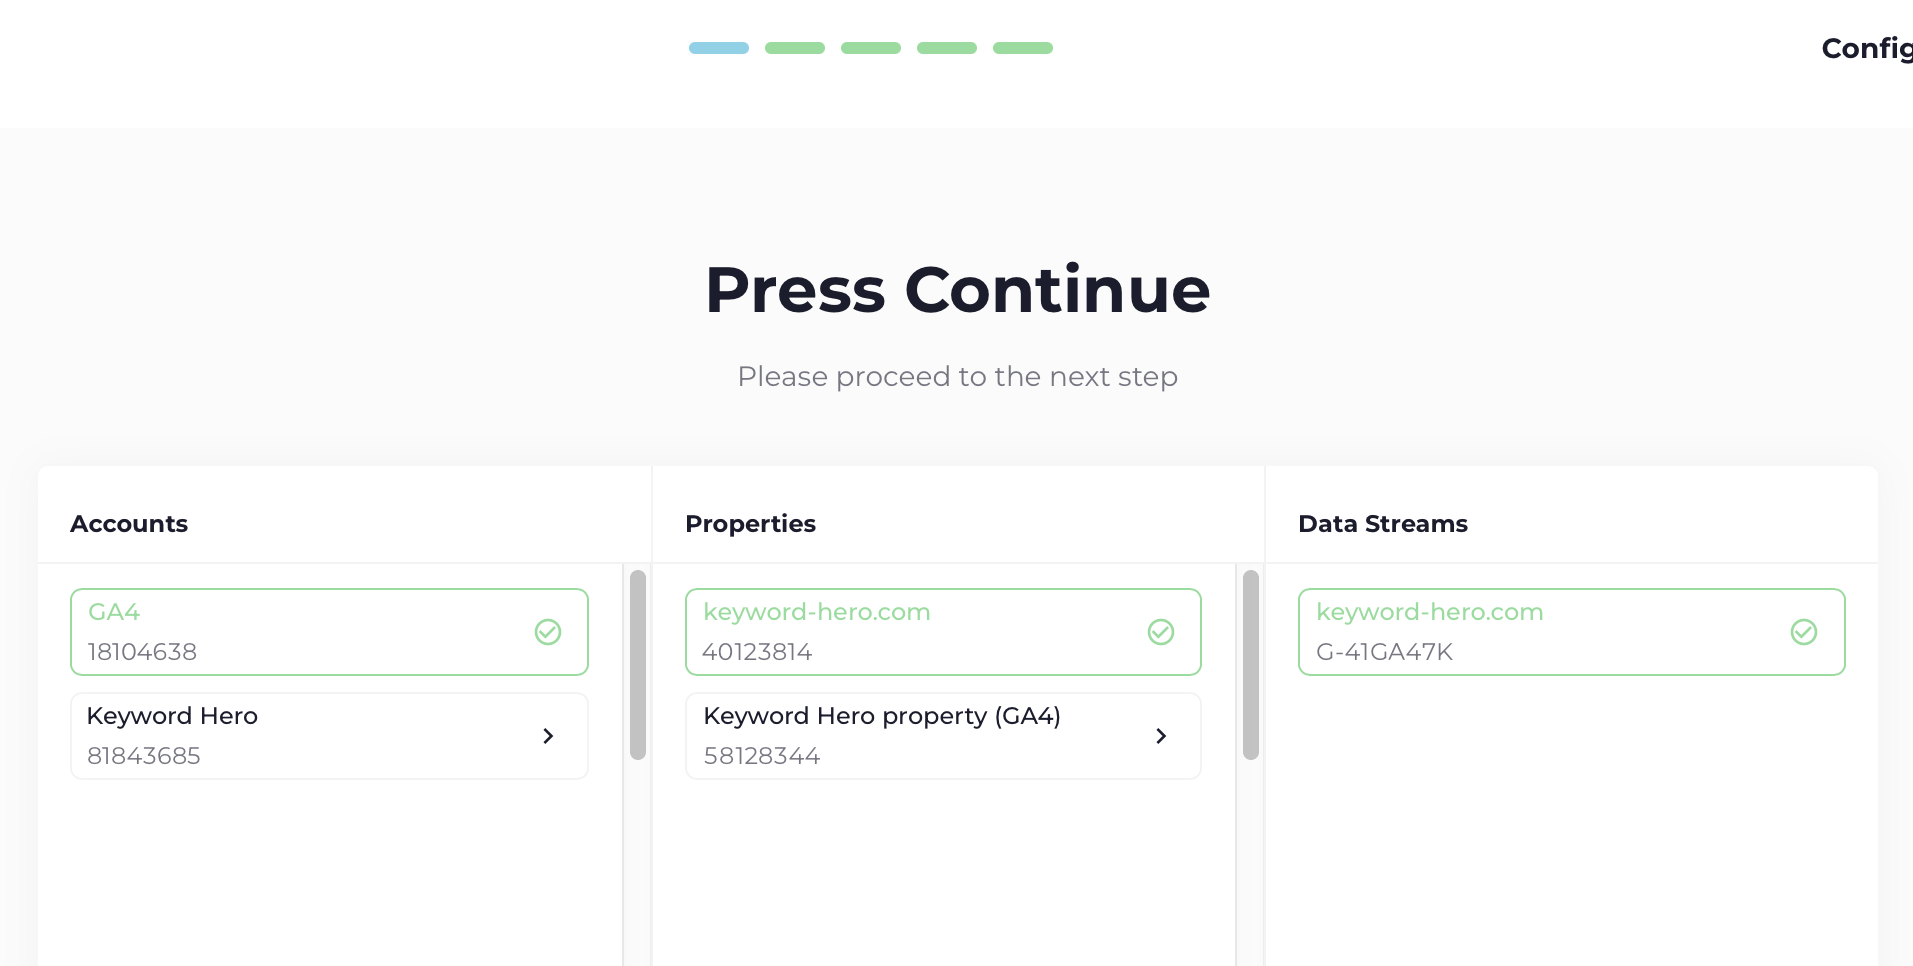
Just clicking once on one Google Account, GA4 Property, and Data Stream is sufficient.
Remember that these columns correspond directly to the Admin setting inside of your Google Analytics account.
3. Select type of setup
From here on, you can first setup default keyword tracking, or you can choose to setup AI tracking. You can always add the other when you have setup one of these.
![]()
Our default keyword tracking is our familiar tracking system which allows you to connect keywords to session information. The AI tracking setup will enable you to track traffic directly from Google’s AI overview and it’s completely free to use. We will first go through the steps for the regular setup, if you wish to skip this, head over to step 8 for the AI Tracking Setup.
4. Select a key event (previously conversion event)
Now that you selected the right Property and Data Stream, you can move on and select one or multiple key events by which you want to analyze your organic keywords. This is one of the most valuable features of Keyword Hero.
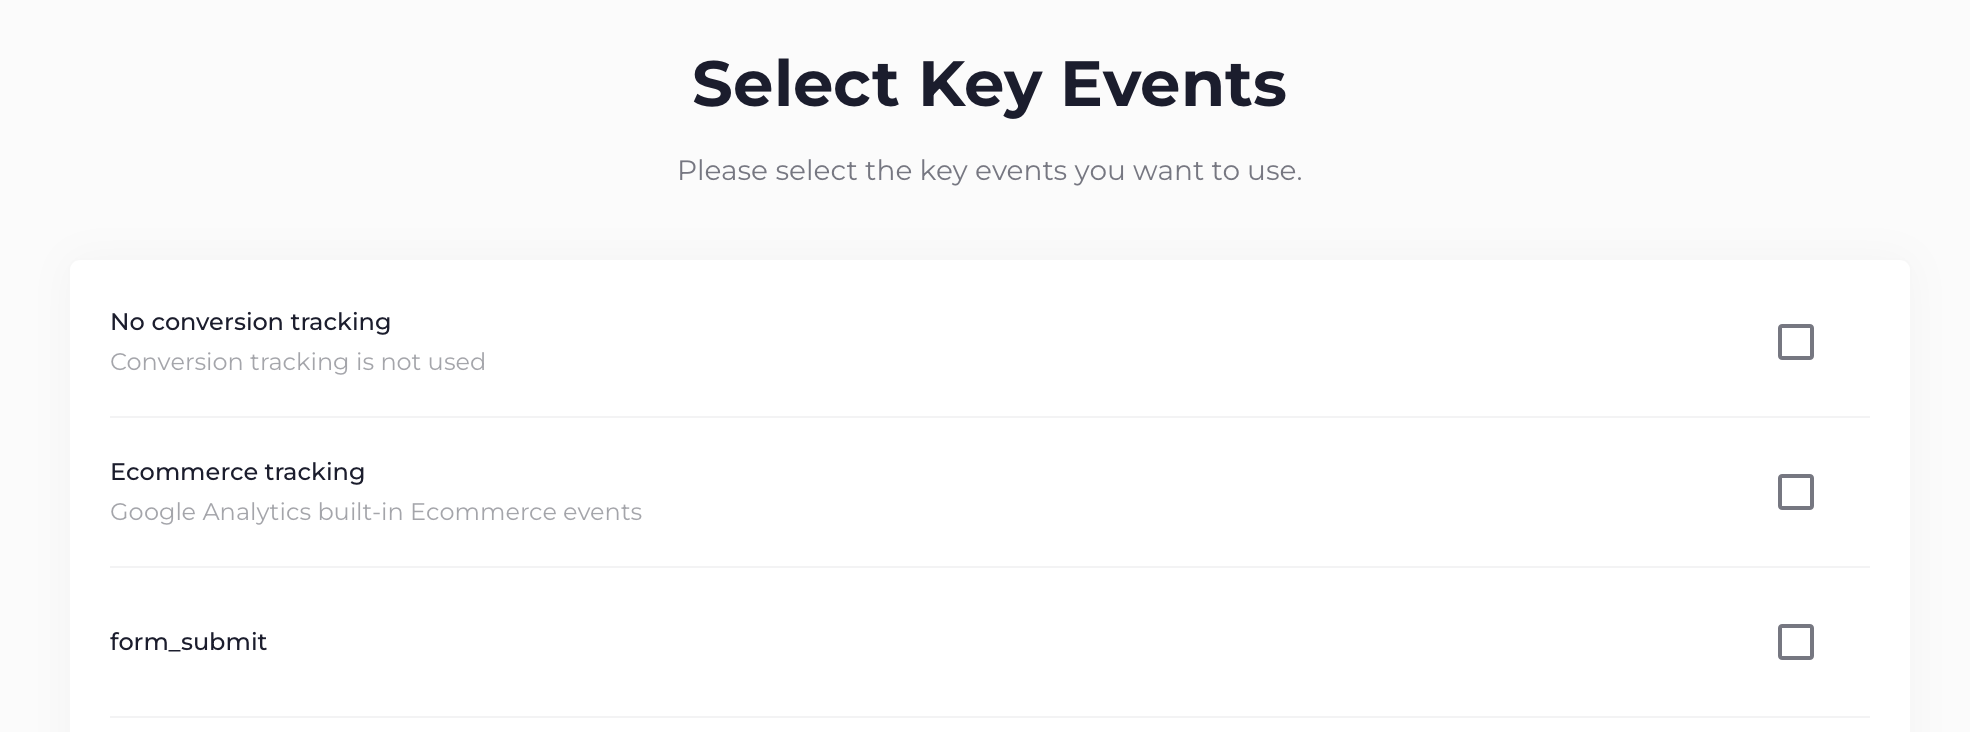
Please note:
- If your domain uses Ecommerce Tracking, it is almost always best to choose this option.
- In this case, you’ll receive data about all ecommerce transactions and revenue
- Alternatively, please select one or more individual key events amongst the choices.
- If you are not sure whether you have any tracking activated, you can just select No tracking.
5. Select the Search Console properties
Now that you selected the View that contains all the Analytics data, you need to click the Select button for all the corresponding Google Search Console (GSC) properties.
You will automatically see the most likely GSC properties on top.
Once you’ve selected, it will look like:
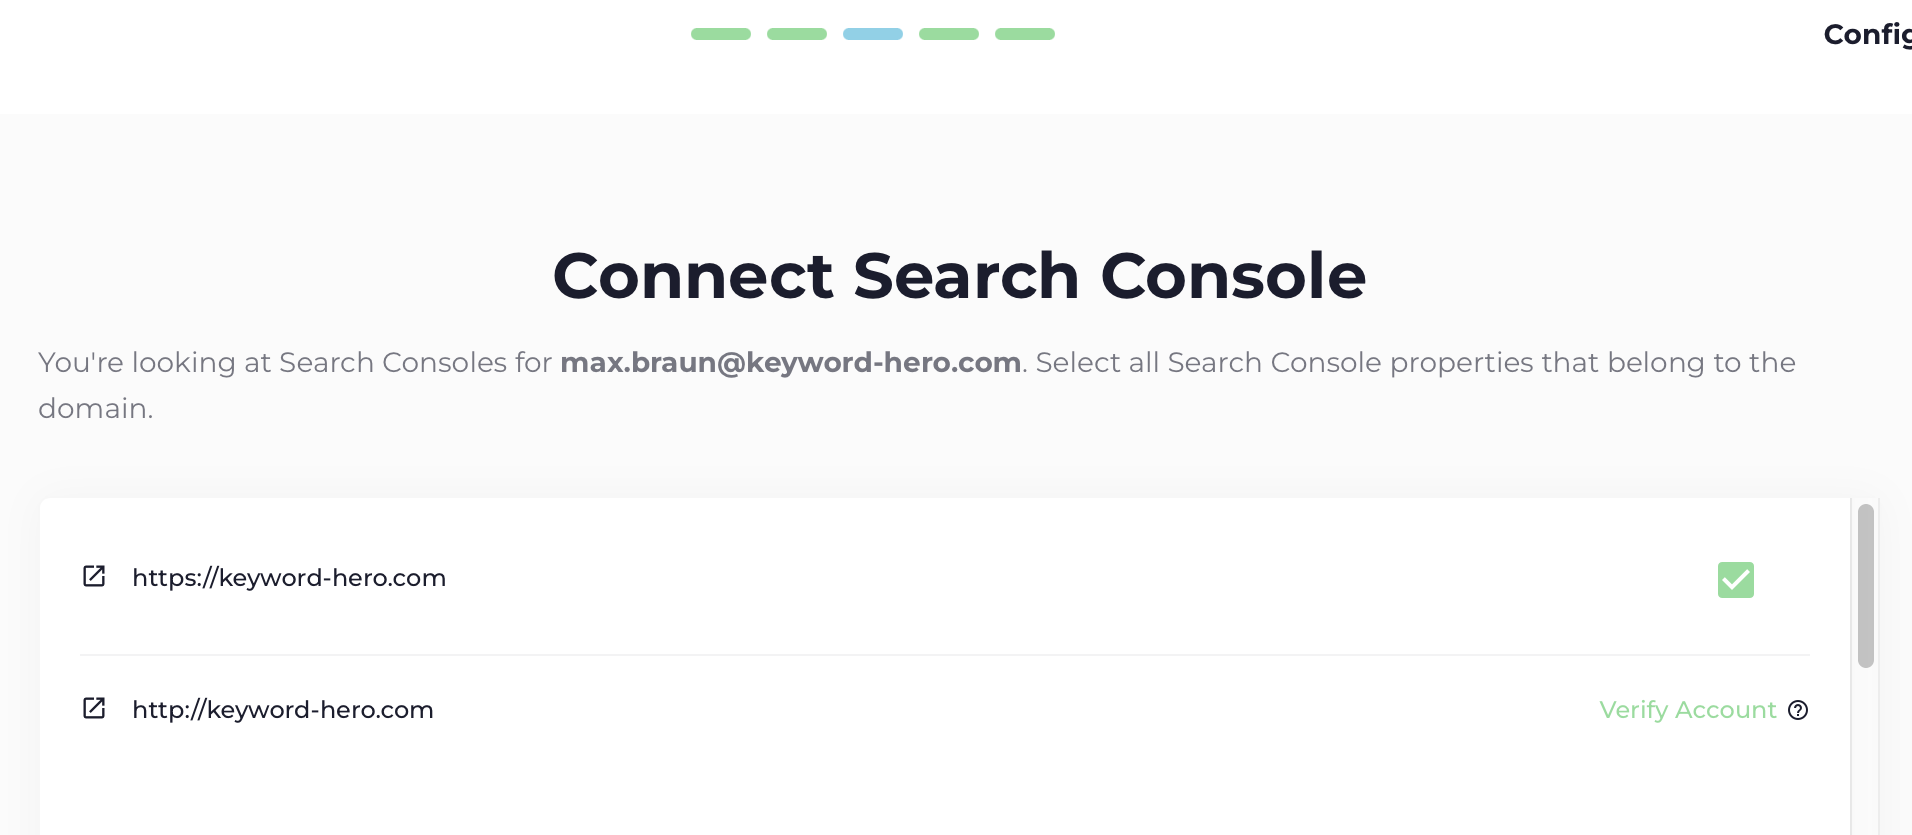
Please remember that it is vital that you choose all the relevant GSC properties that relate to your Property and Data Stream:
- If your domain runs on www., you also need the GSC property for www.
- The same holds true for http:// and https://.
- You can read more how you create both https and http properties here
- The same holds true for subdomains: if your Data Stream contains contains subdomains such as blog. or m. in addition to your domain, you need to select all of them.
Creating a new GSC property
If you don’t have a GSC property yet, you can create one by clicking on the create button.
The button will then turn to “verify” and you’ll have to verify your ownership of the domain to Google.
There are several ways for you to do it and you can select the one you feel most comfortable with.
You have selected the GSC properties and can move on to the final step of the Keyword Hero setup process.
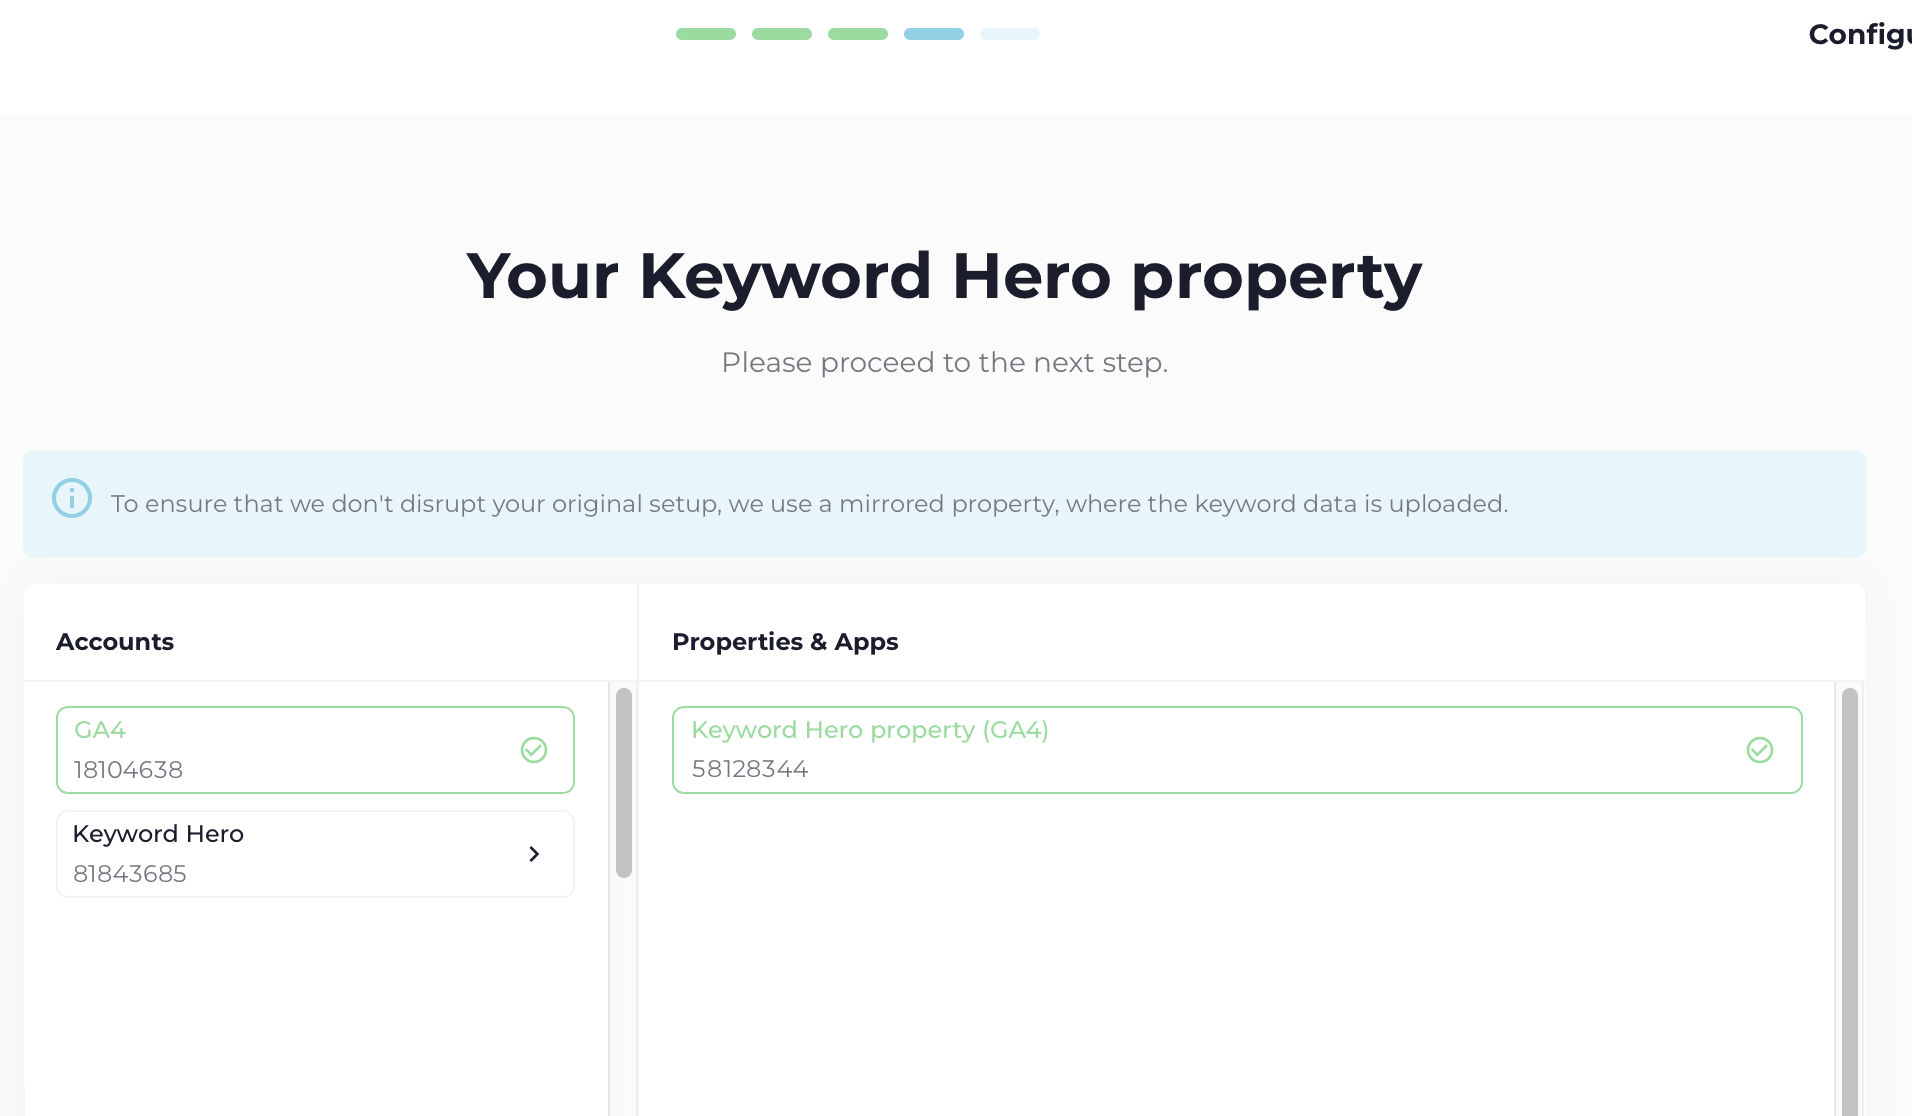
6. Create an Upload Property
In the final step of the setup process, you create a new Google Analytics Property to host all of your organic keyword data.
This Property will contain a copy of your original GA Property and Data Stream as well as most of the organic keywords and performance data.
Keyword Hero doesn’t touch your original GA account as we want to rule out any possibility of messing with your main data.
To create the new property, you need to have edit permissions on the account level.
Sometimes, you will see all accounts on the left greyed out and you can’t select one.
If this is the case, you have three options:
- Try and get edit permissions.
- Create a new GA account inside your Google account.
Just like in the first step, we mimic GA’s user interface when you select the GA account selection on the very left:
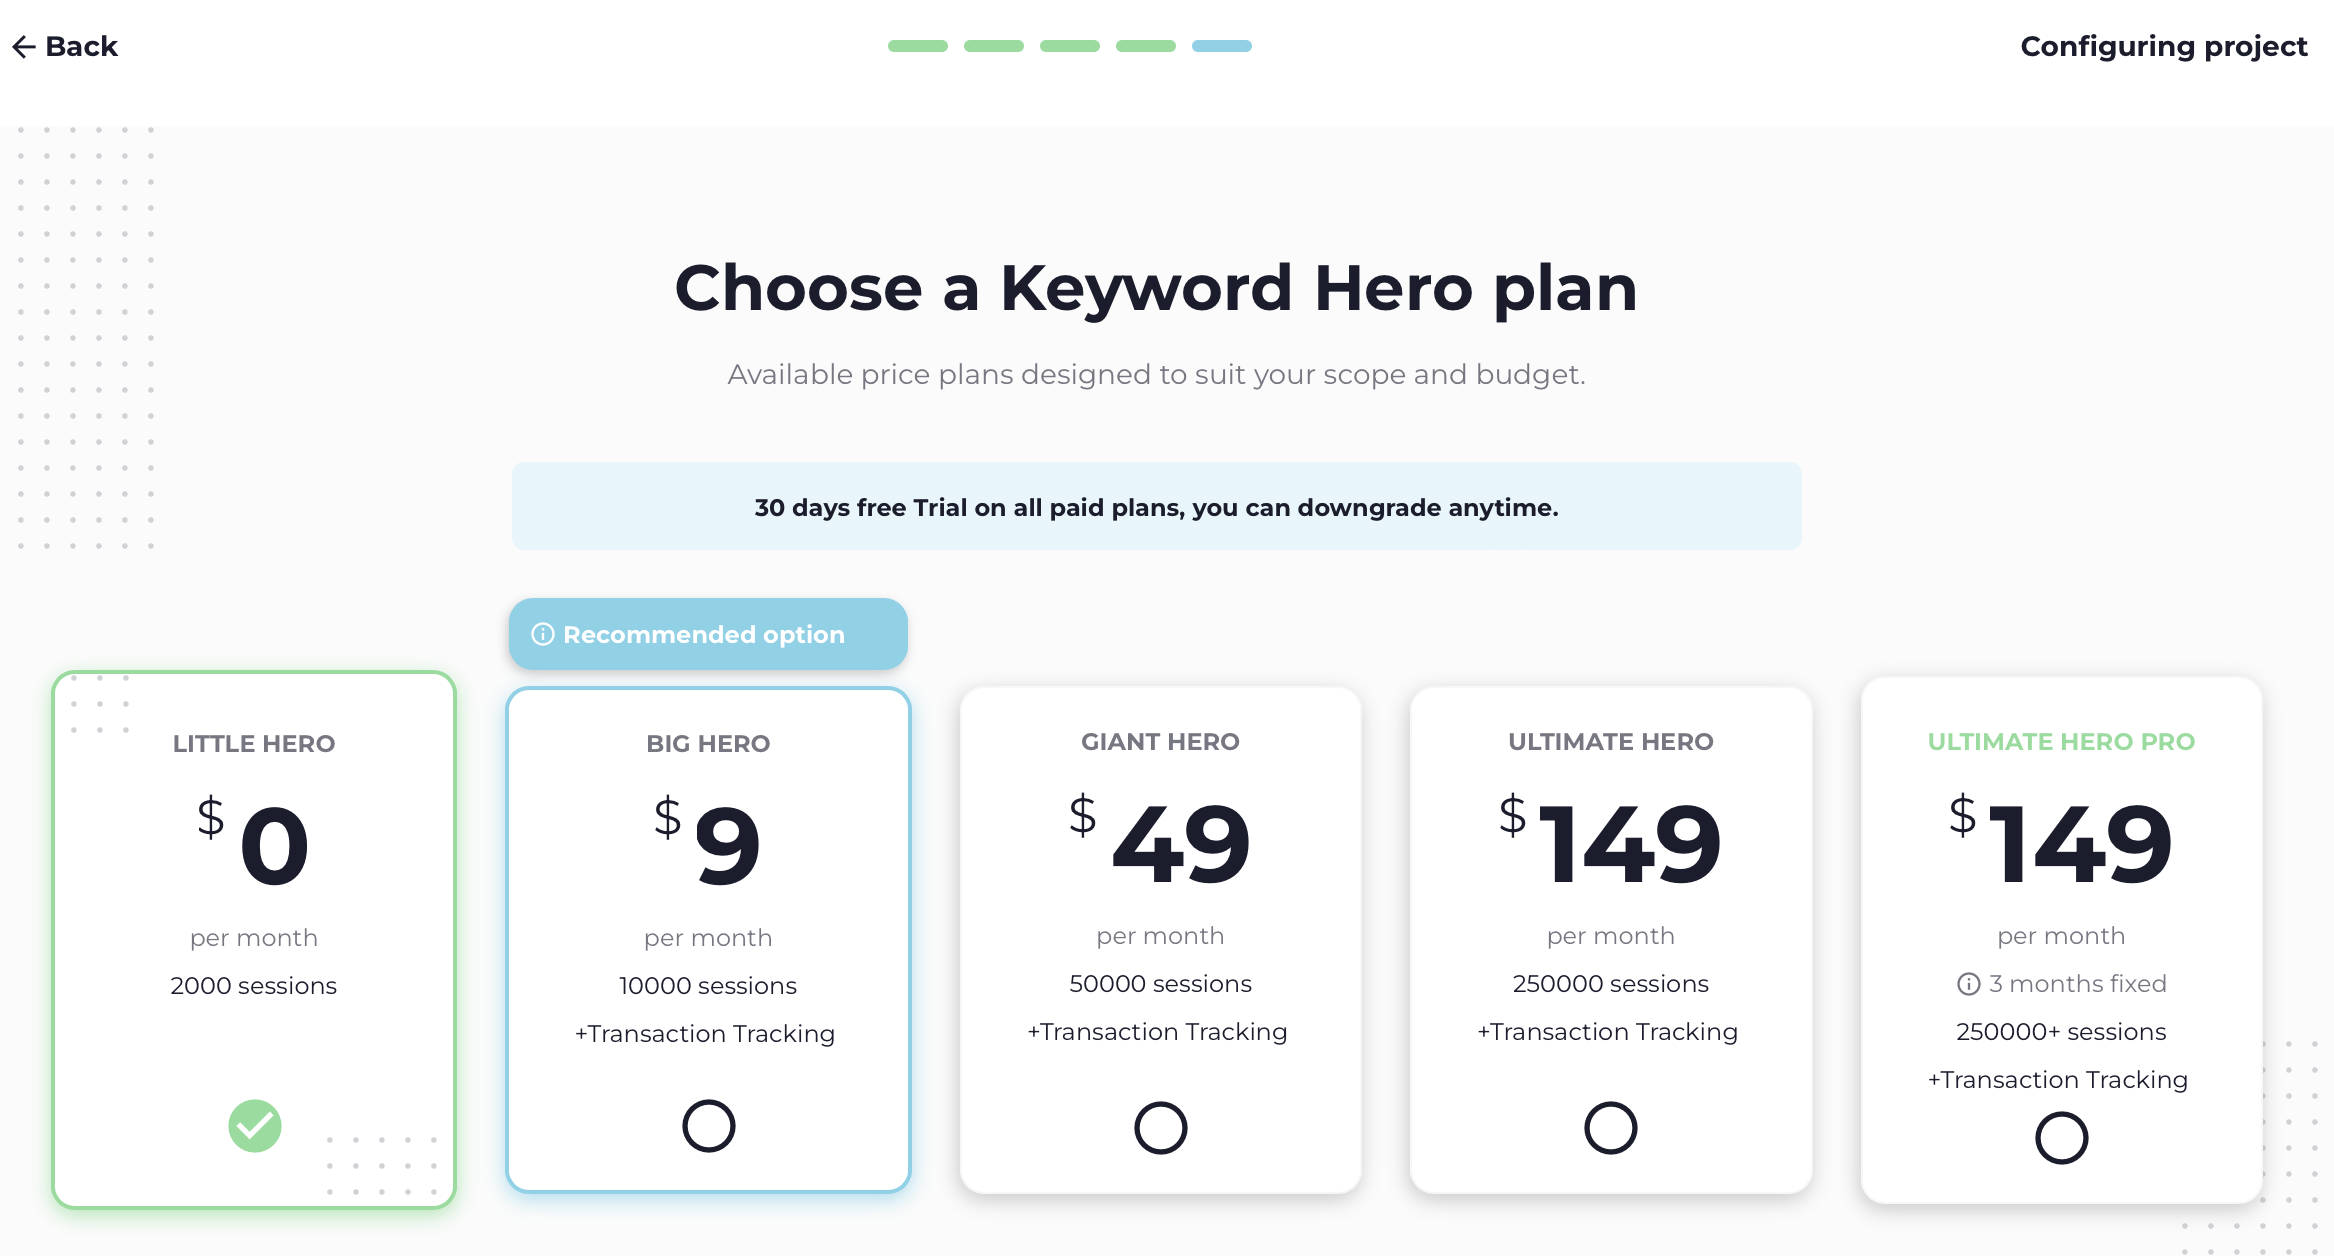
7. Select the right subscription plan
Now that you have created the Keyword Hero account, it’s time to select the right subscription plan for your account.
The pricing is based initially on the number of your organic sessions, for which we reveal the search keywords.
The Big Hero plan, for example, will analyze up to 10,000 sessions per month.
You can always opt for the free plan, no matter how large your size is.
The free plan is very powerful and will you organic keyword performance data for up to 2,000 sessions per month.
However, this free plan doesn’t include key event tracking, so you won’t know what your most valuable keywords are.
Understanding your “money keywords” is the feature with the highest ROI in Keyword Hero.
And with larger sites, you will miss out on valuable information for the majority of your organic sessions.
We will tell you what the most suitable plan for the size of your domain is (with respect to number of sessions and number of key events).
It is tagged as “Recommended Option”
Here you learn how to check yourself what plan you need for any domain, as the number of key events you want to track may also define what suits best.
If you decide to go for a paid plan, our payment provider Stripe will ask you for a credit card and some details.
If you don’t want to pay with credit card, there are other options as well.
Reach out to us at support@keyword-hero.com.
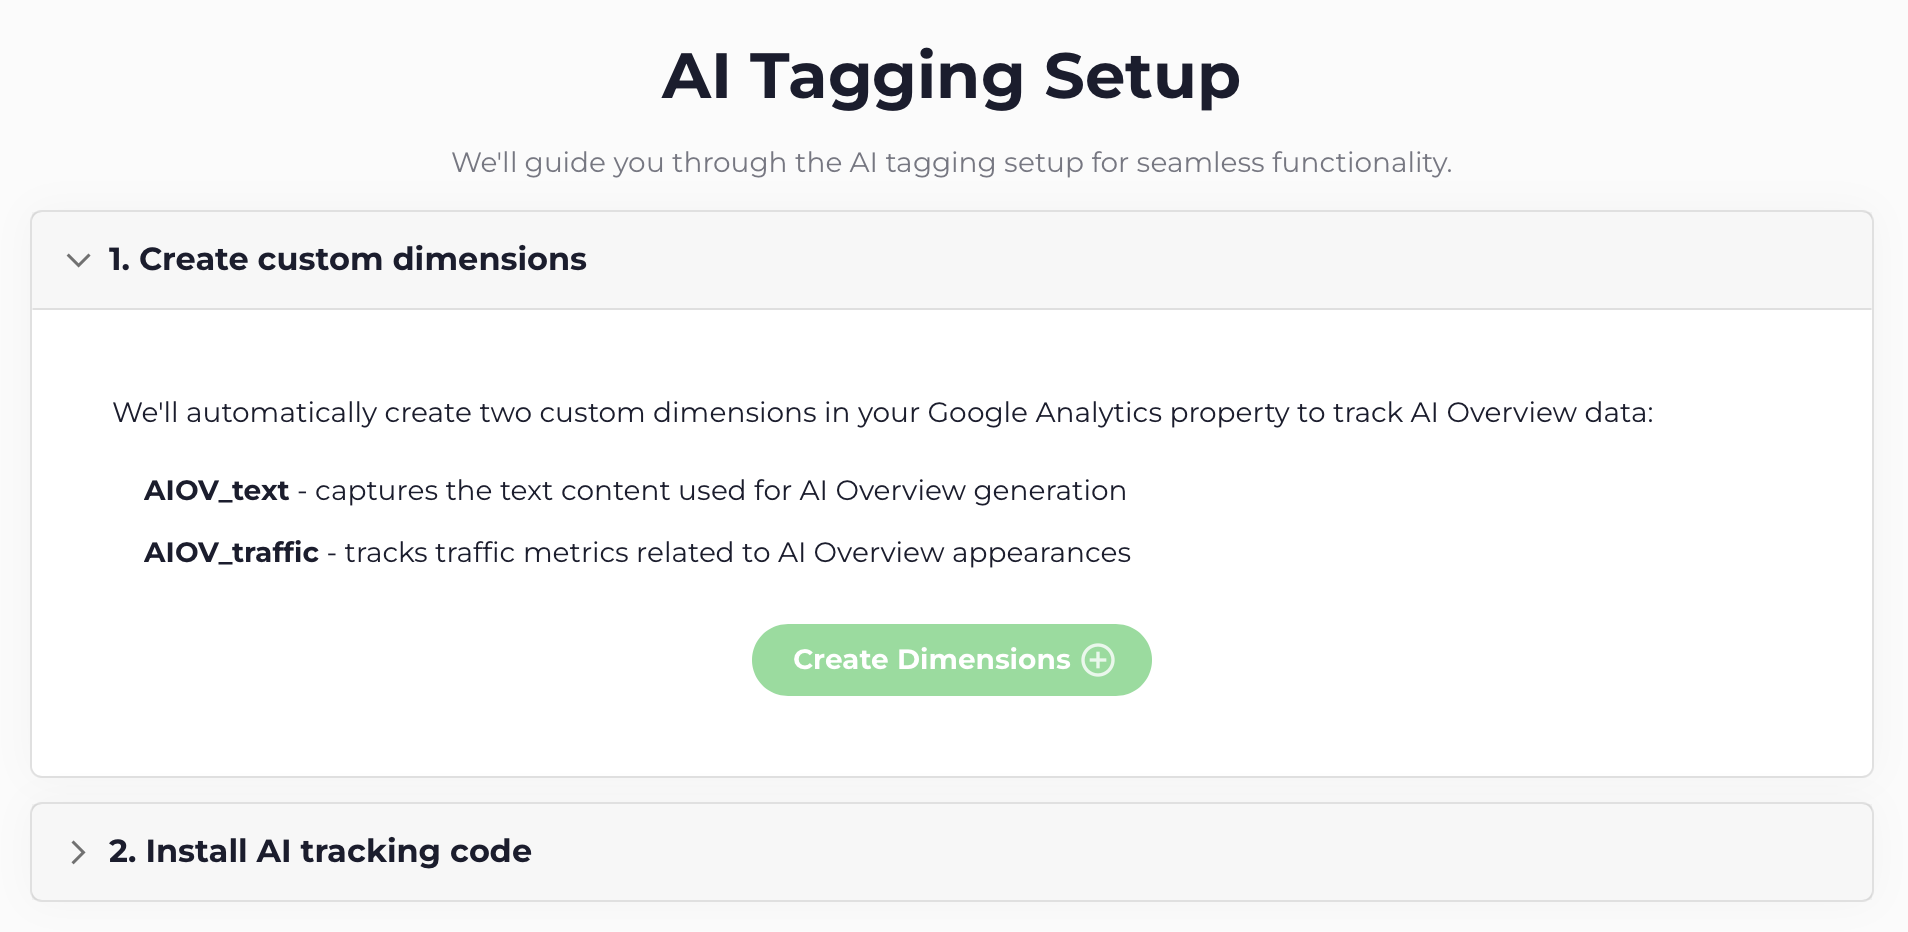
8. AI Tracking Setup
After choosing the AI Tracking Setup, you will be asked to create two new dimensions:
After the dimensions have been created, you will see instructions on how to setup the tag.
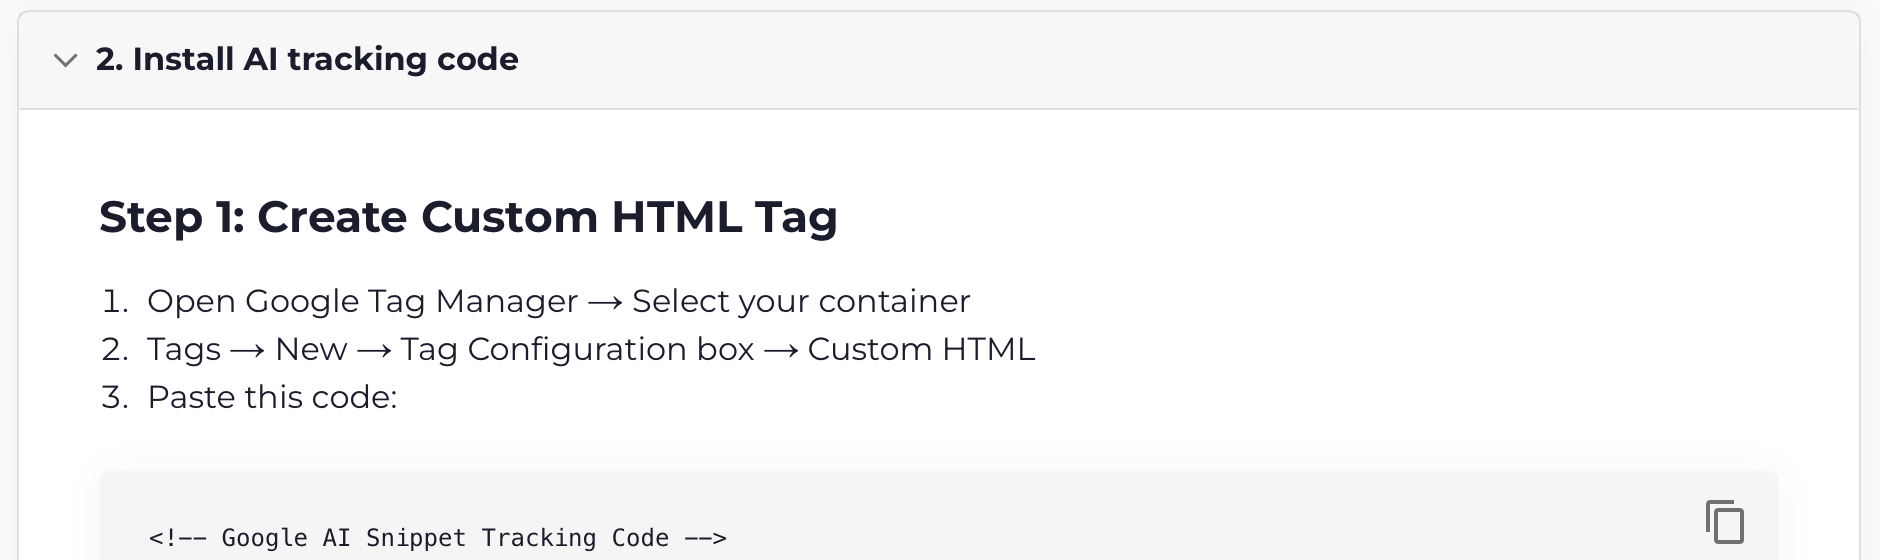
For a complete walkthrough on this, consult this part of documentation. You will be shown exactly what to do.
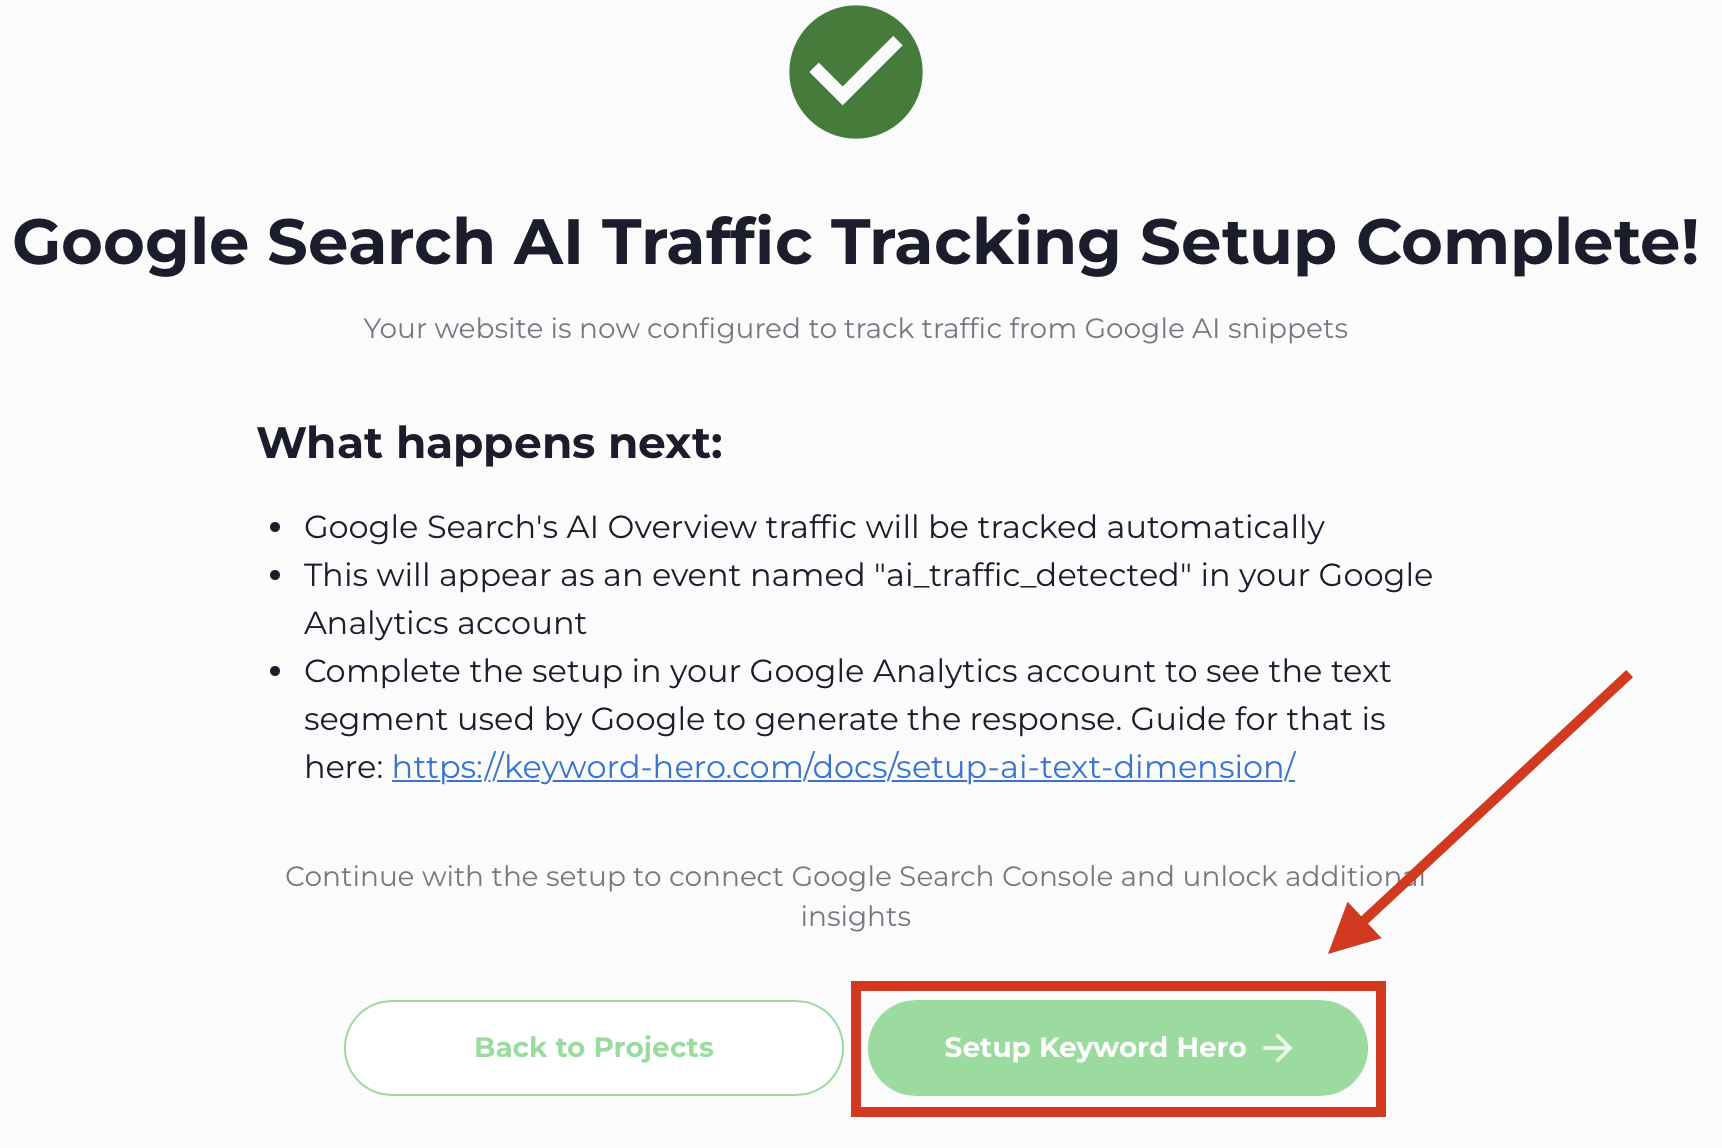
If you have first configured AI Tracking, and you want to continue with the regular keyword tracking next, click the button “Setup Keyword Hero” on the bottom right:
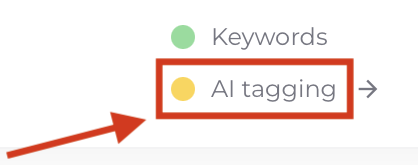
When you first completed the setup for regular tracking and you want to do AI Tracking setup next, just click the AI tagging link for your project. It should appear yellow:
Congratulations
You did it!
Keyword Hero is now successfully installed and setup.
To learn more about what to do next, please visit our article on first steps with Keyword Hero and Google Analytics 4.