This guide will walk you through the process of implementing the Keyword Hero AI tag in Google Tag Manager to track traffic coming from AI-powered Google Search features like AI Overviews.
What is the AI Tag?
The Keyword Hero AI tag is a custom tracking solution that identifies traffic originating from Google’s AI-powered search features. This includes visitors who click through from AI Overviews, Search Generative Experience results.
Step-by-Step Setup Process
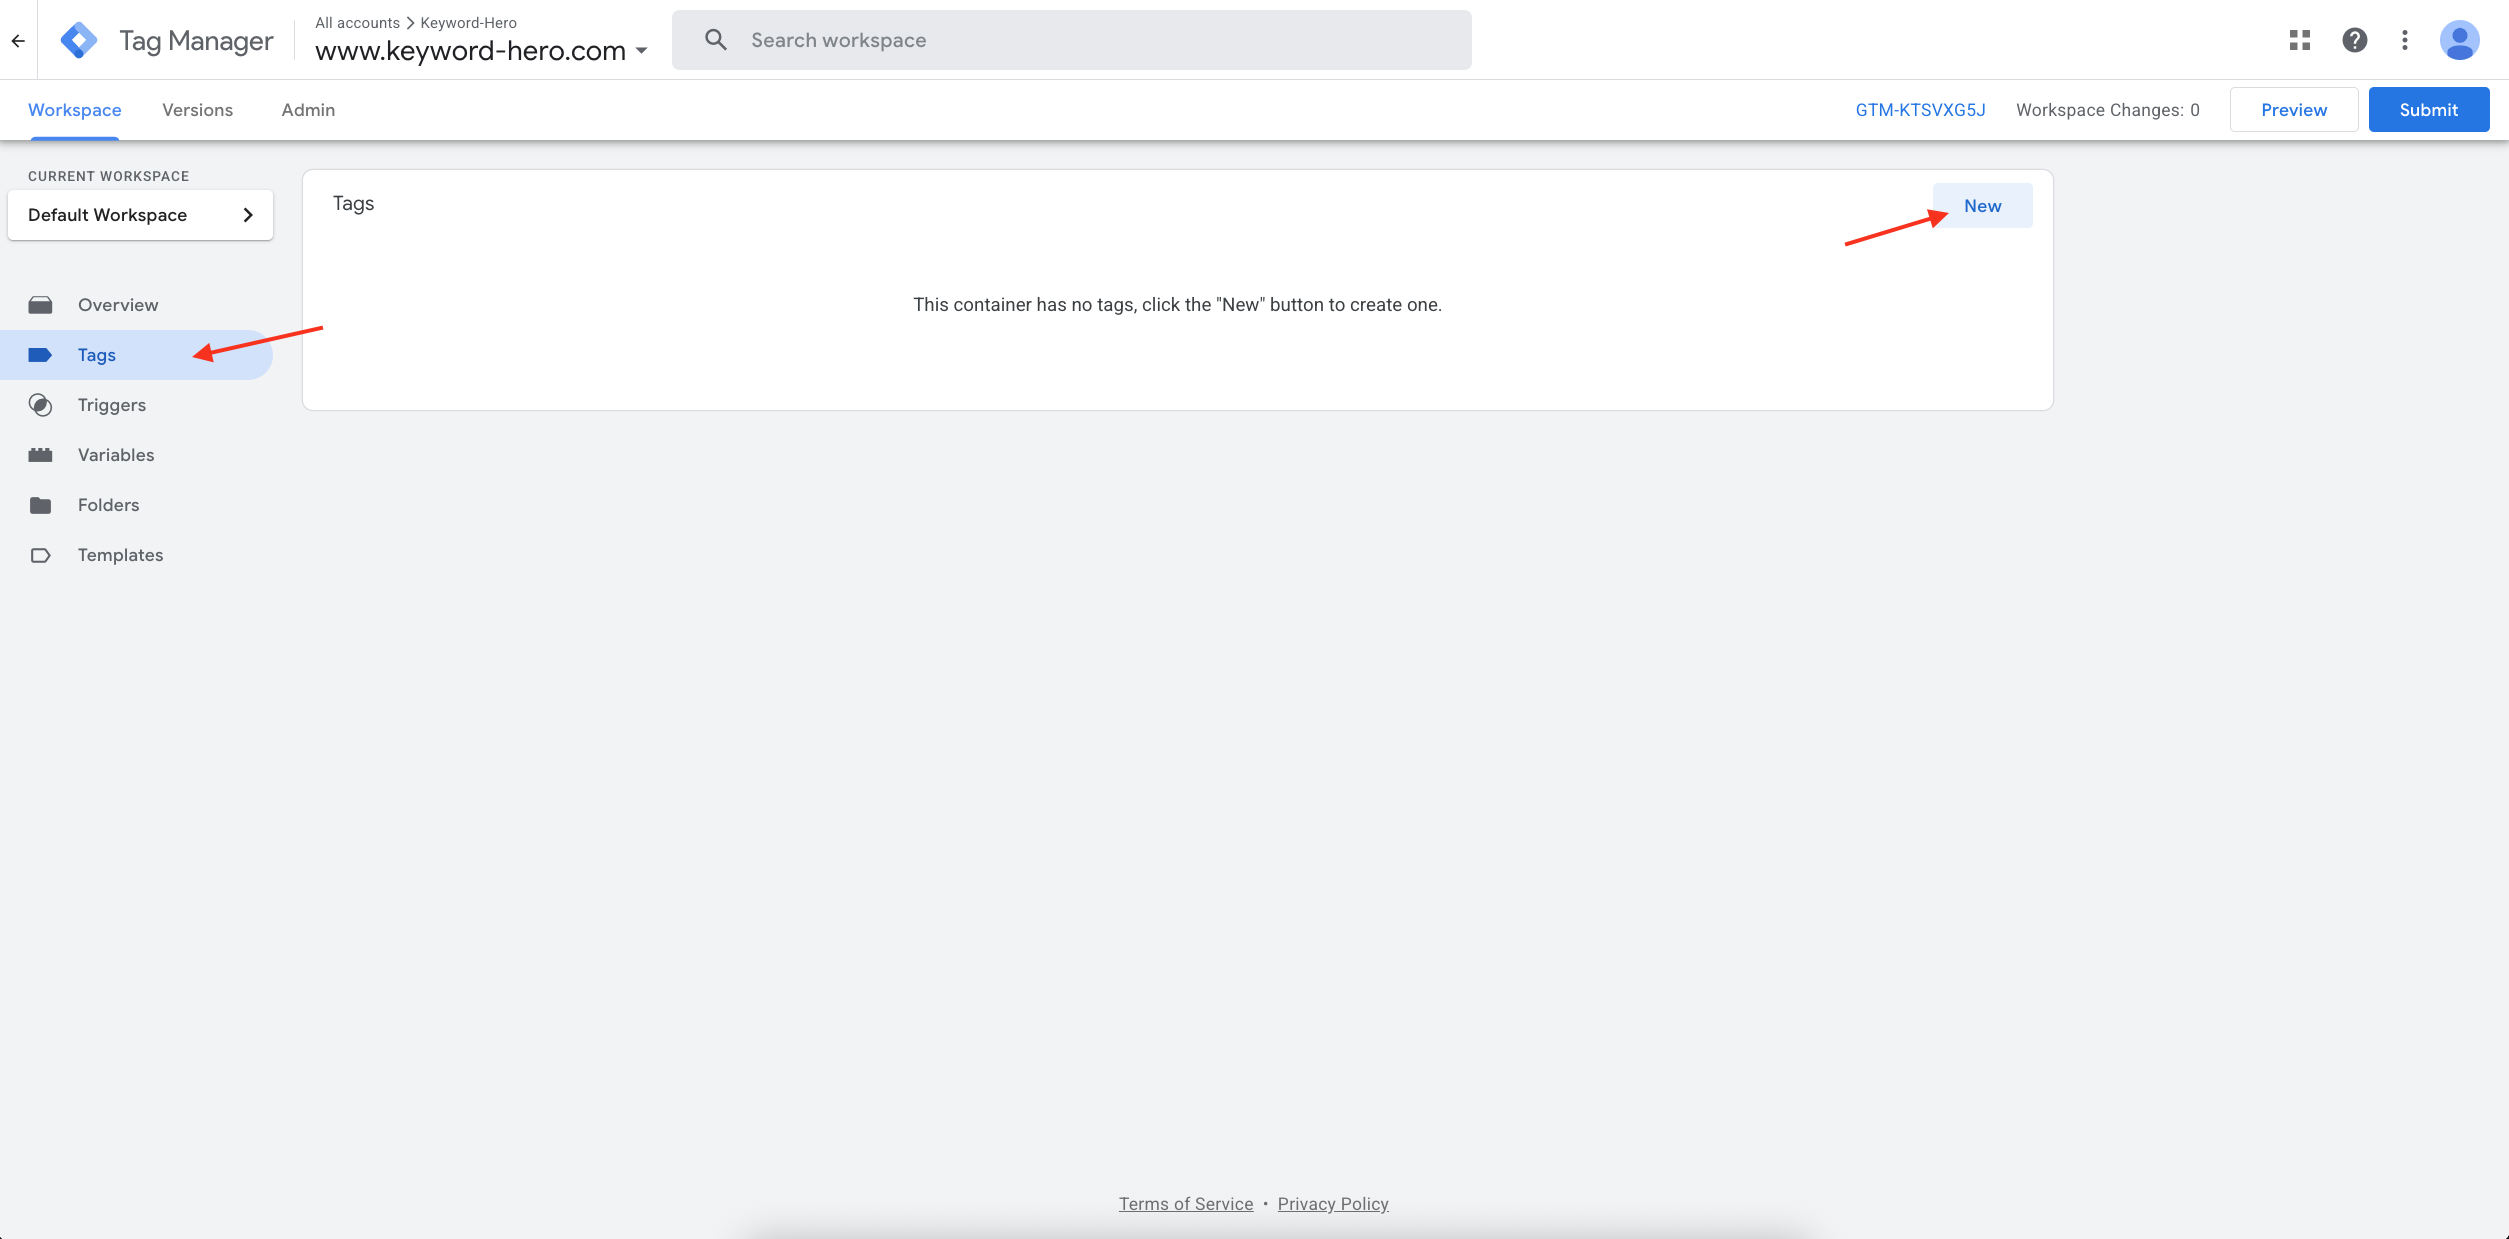
1. Access Your Google Tag Manager Container
Navigate to your Google Tag Manager account and select the container that’s installed on the website where you want to track AI traffic. Ensure this container is already properly implemented on your site.
2. Create a New Tag
- Click on “Tags” in the left sidebar
- Click the “New” button to create a new tag
- Give your tag a descriptive name like “Keyword Hero AI Tracking”
3. Configure the Tag Type
- Once the tag editor opens, click on “Tag Configuration”
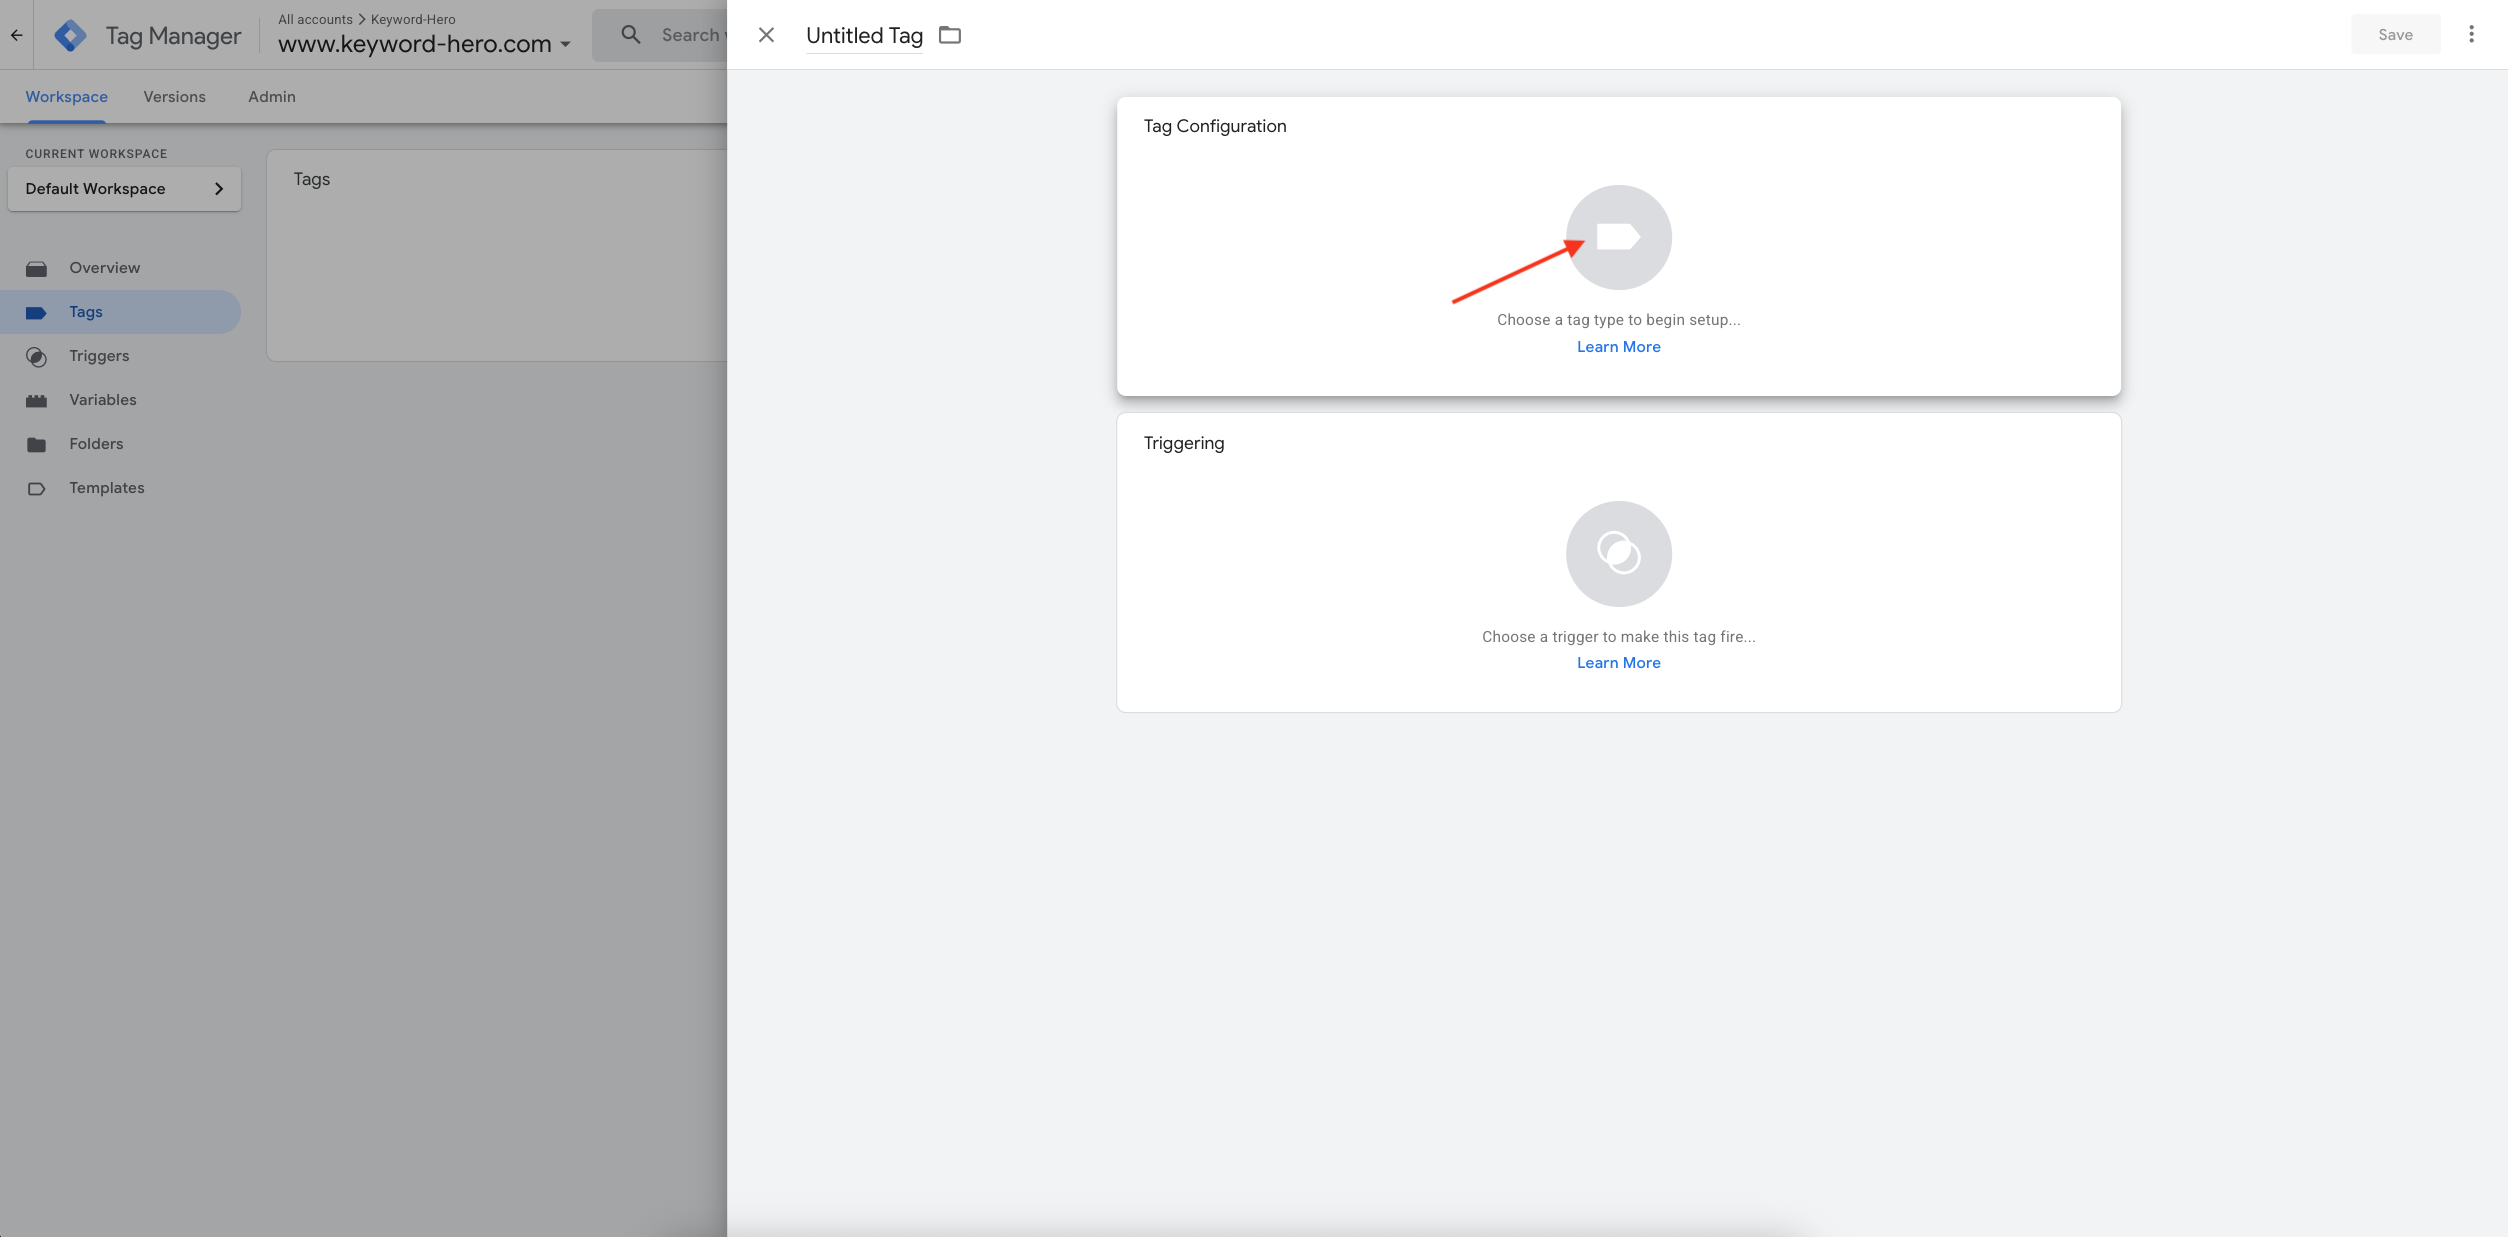
- Select “Custom HTML” as your tag type
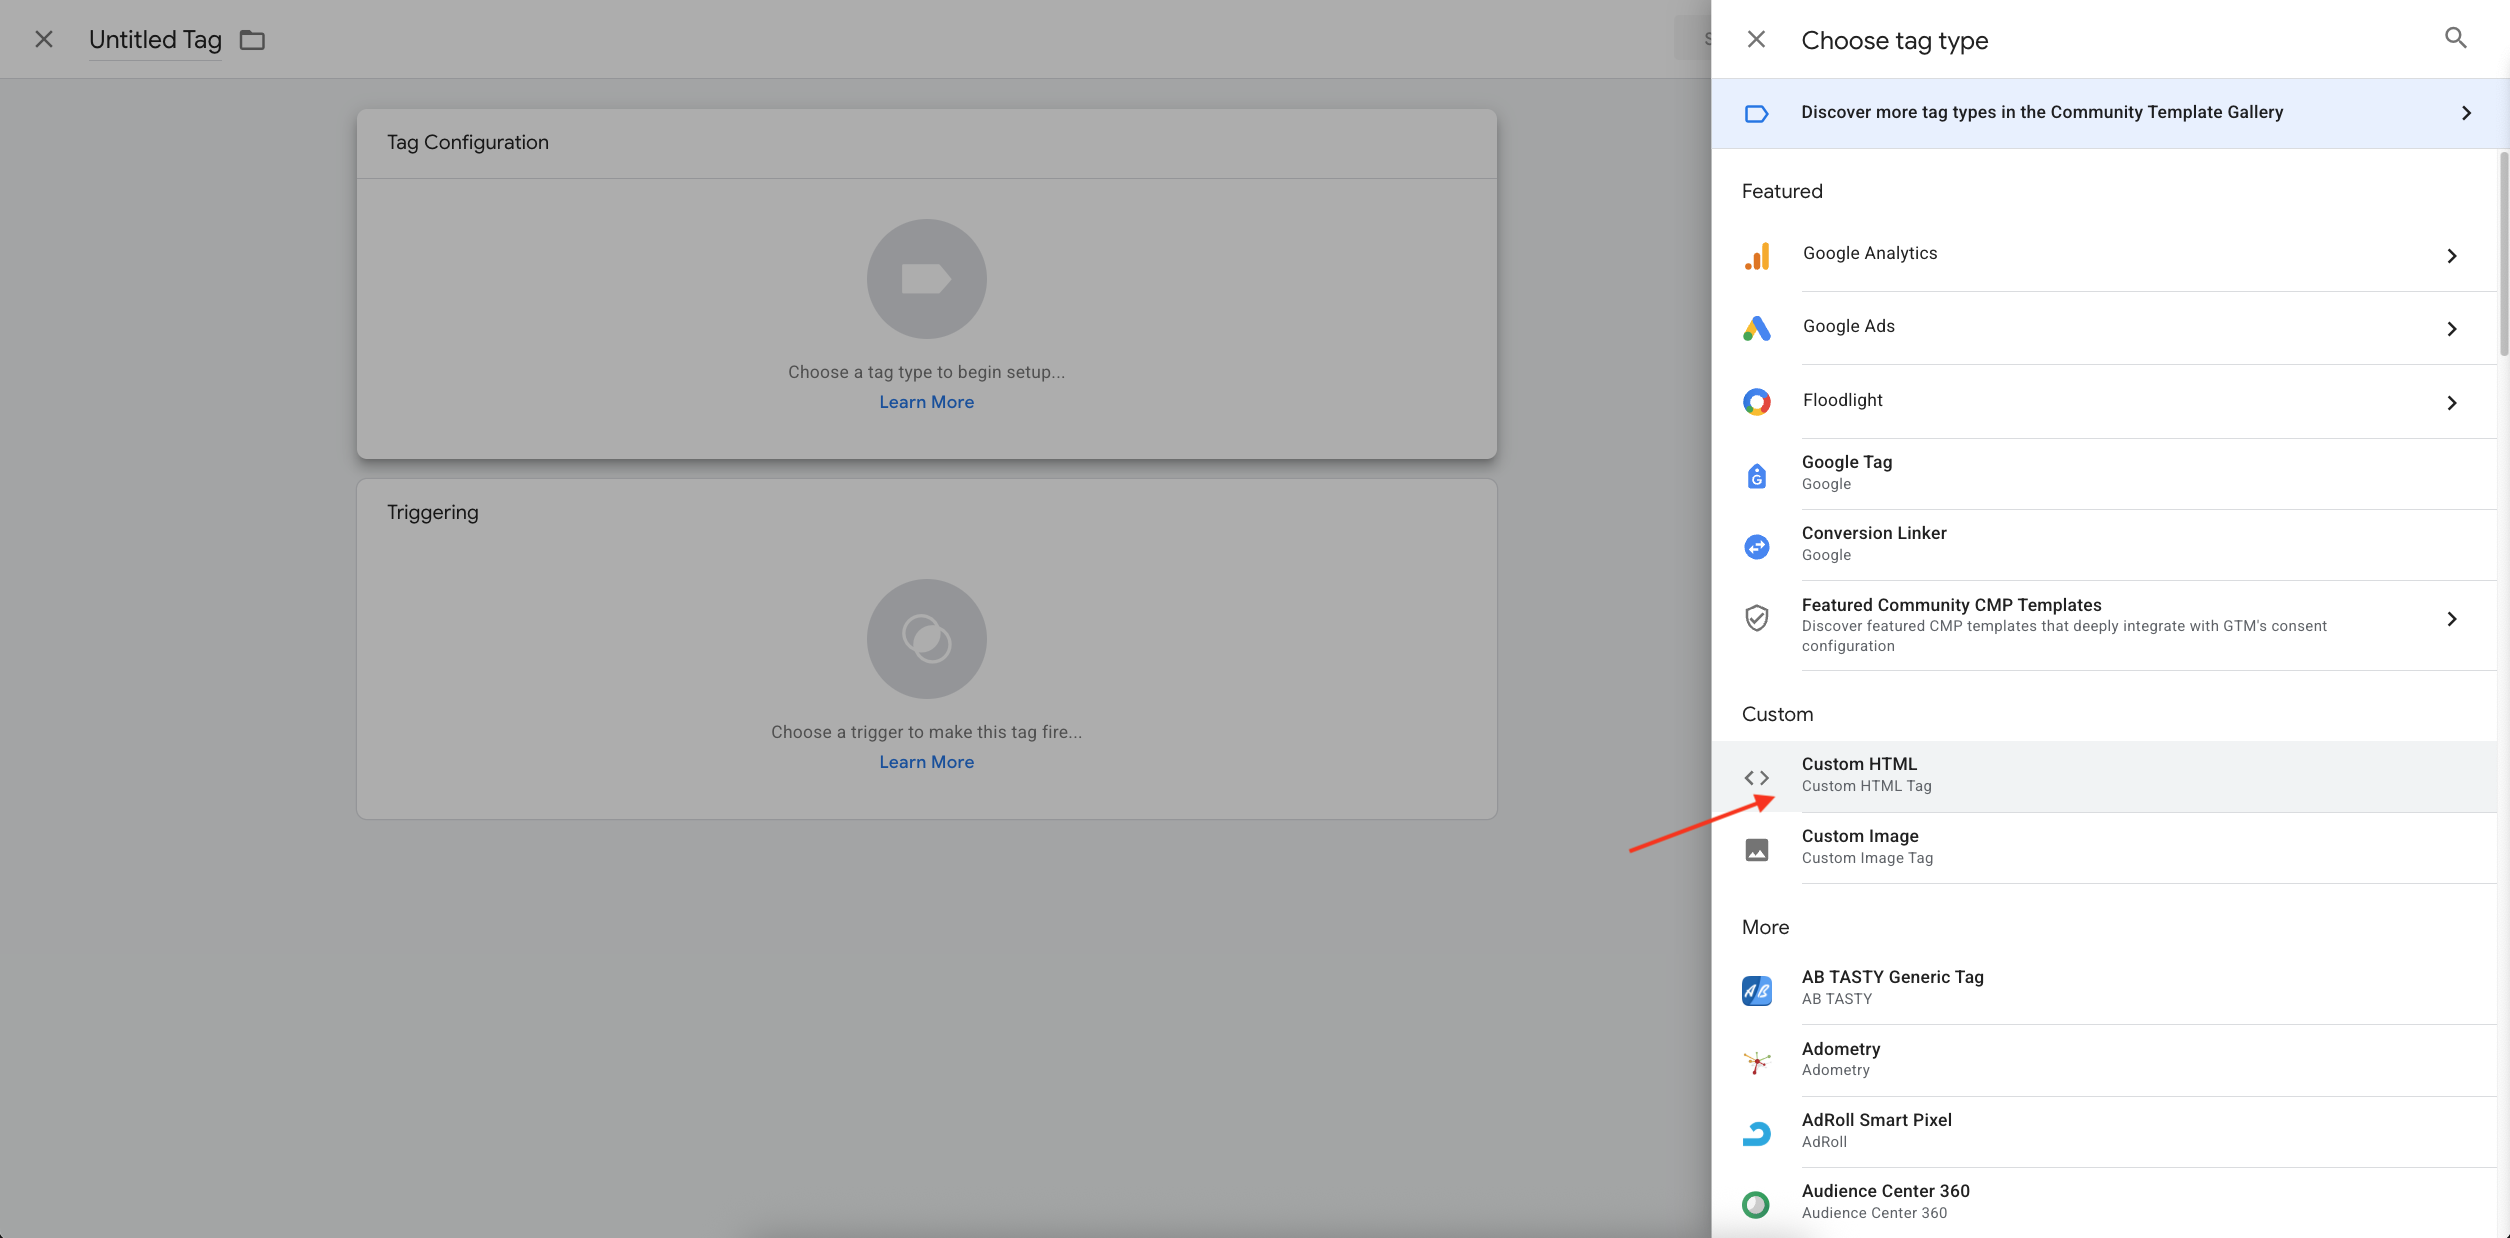
- This allows you to implement the specialized JavaScript code needed for AI traffic detection
4. Add the AI Tag Code
- Copy the AI tag JavaScript snippet from your Keyword Hero dashboard
- You can find this in your Setup flow or Project settings
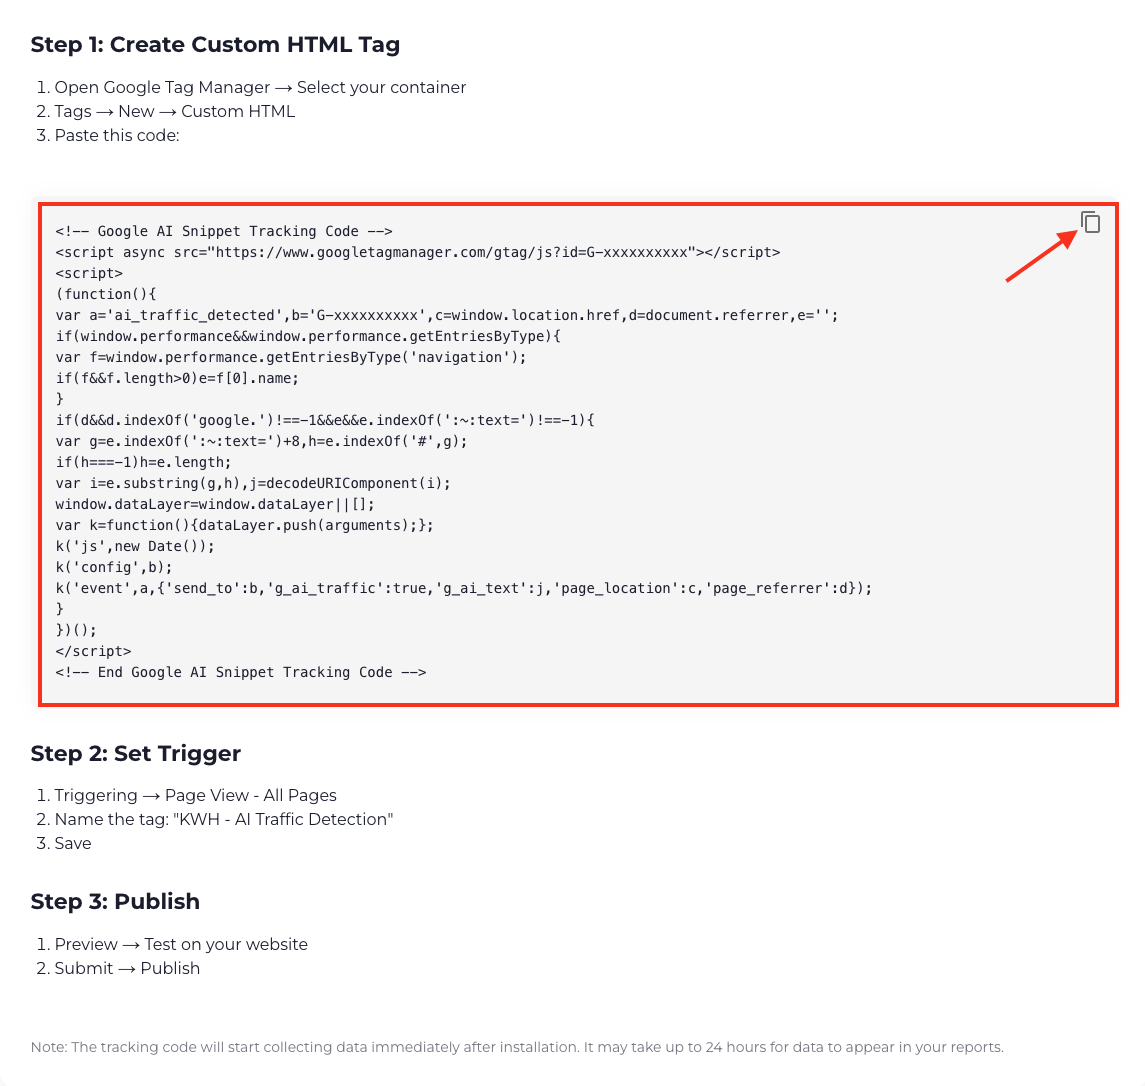
- Paste the complete snippet into the HTML field
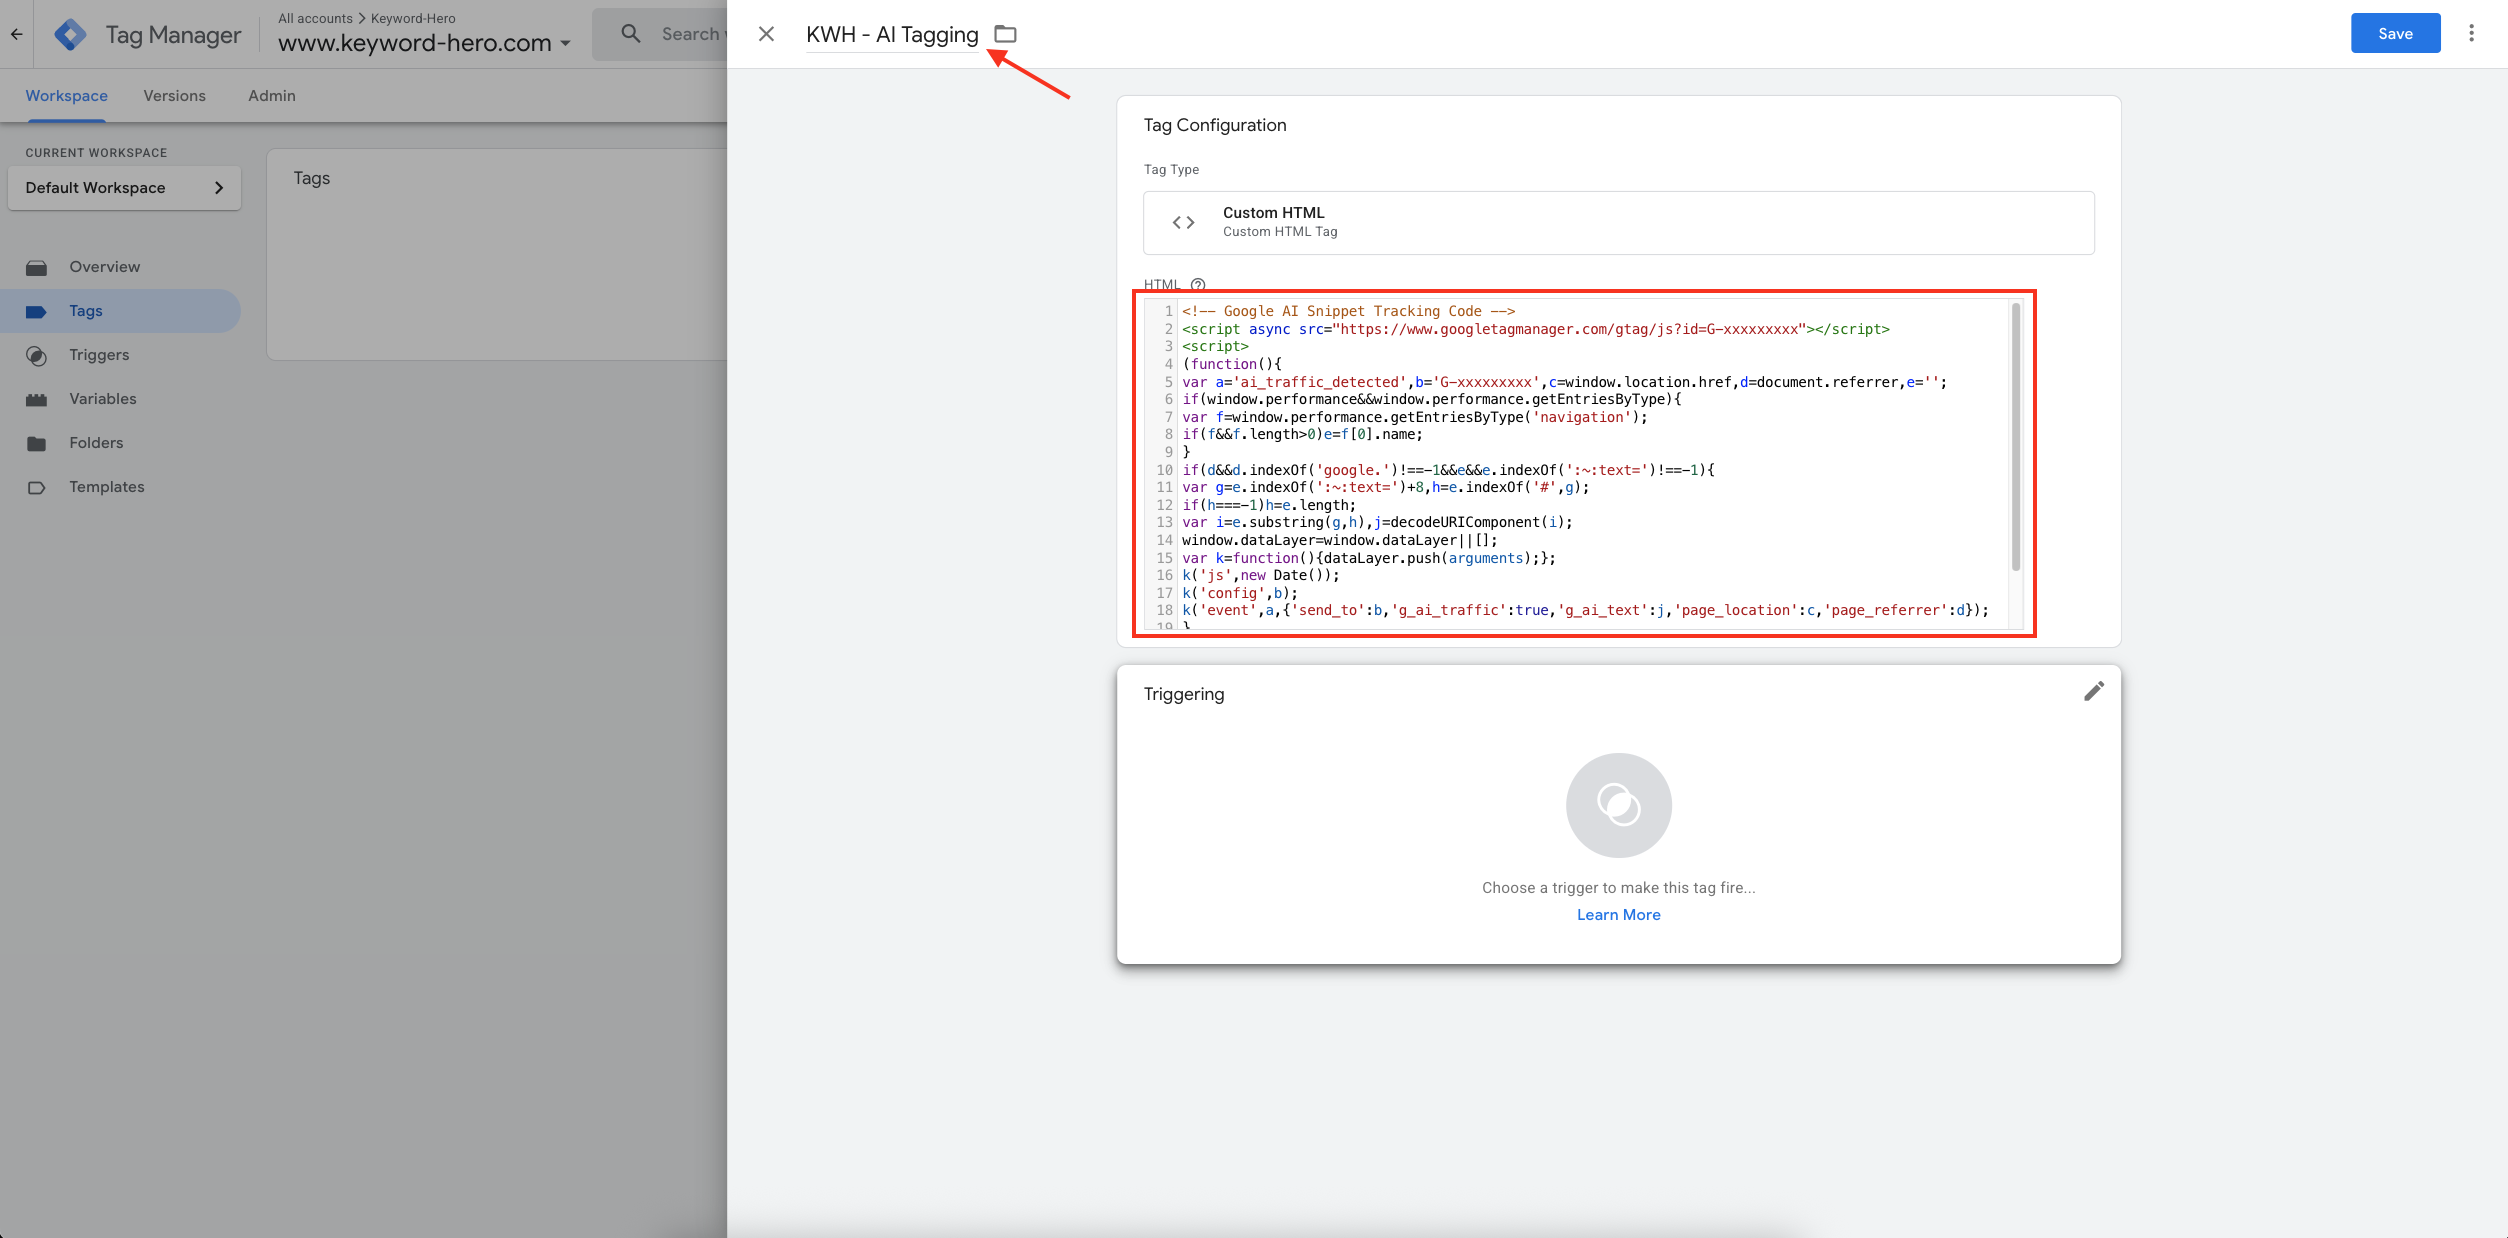
- Important: Make sure to copy the entire code block without any modifications
5. Set Up the Trigger
- Click on the “Triggering” section below the tag configuration
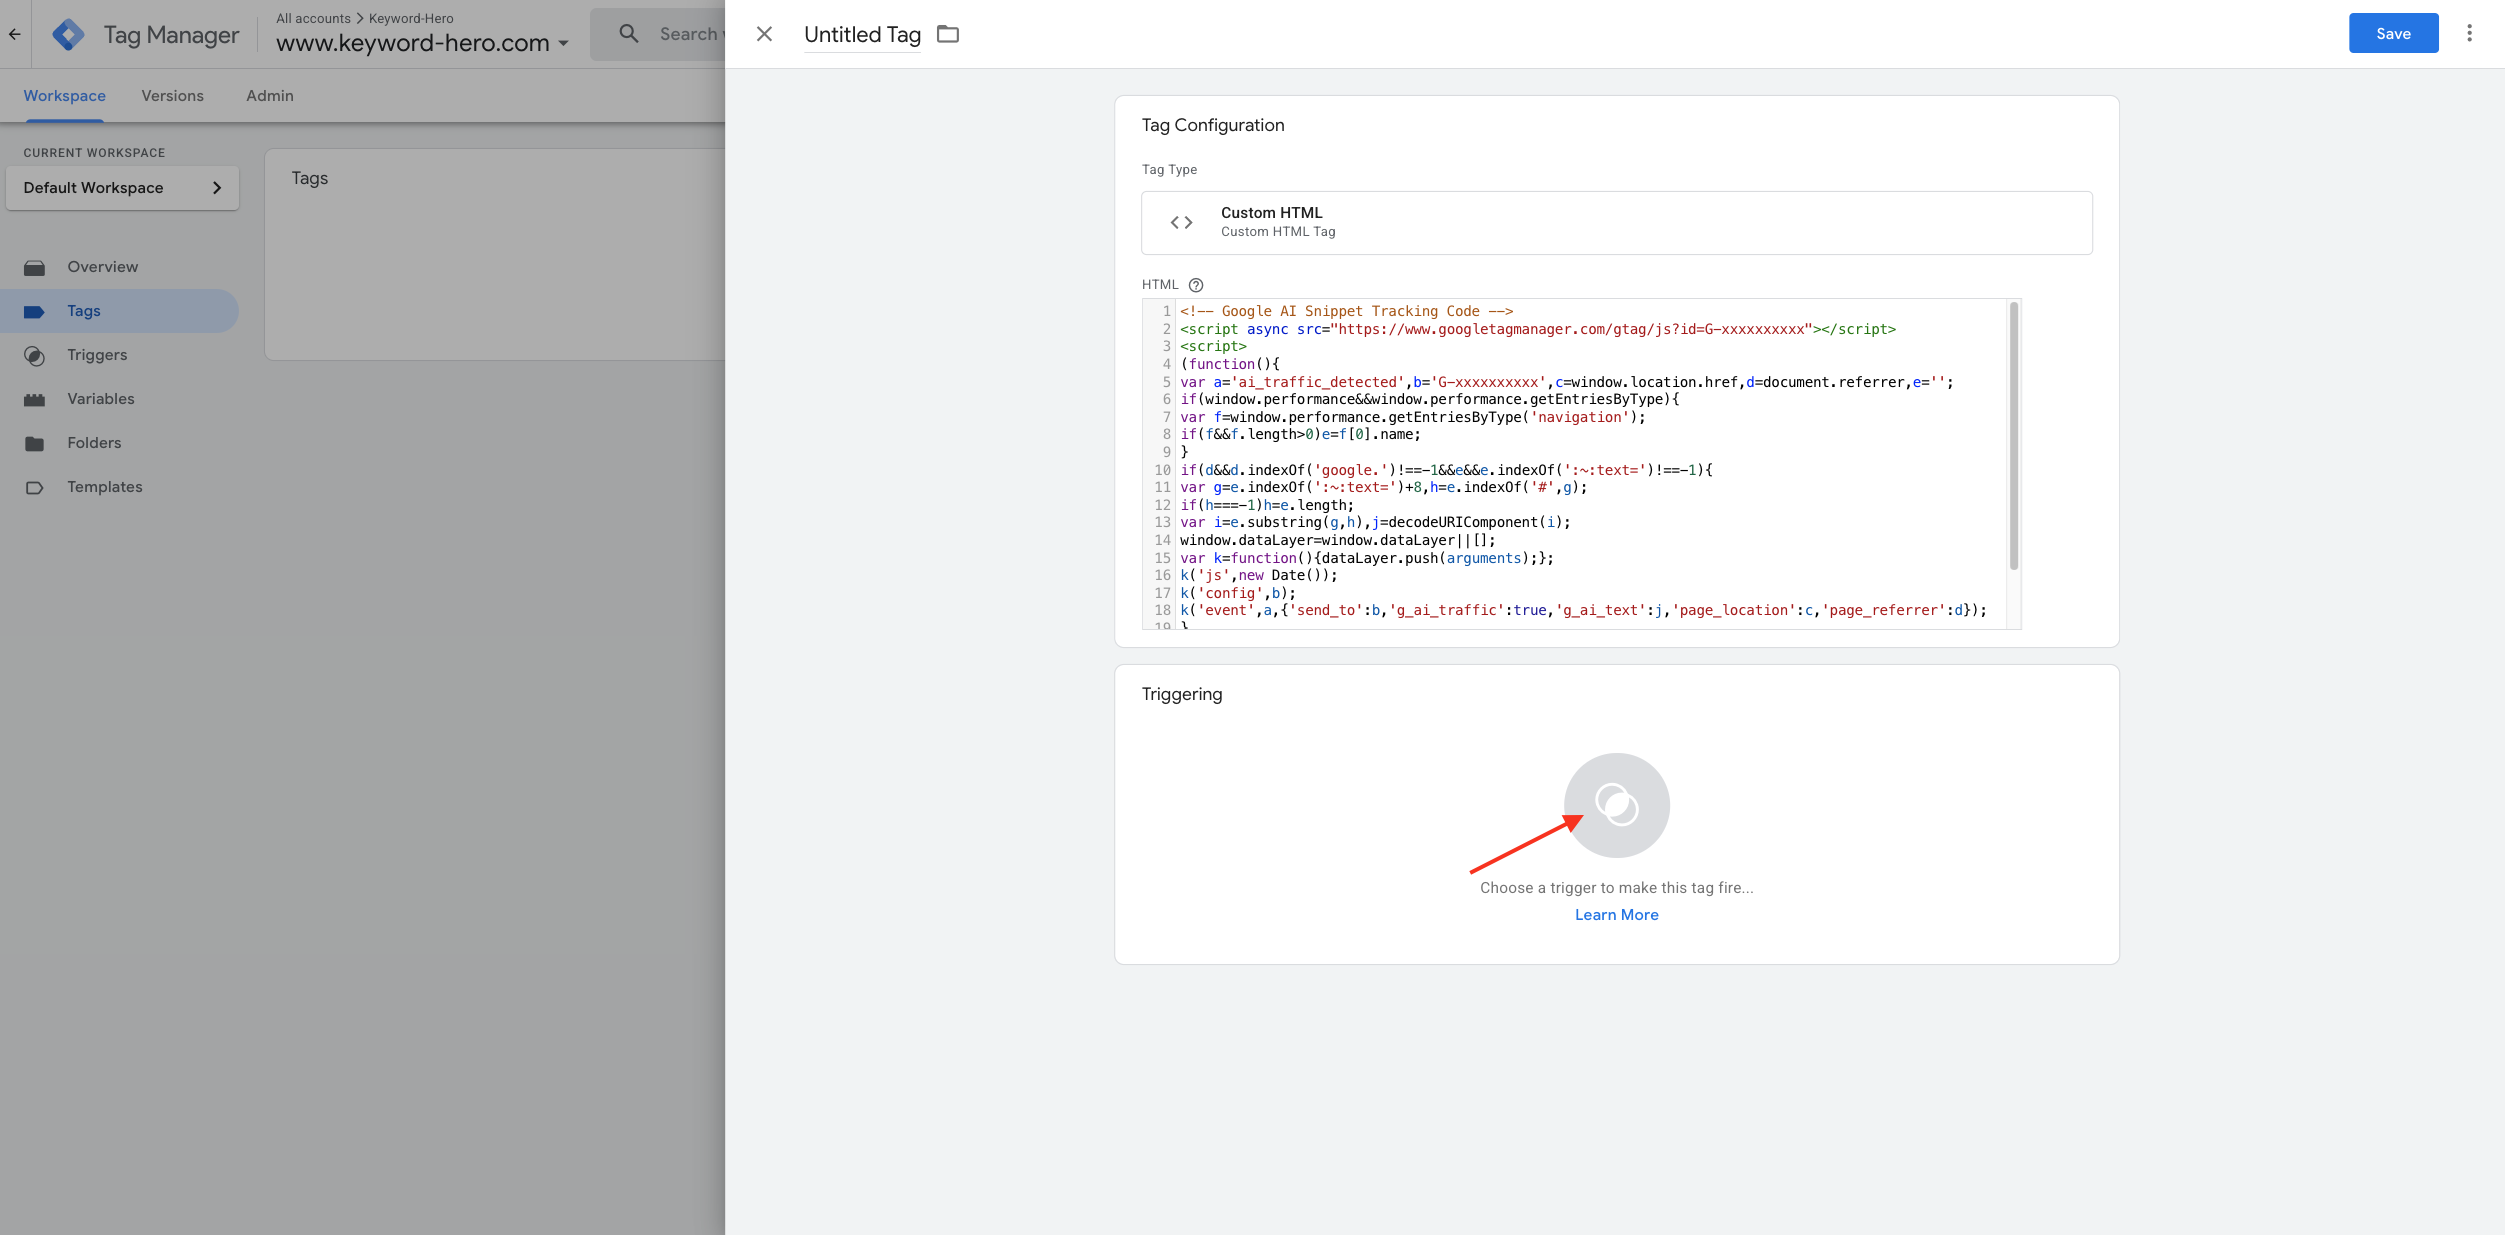
- When the trigger selector opens, choose “All Pages”
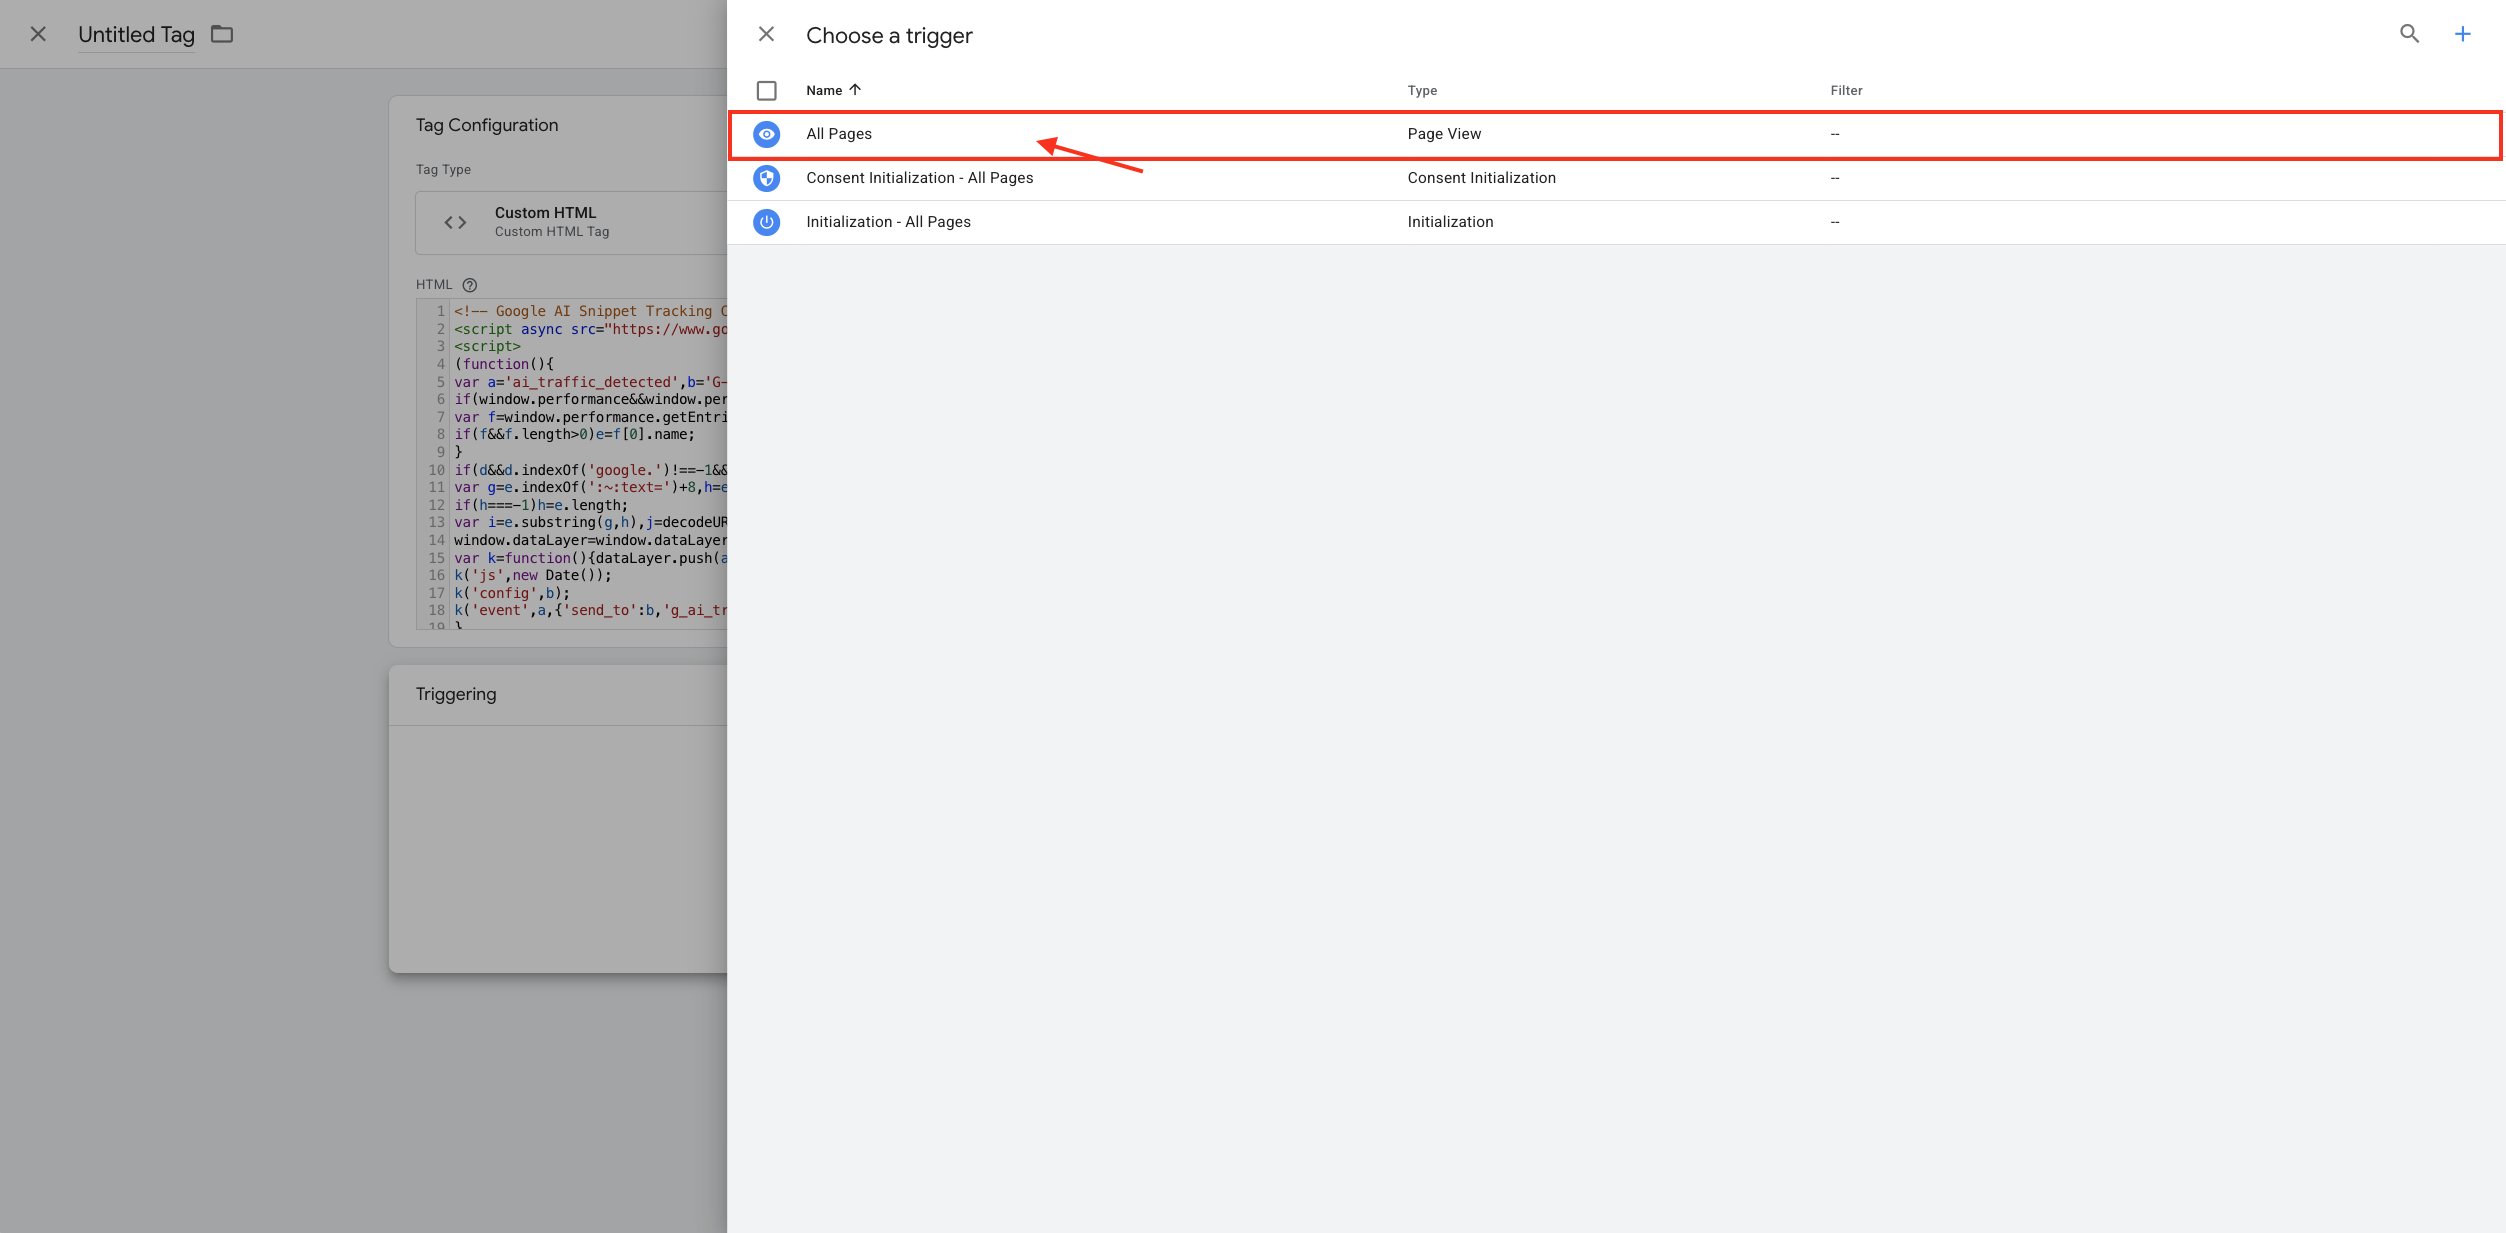
- This ensures the AI tracking covers all possible pages where visitors might land from AI search results
Why “All Pages”? AI traffic can land on any page of your website, not just your homepage. Using “All Pages” ensures comprehensive tracking coverage.
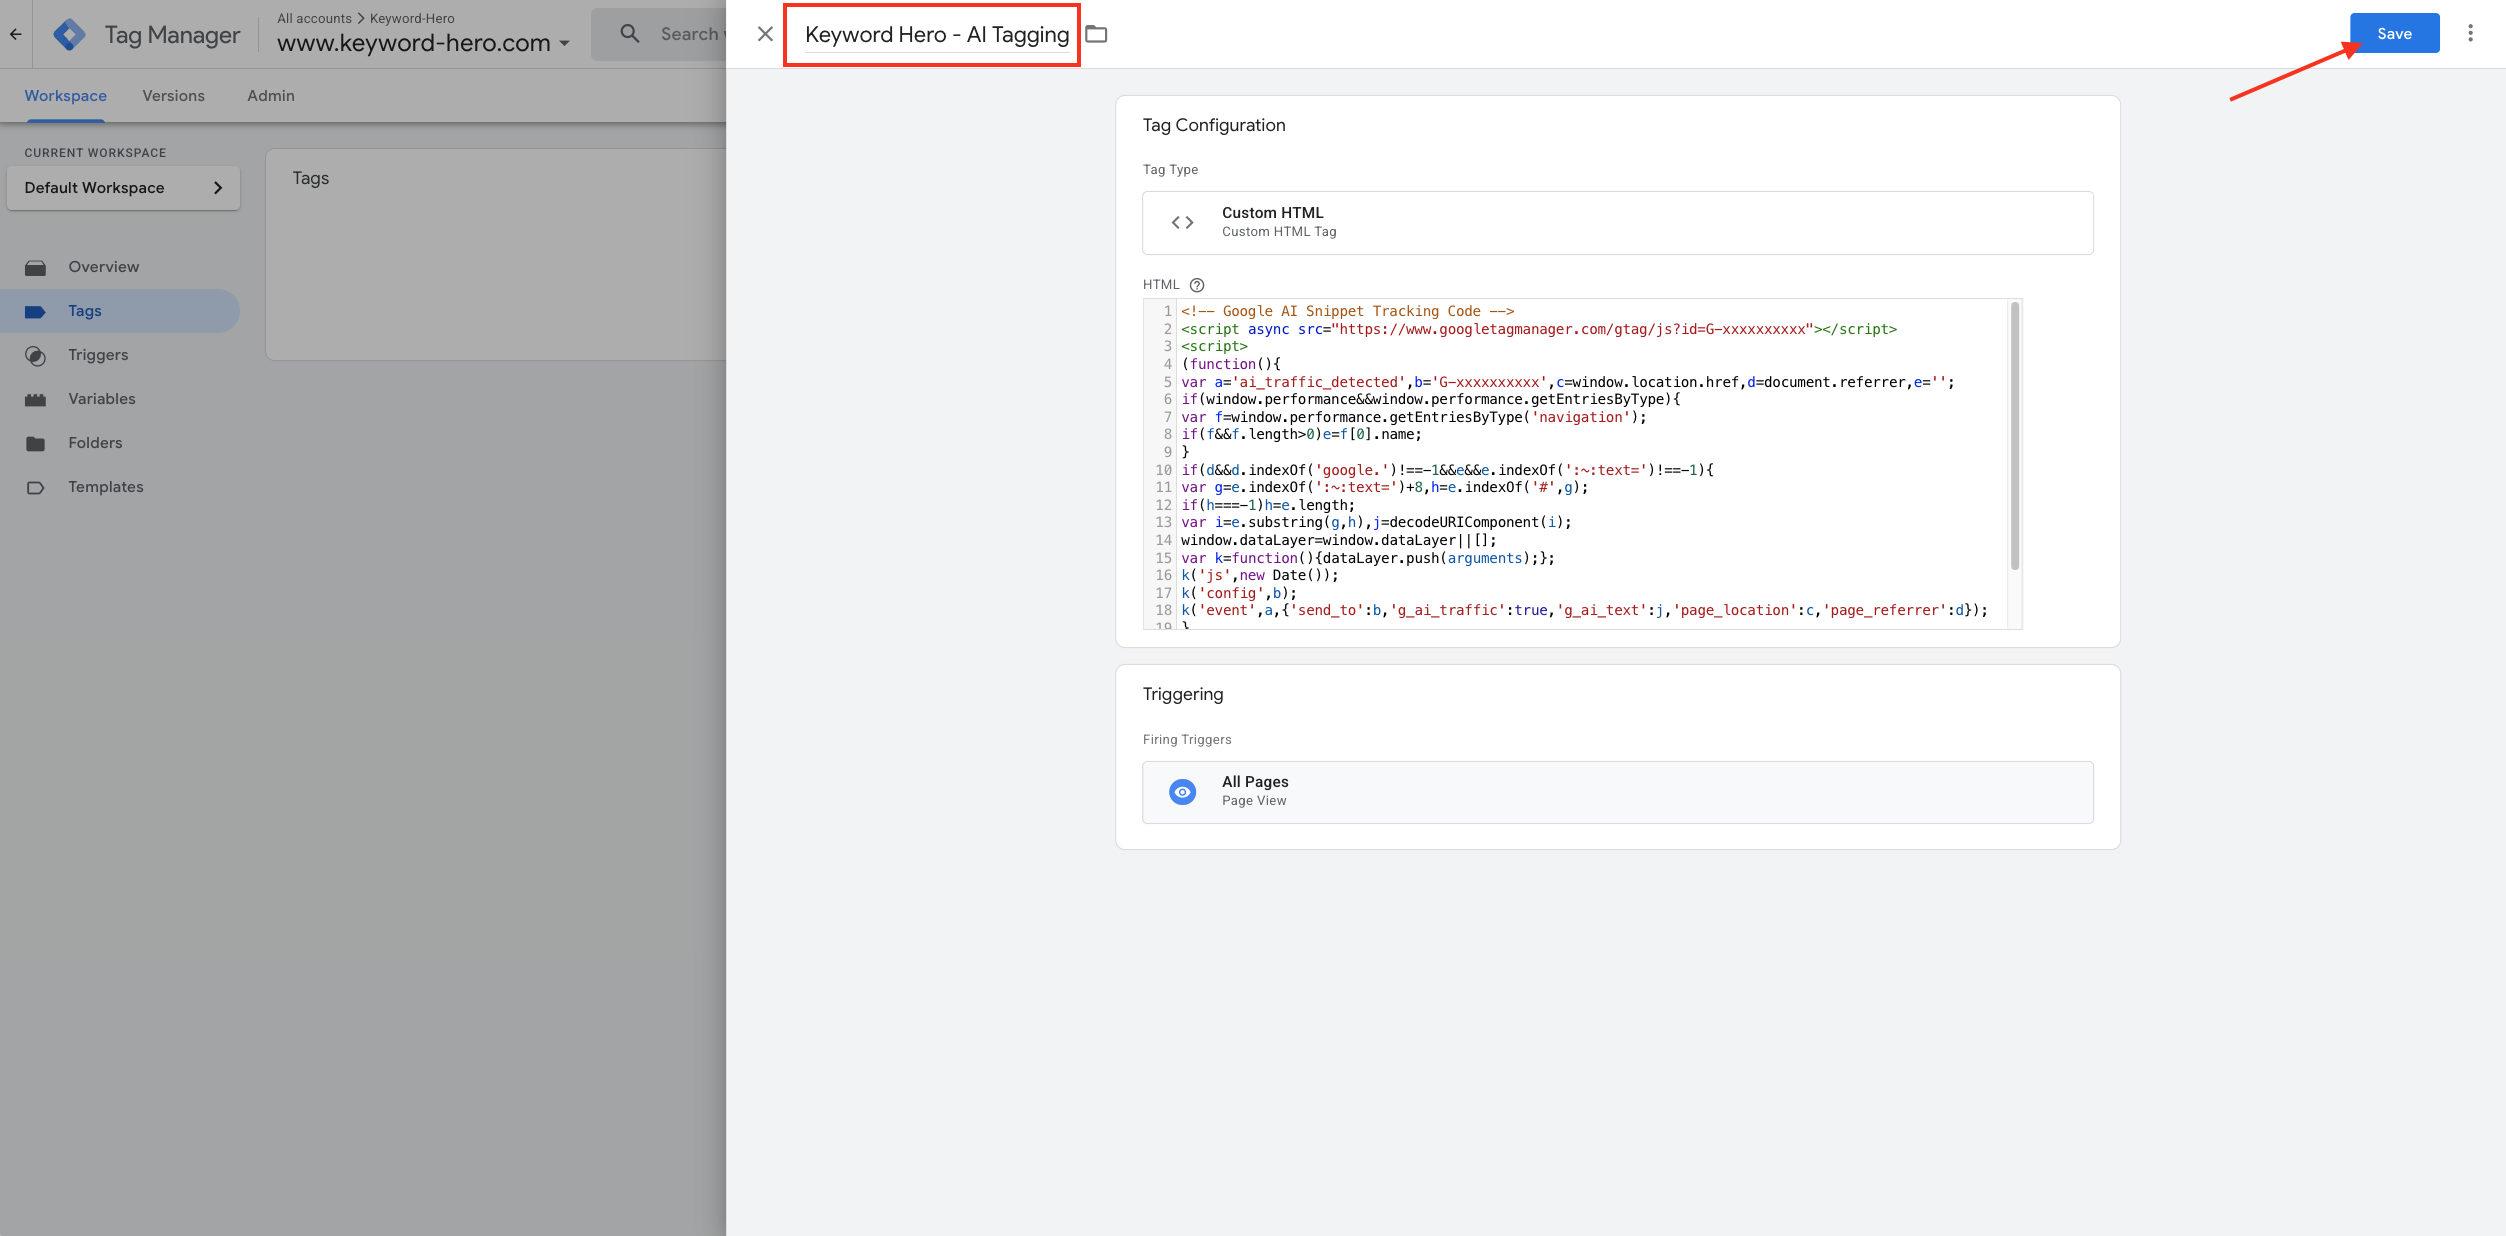
6. Save and Name Your Tag
- Review your configuration to ensure everything is correct
- Click “Save” to store your tag
- Use a clear, descriptive name that your team will recognize
7. Test Your Tag
Before publishing, it’s crucial to test your setup:
- Use GTM’s Preview mode to test the tag
- Navigate to different pages on your site
- Verify that the AI tag fires correctly on all pages
- Check for any JavaScript errors in your browser’s developer console
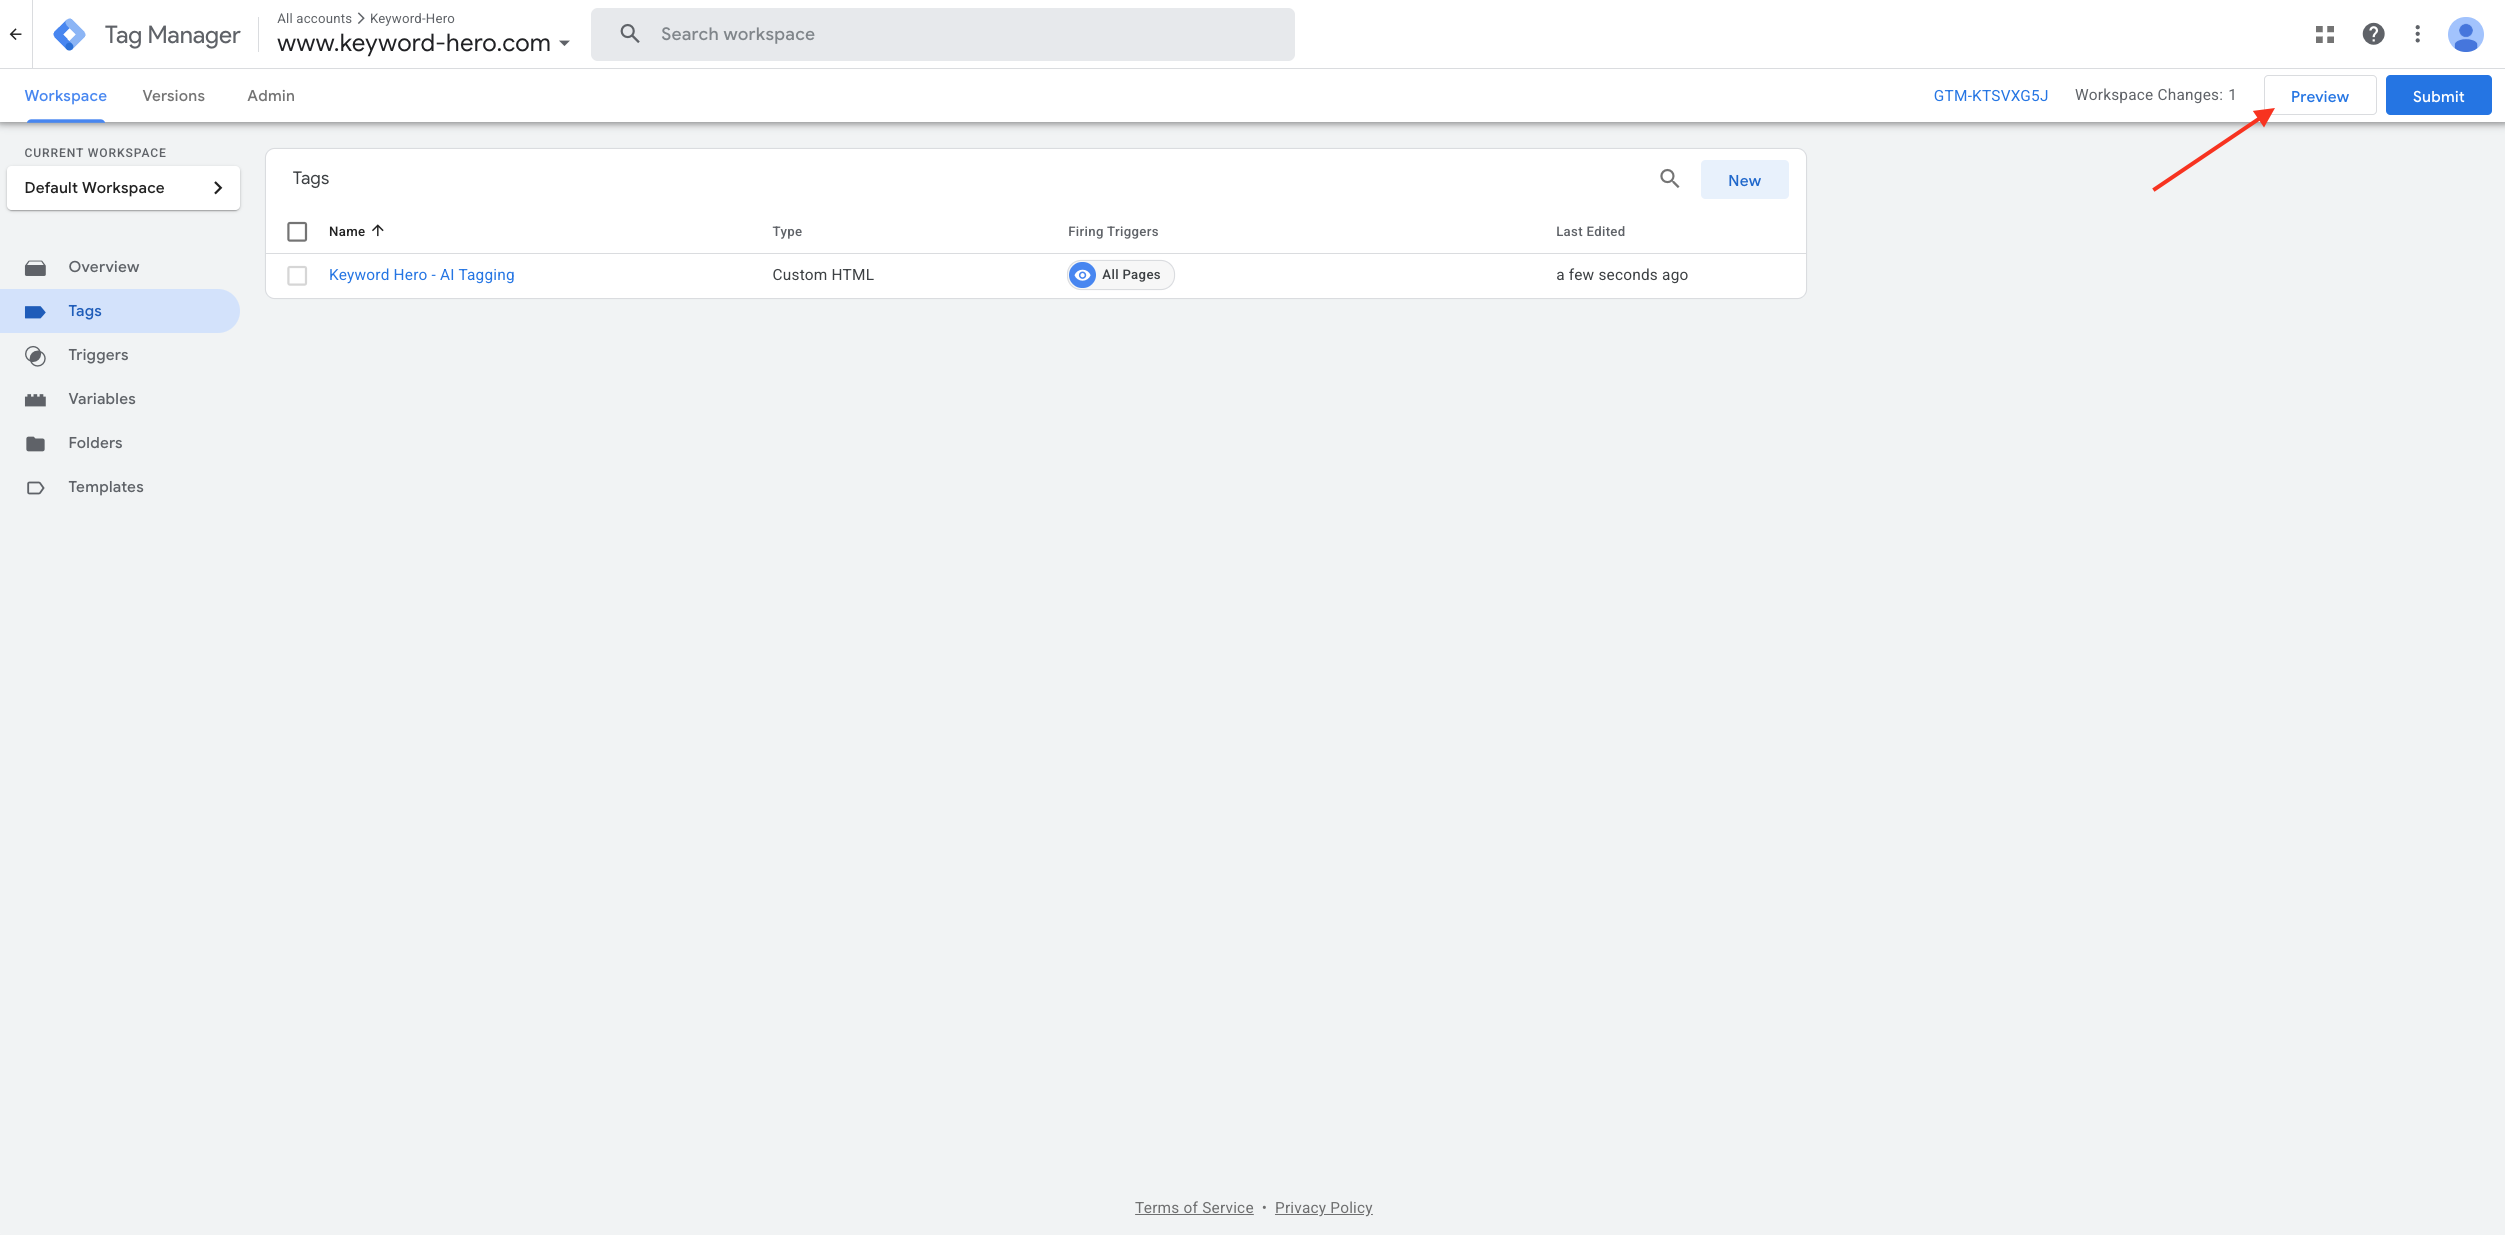
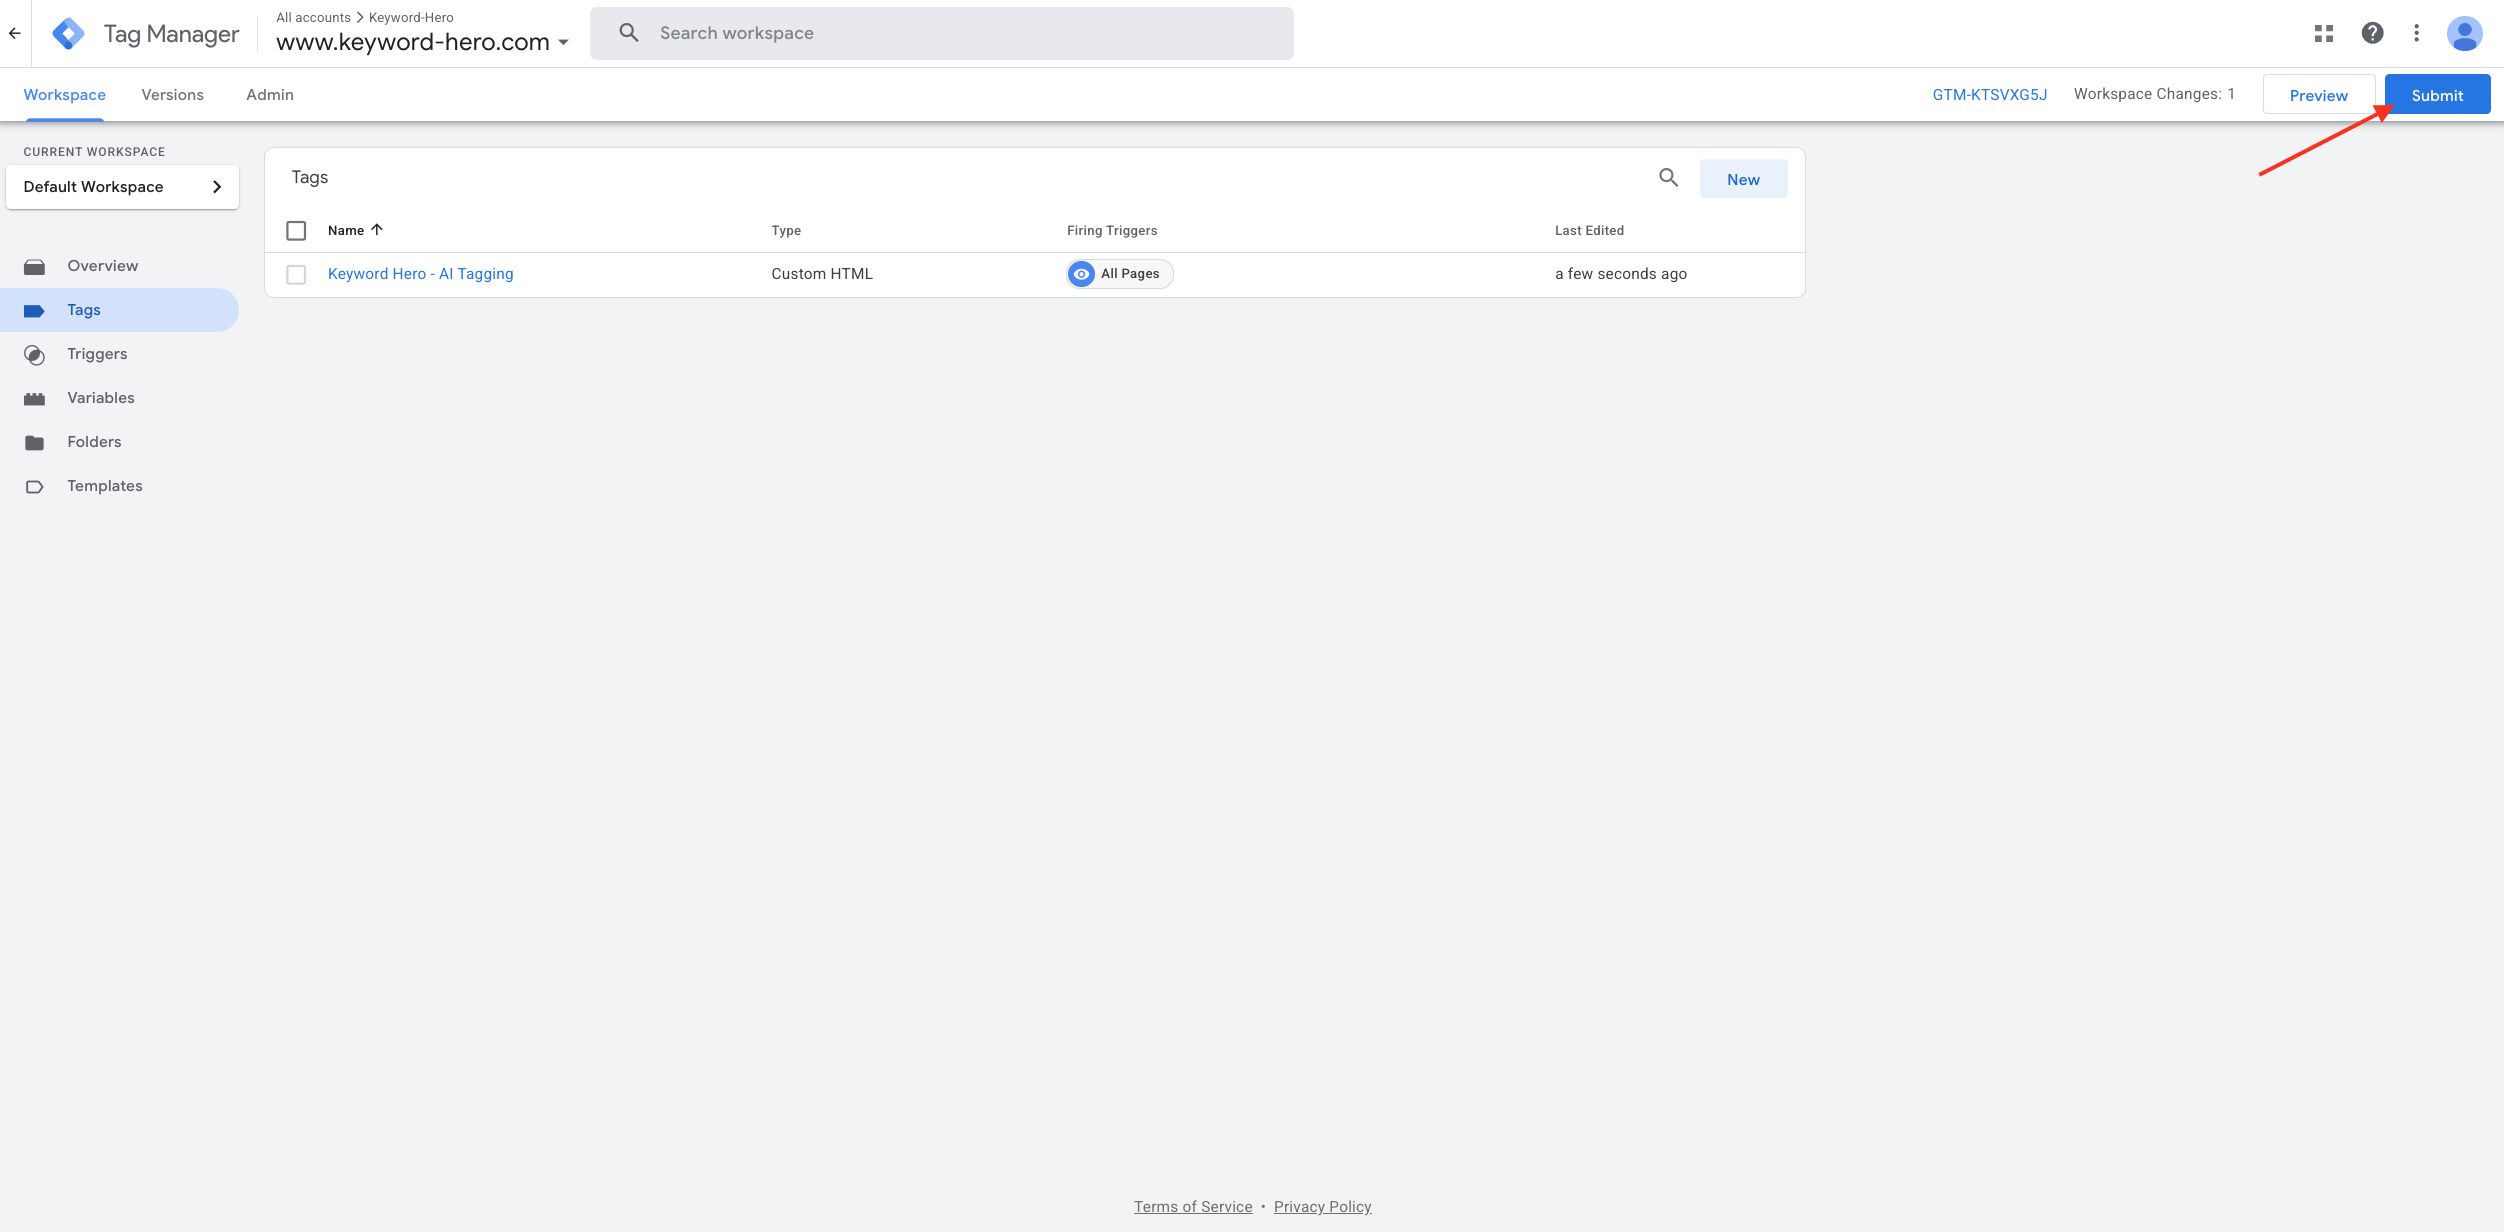
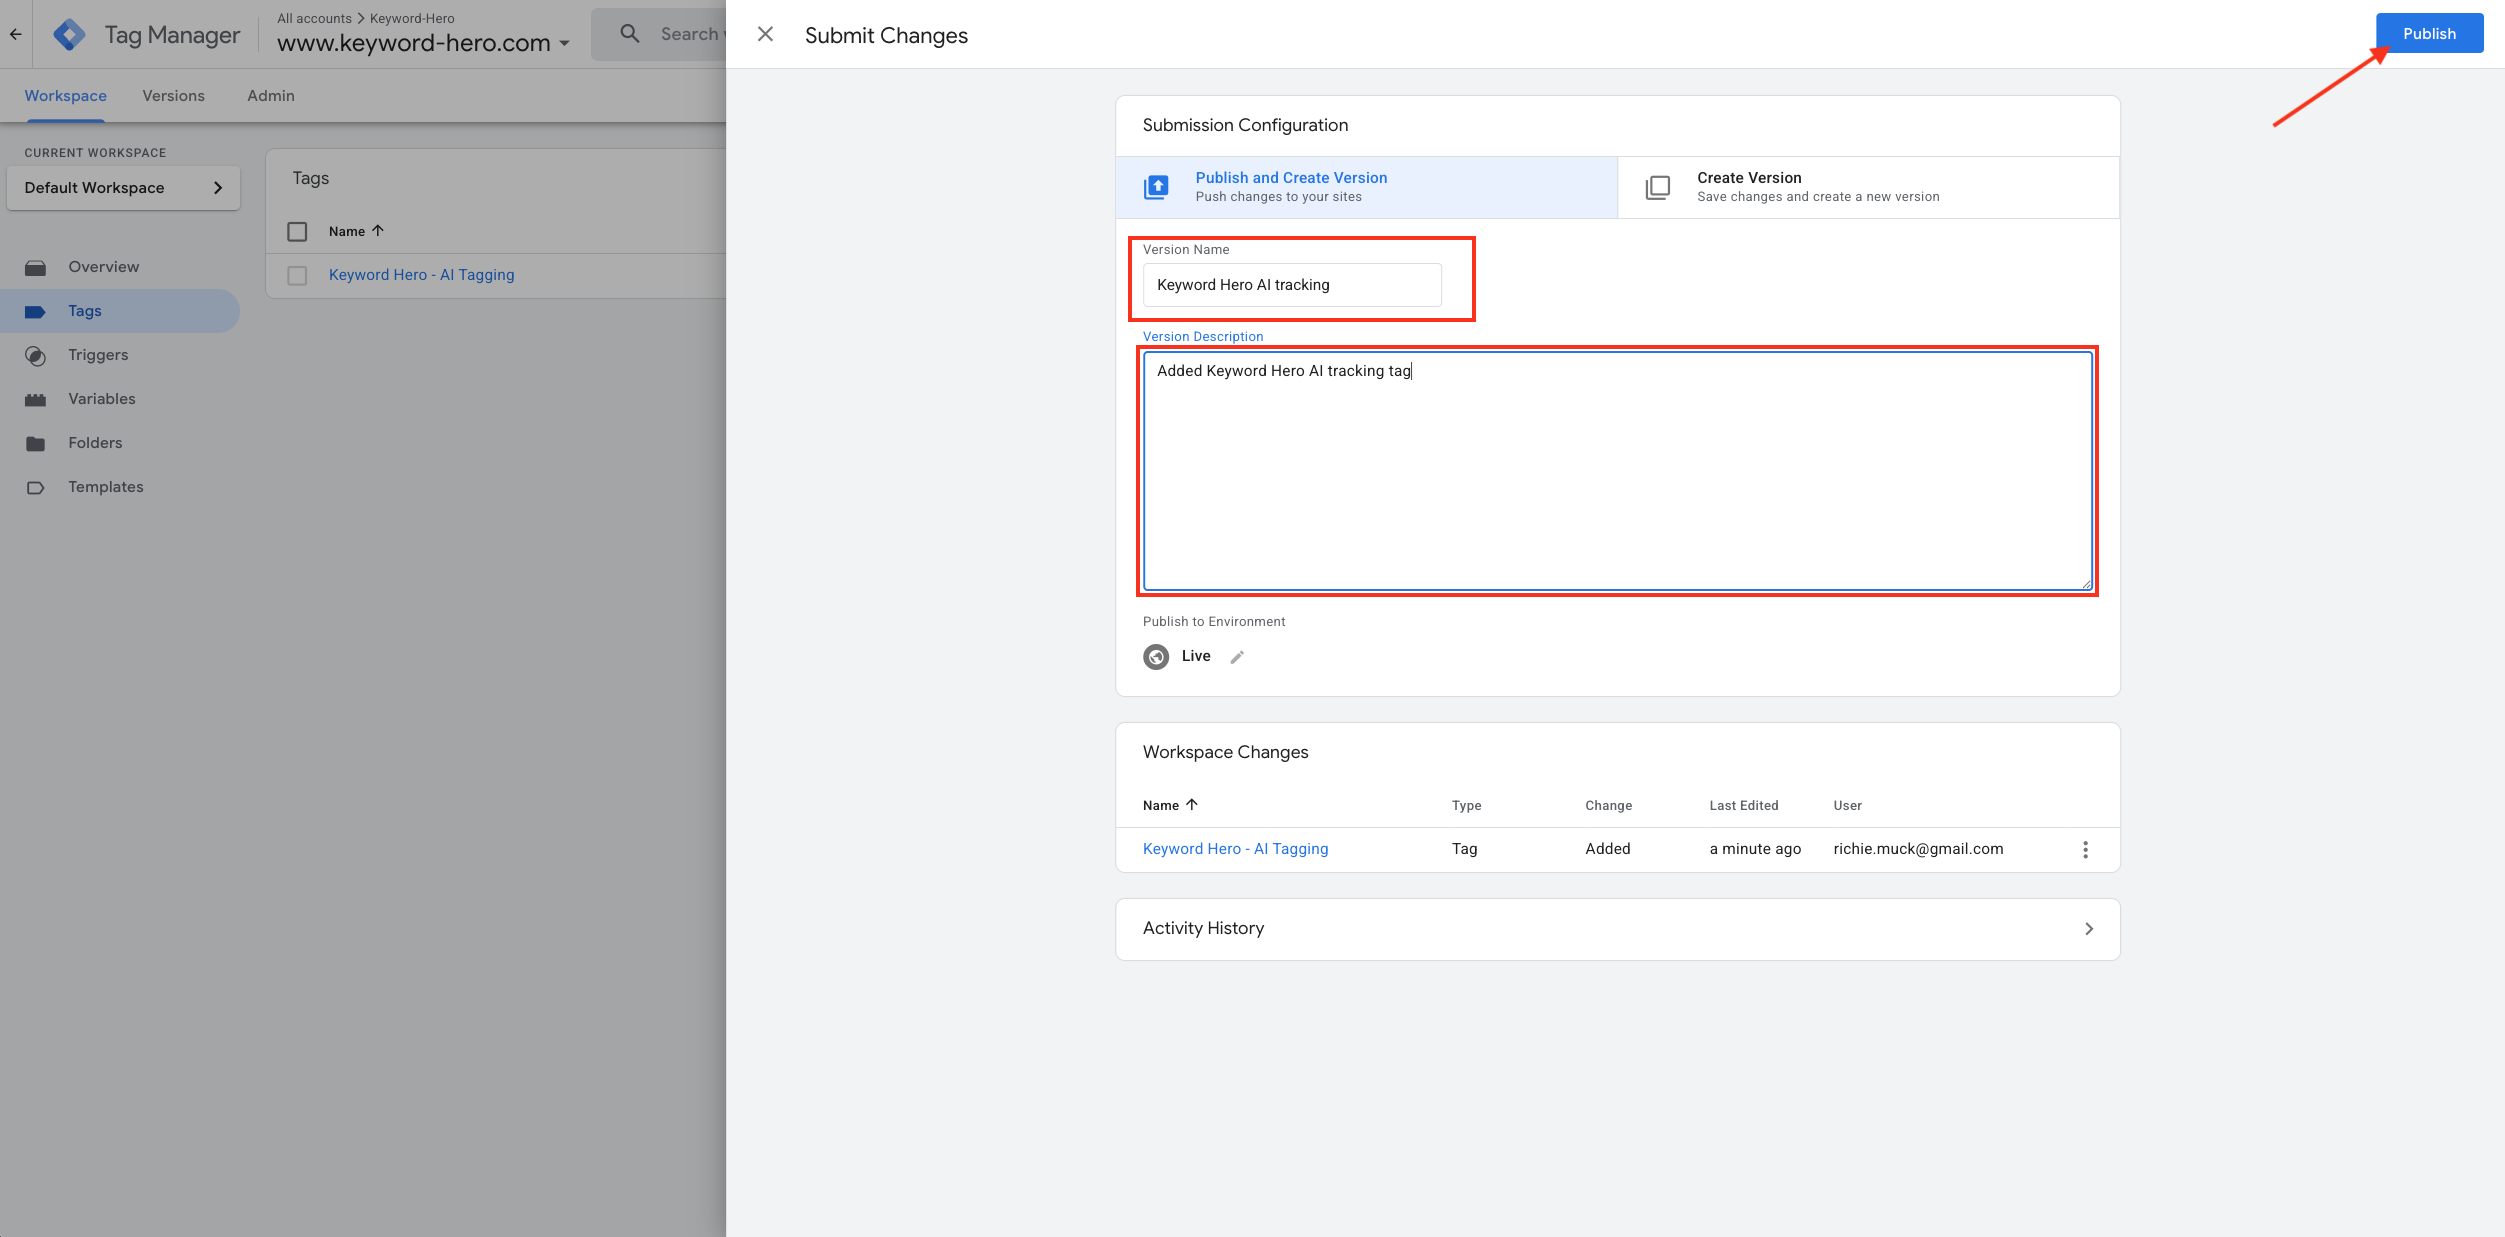
8. Publish Your Changes
- Once you’ve confirmed everything works correctly, click “Submit”
- Add a version name and description (e.g., “Added Keyword Hero AI tracking tag”)
- Click “Publish” to make your changes live
Important Notes
Data Processing Timeline
After the tag is installed, expect up to 24 hours before Google Analytics begins processing the first AI traffic data. This delay is normal and due to Google’s data processing pipeline.
Accessing Your AI Traffic Reports
Once data starts flowing, you can access your AI traffic insights through the Keyword Hero dashboard. For detailed instructions on navigating to your event reports, check our FAQ section.
Troubleshooting Tips
- Tag not firing? Check that your trigger is set to “All Pages” and that GTM is properly installed on your site
- No data after 48 hours? Verify the JavaScript snippet was copied completely and contact support
- Conflicts with other tags? Ensure the AI tag has proper firing priorities if you have multiple tracking implementations
Why This Matters
As AI-powered search features become more prominent, traditional analytics often misattribute this traffic as direct or referral traffic. The Keyword Hero AI tag ensures you can:
- Accurately measure the impact of AI search features on your traffic
- Understand how users discover your content through AI-enhanced search
- Make data-driven decisions about your SEO and content strategy in the AI era
Your AI tracking setup is now complete and will begin capturing valuable insights about how AI search features drive traffic to your website.